Create an Order
From your Orders module, click the New Order button in the top right corner
There are many different ways to create a new Order, so make sure to select the method that works for you

To Bulk upload via CSV, check out our article on Importing & Exporting Orders
To Import PDF, check out our article about Orderbot
For Manual Entry, continue to select a customer from the list (or create a new one!)
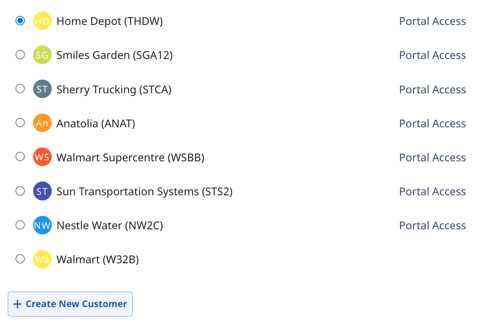
Once selected, click Create Order

Select the type of Order you wish to create at this time

To learn more about these options, check out our article on Order Types
Make sure to fill out the required information regarding your Order in the provided fields
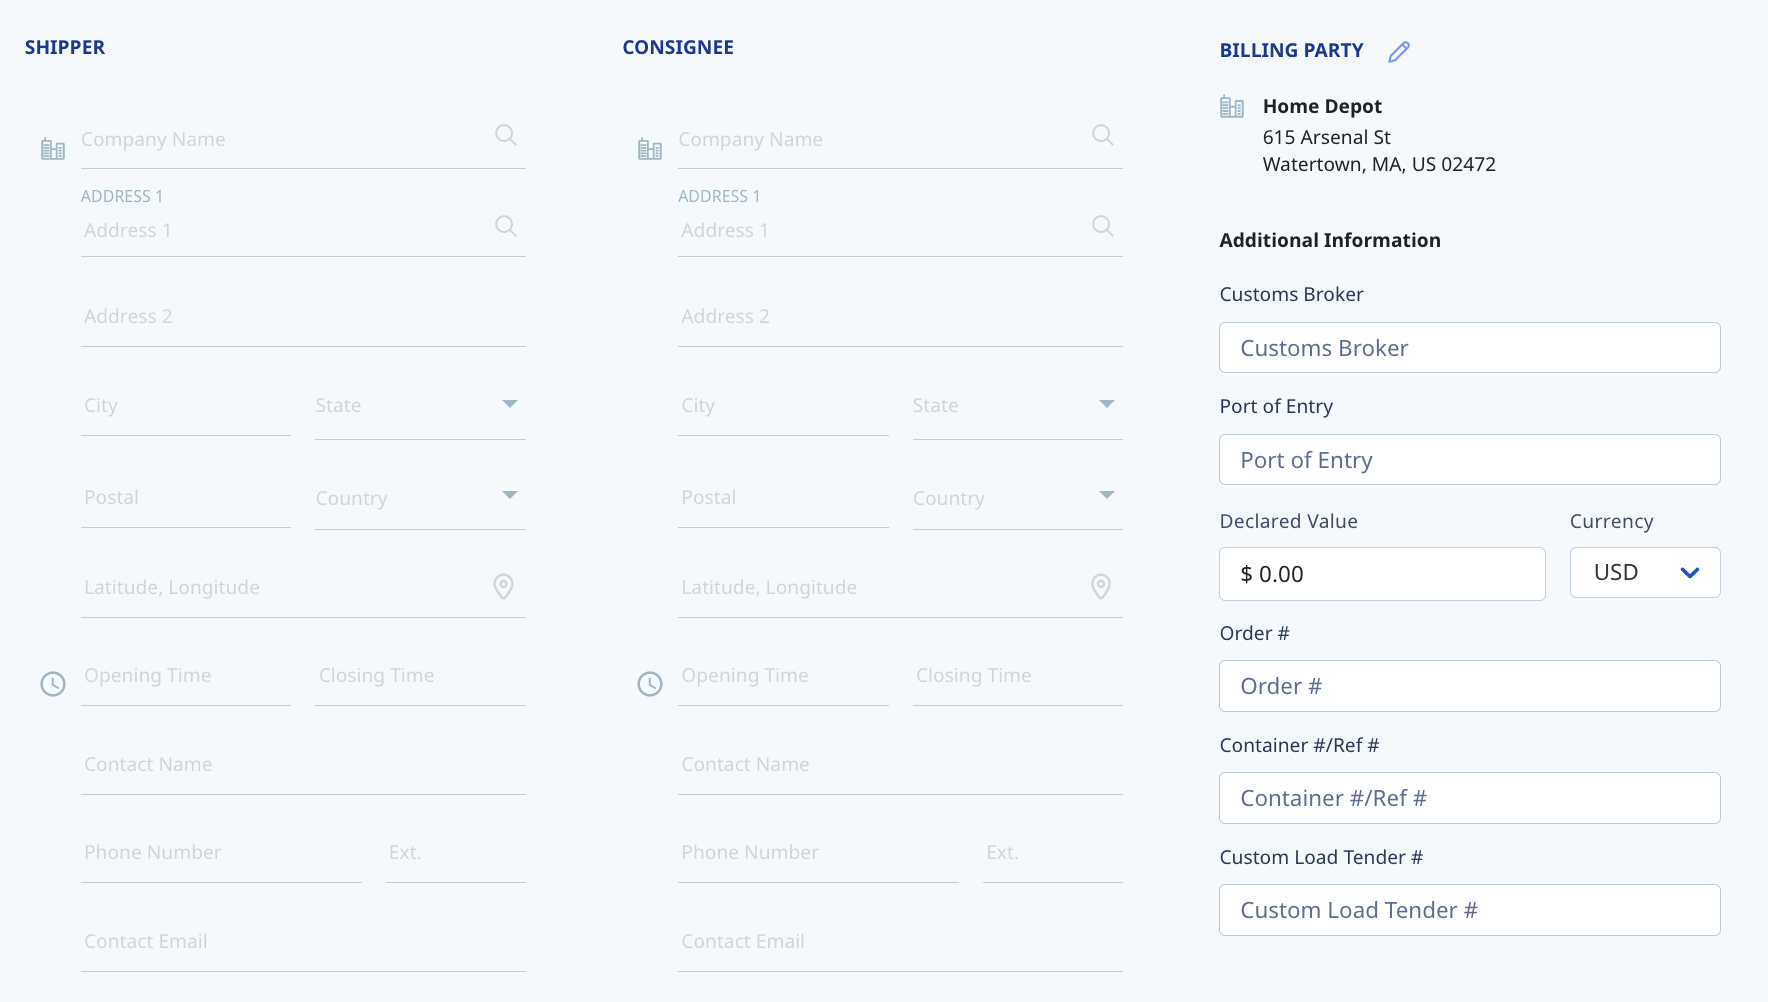
Your Billing Party will be auto-filled based on the Customer you selected, but you can also change this information at this time if necessary
Note: Always make sure to select from the list that appears when typing in a Company Name or Address, especially if using the auto-rating feature
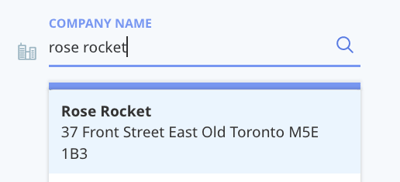
Manually typed-in fields will not associate your location with Google Maps, causing Lanes, Tariffs, and auto-rating on your Orders to fail
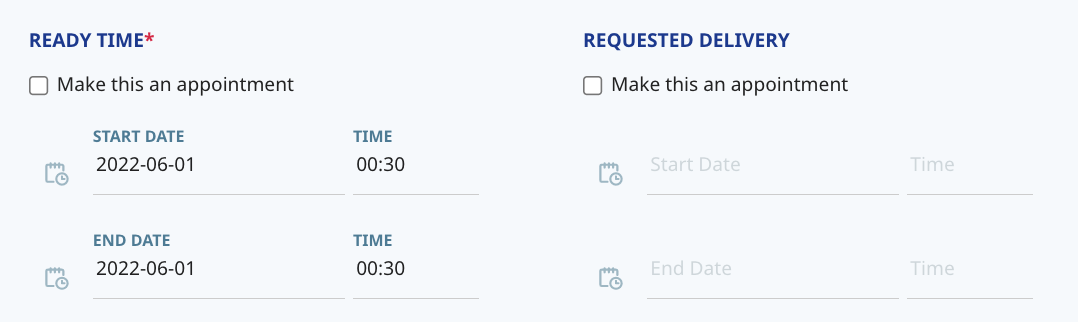
Add a Ready Time (required) and a Requested Delivery if desired (optional)
Add any and all Commodities in the provided section near the bottom of the page

Once your Order entry has been completed, click Submit Order in the top right corner
Rating an Order
After you have created an Order, as shown in the section above, you can add any associated costs. In the top right corner click Add Spot Quote or Add Carrier Cost to add either to your Order

You can also scroll down to the very bottom of your Order to review the Quotes section

Tip: Learn more about the Lane History Tool
Add a spot quote to any Order by filling in the required information in the pop-out window
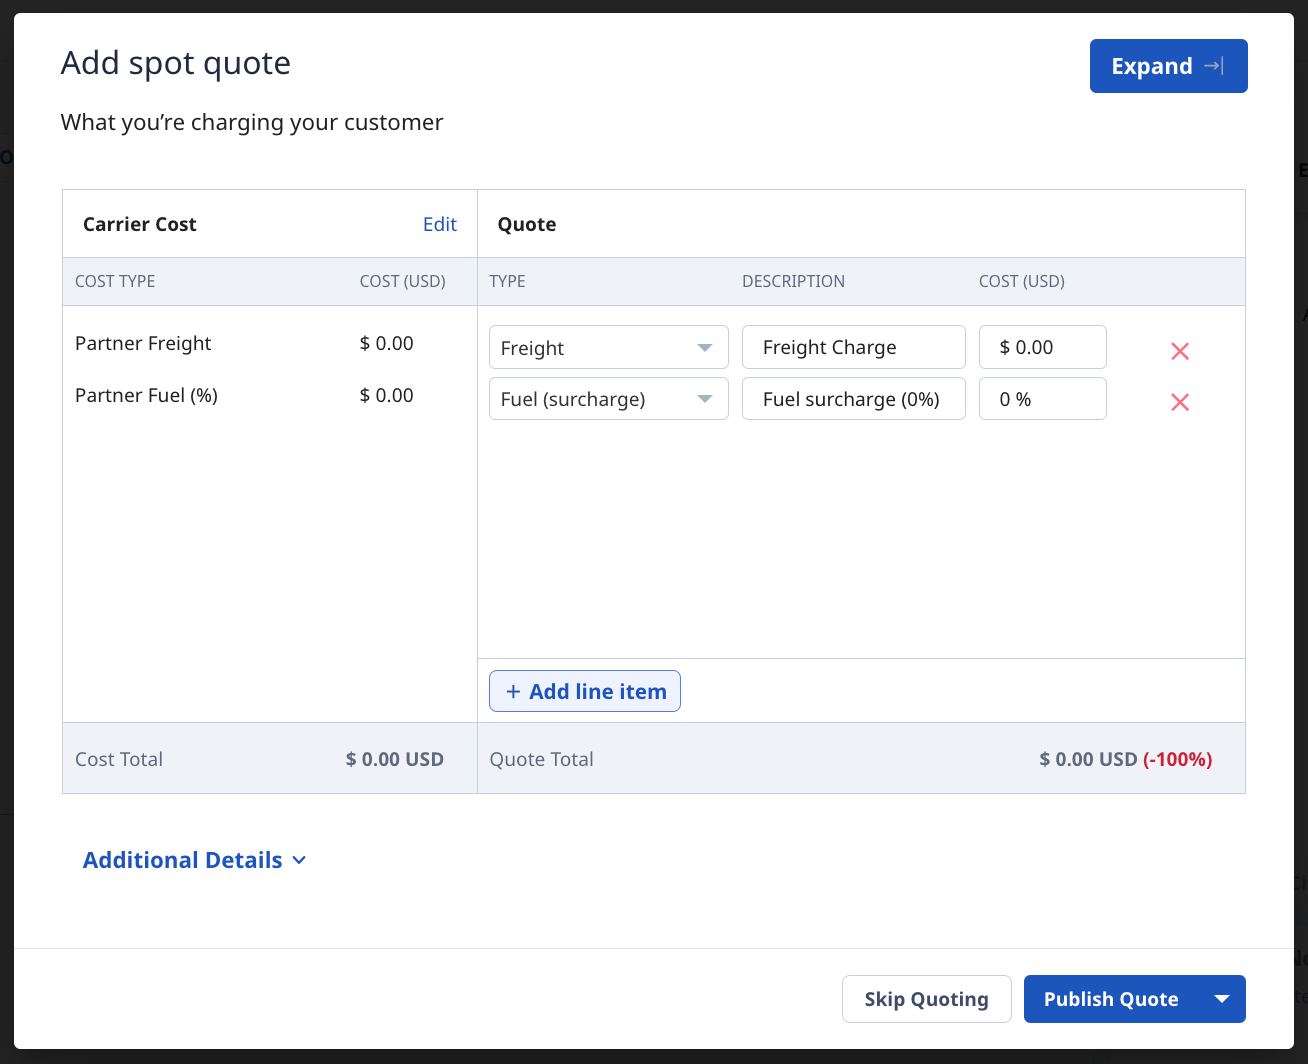
Then click Select next to the Quote when it appears in the Quotes section

You can also skip quoting at this time and come back to it later if necessary
More information about rating your Orders can be found in our article about Auto-Rating & Troubleshooting
Assign an Order
Scroll to the Tasks section of your Order where you'll find the Legs. Above the list of Legs on the Order, click + Assign Carrier/Driver to assign this Order

A pop-up window will appear where you can assign the Order
 Make sure to select the tab at the top based on whether a Carrier or a Driver will be moving this freight

Select your Driver or Carrier from the list of existing entries, or even create a new one
To proceed, click Create New Manifest

This Manifest will now show in the Manifest column of each Leg along with the assigned Driver or Carrier
Dispatch an Order
Once you have followed the steps above to assign a Driver or Carrier, a Manifest will be created within Rose Rocket for this shipment. Navigate to the Manifest to continue
In the top right corner of the Manifest, click the Send to Driver button
Follow the steps provided moving forward to dispatch your freight in the Planning module
Tip: Learn how to dispatch Manifests in the Planning section of our Help Center