Before completing these steps, remember to complete your delivery in the Driver Mobile app using this article.
How to upload Proof of Delivery (POD):
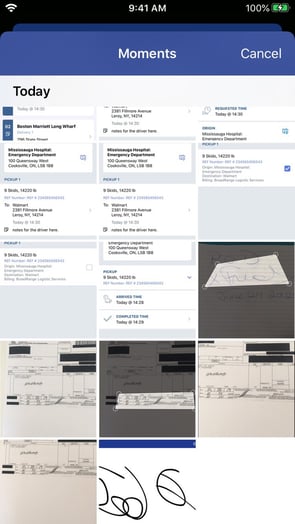
- Navigate to the delivery summary screen, where you would have left off in this article.
- At the bottom of the screen, you will have the following options to upload documents:

Use one of these options to upload a POD document.
Once a signature is collected, the Stop will be marked as completed.
Below are detailed instructions on how each of these four options work.
How do I use the "SIGN" feature?
The Sign feature allows you to collect a digital signature using your phone screen.
-
- Click the "SIGN" icon

- A screen will appear where you can fill out the signee's full name and email
- Fill out the signee's full name and email
- Click "Next"
- A second screen will appear where the signee can sign directly on your phone
.jpg?width=306&name=IMG_0020%20(1).jpg)
In case of any mistakes, click "CLEAR" in the top right to clear the signature - Once they are happy with their signature, click "SAVE"
- If you need to add more than one document, click the stop again and select the delivery that requires additional information. Then click "ADD PHOTO" to add more documents or images

- Click the "SIGN" icon
How do I use the "PHOTO" feature?
The Photo feature allows you to take a digital photo of a POD document using your phone.
-
- Click the "PHOTO" icon

- A screen will appear where you can take a photo
- Click "Next"
- If you need to add more than one document, click the stop again and select the delivery that requires additional information. Then click "ADD PHOTO" to add more documents or images
- Click the "PHOTO" icon
How do I use the "SCAN" feature?
The Scan feature will allow you to take a photo of a POD document that will be digitalized into a scan, allowing you the ability to crop which area of the photo is included.
-
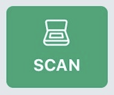
- Click the "SCAN" icon
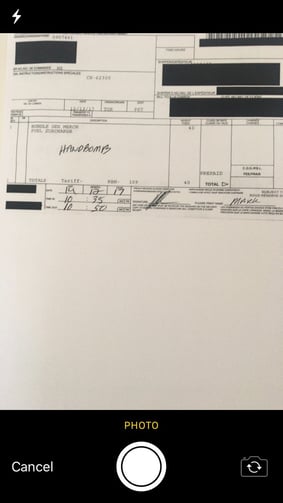
- A screen will appear where you can take a photo
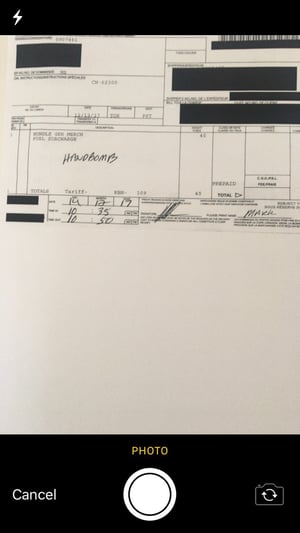
- Take a photo of the document
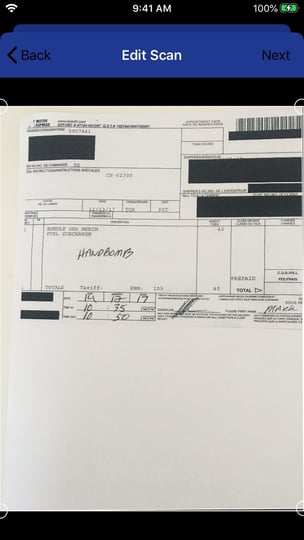
- A box will appear on top of the document. Drag and drop each corner so that the lightener part of the screen shows only the information you would like to include. This can be the entire document or just a section.
.jpg?width=302&name=IMG_0017%20(1).jpg)
- Click "Next"
- If you need to add more than one document, click the stop again and select the delivery that requires additional information. Then click "ADD PHOTO" to add more documents or images
- Click the "SCAN" icon
How do I use the "GALLERY" feature?
The Gallery feature allows you to upload a document or photo that has already been saved on your phone.
-
- Click the "GALLERY" icon

- The photo gallery on your phone will appear on your screen
- Tap on the photo you wish to upload as your document
Please note that you may only upload one photo at a time from this screen - Once you have made your selection the photo will be uploaded to the app
- If you need to add more than one document, click the stop again and select the delivery that requires additional information. Then click "ADD PHOTO" to add more documents or images
- Click the "GALLERY" icon