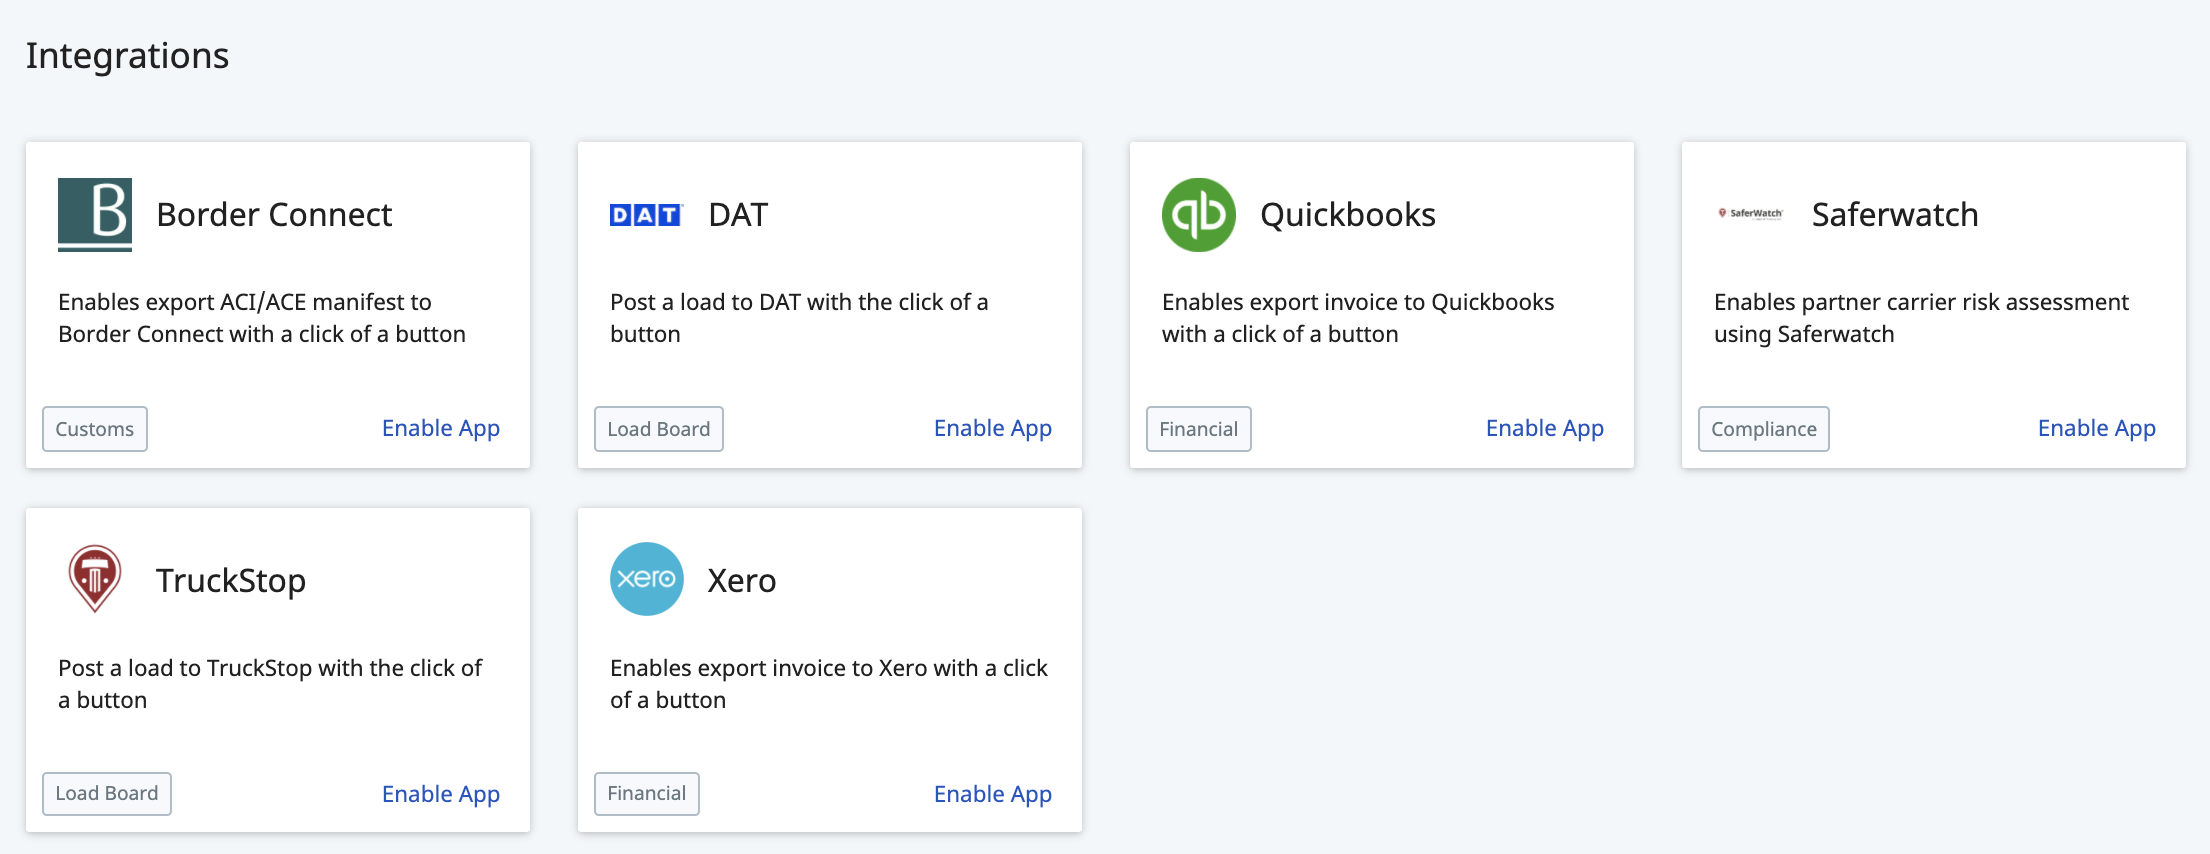
To locate your Integrations module:
- From the menu on the left side of the screen, select the Integrations module

- This will redirect you to the Integrations Page
To update your Xero Settings:
-
- From the Integrations page, locate the Xero tile
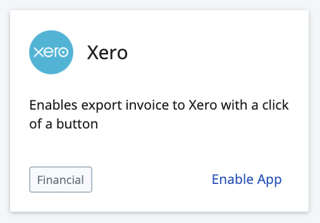
- Click anywhere on this tile to open your Xero Settings
You can always click "Enable App" right from the tile, but it will take you to the same screen no matter where you click within this tile. - This will open up your Xero Settings in a new page
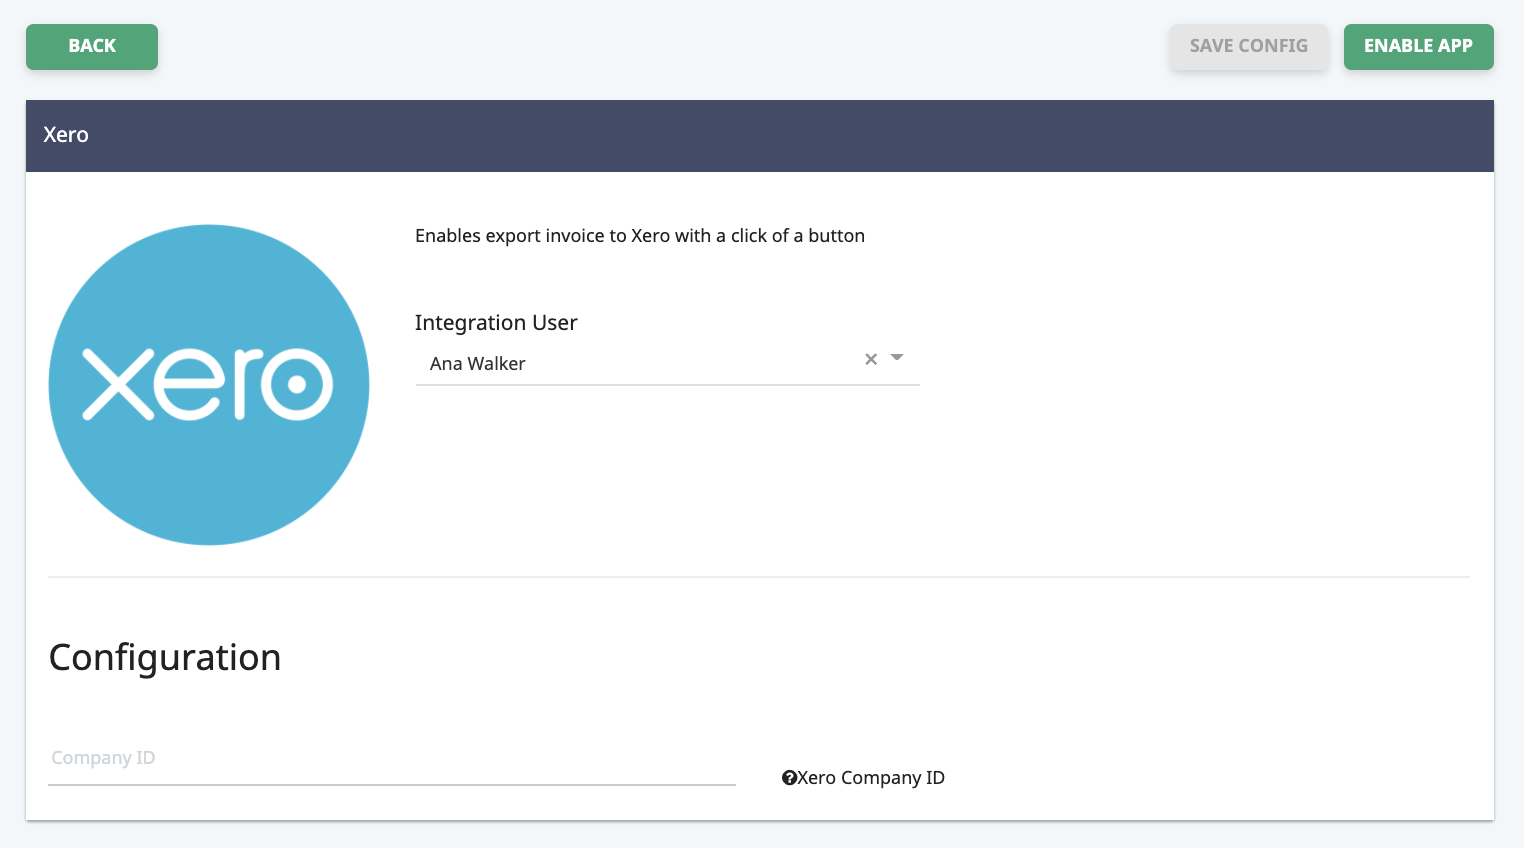
- Navigate down to the "Configuration" section
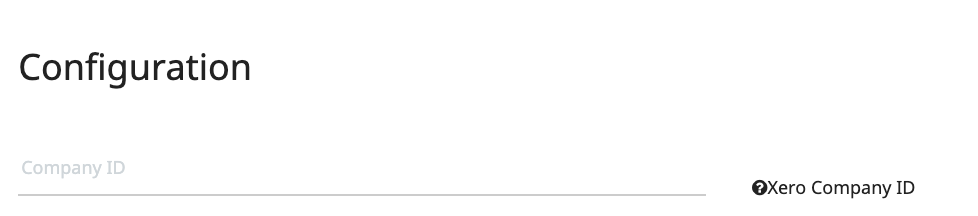
- In the field labeled "Company ID", paste in your Company ID

- Once changes are made on this page, the "SAVE CONFIG" button that was previously greyed out will turn green

- Click the "SAVE CONFIG" button to save your changes and enable the integration

- From the Integrations page, locate the Xero tile