1. The Customers Module
The Customers module is a collection of all Customers currently saved to your Rose Rocket software. It is also where you can add new Customers or make changes to existing ones.
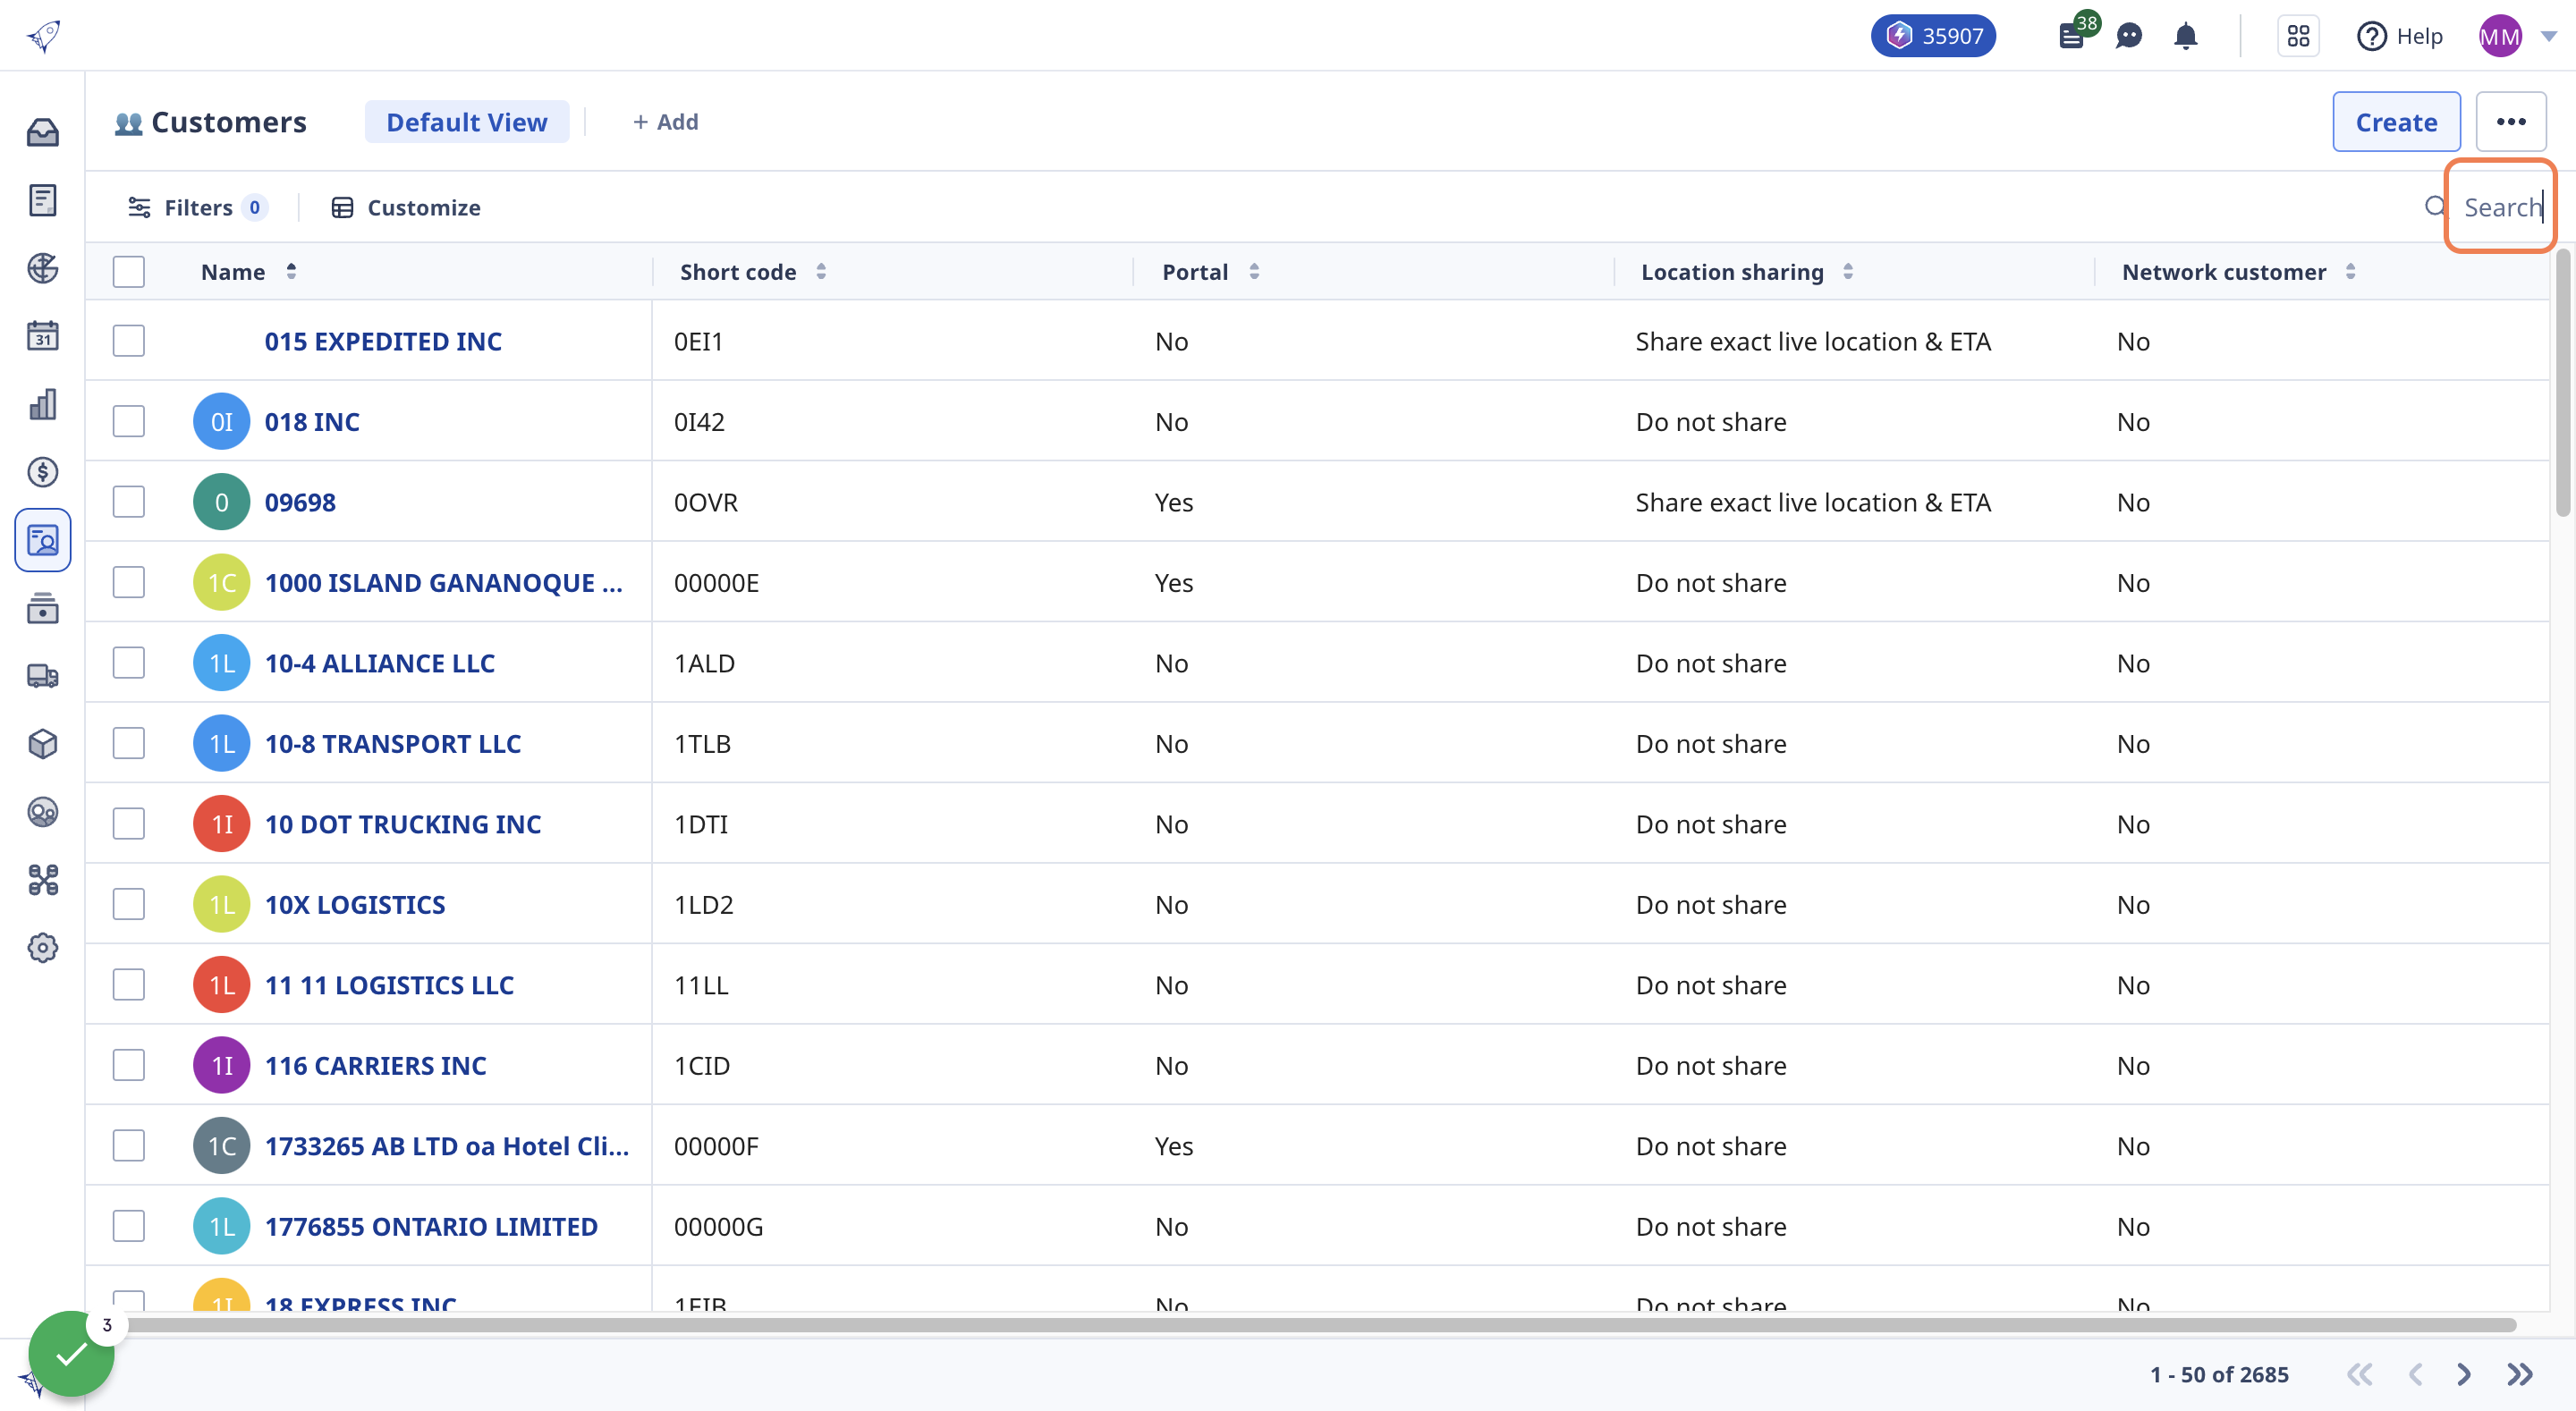
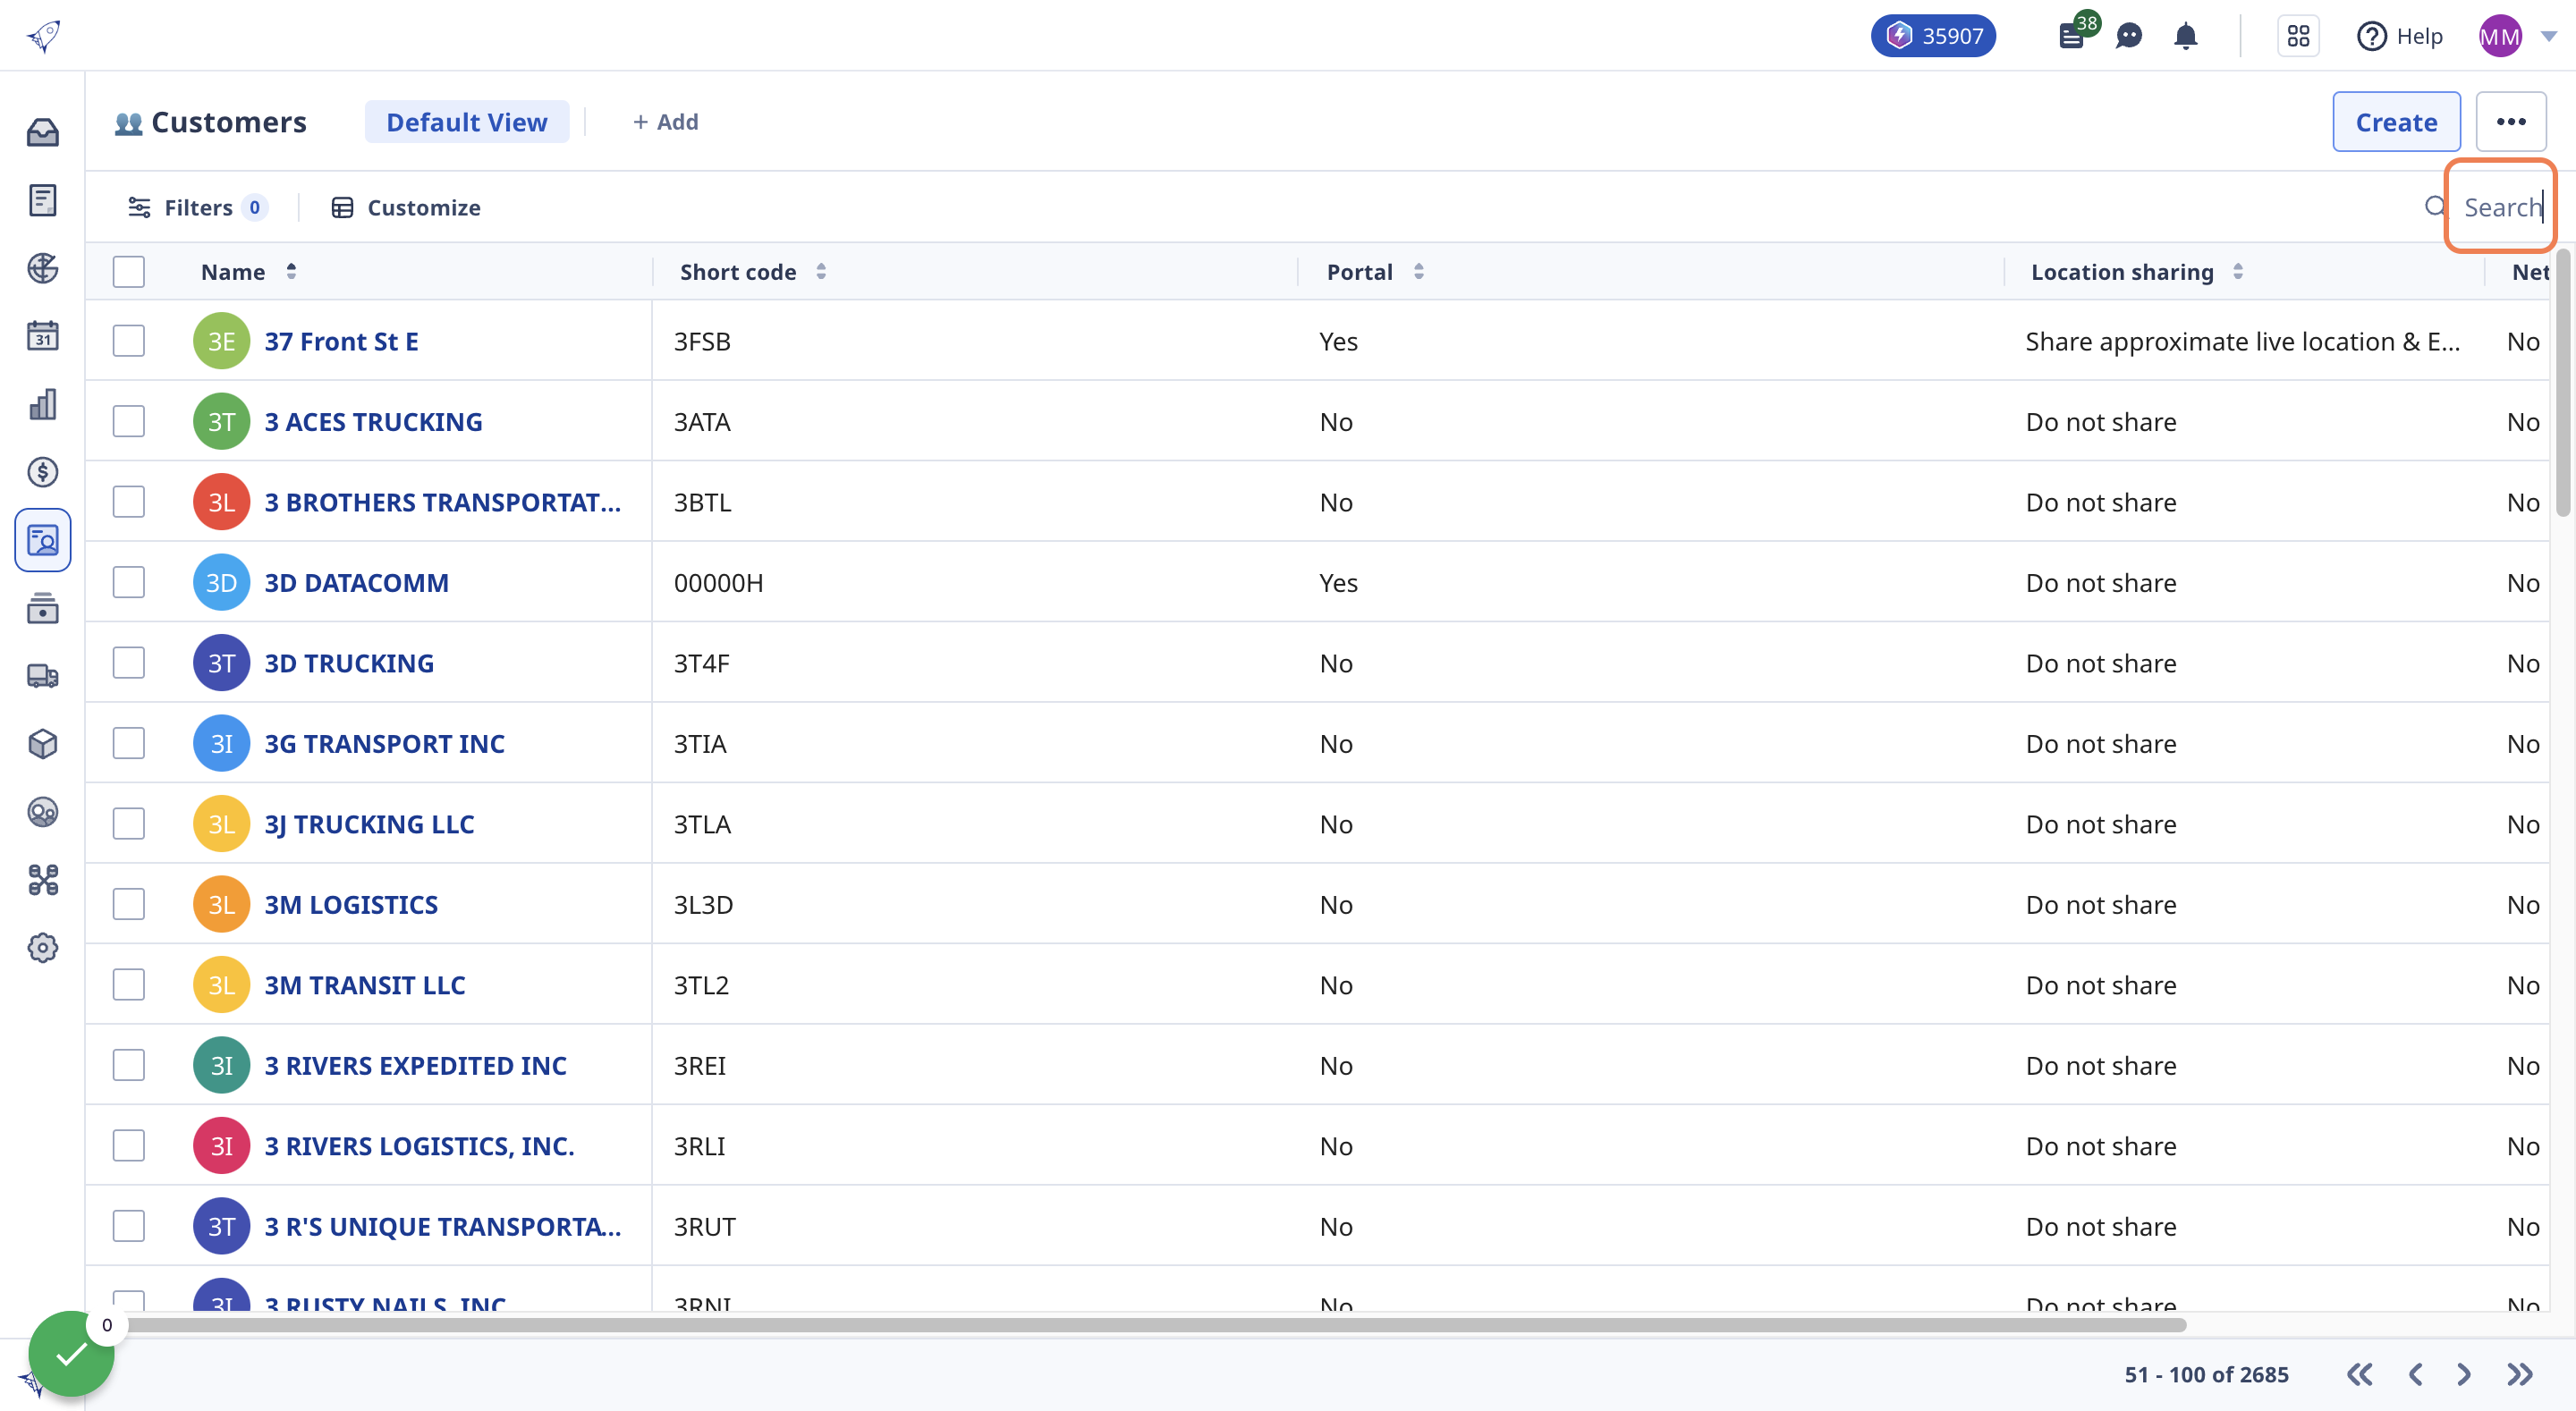
2. Search & Filters
To search for a specific Customer, enter their name or short code into the search box in the top right corner of the page and click the magnifying glass or press enter.
3. To clear the search, remove what's written and click the magnifying glass again or press enter.
4. Filter your customer list
Apply filters to find customers easily.
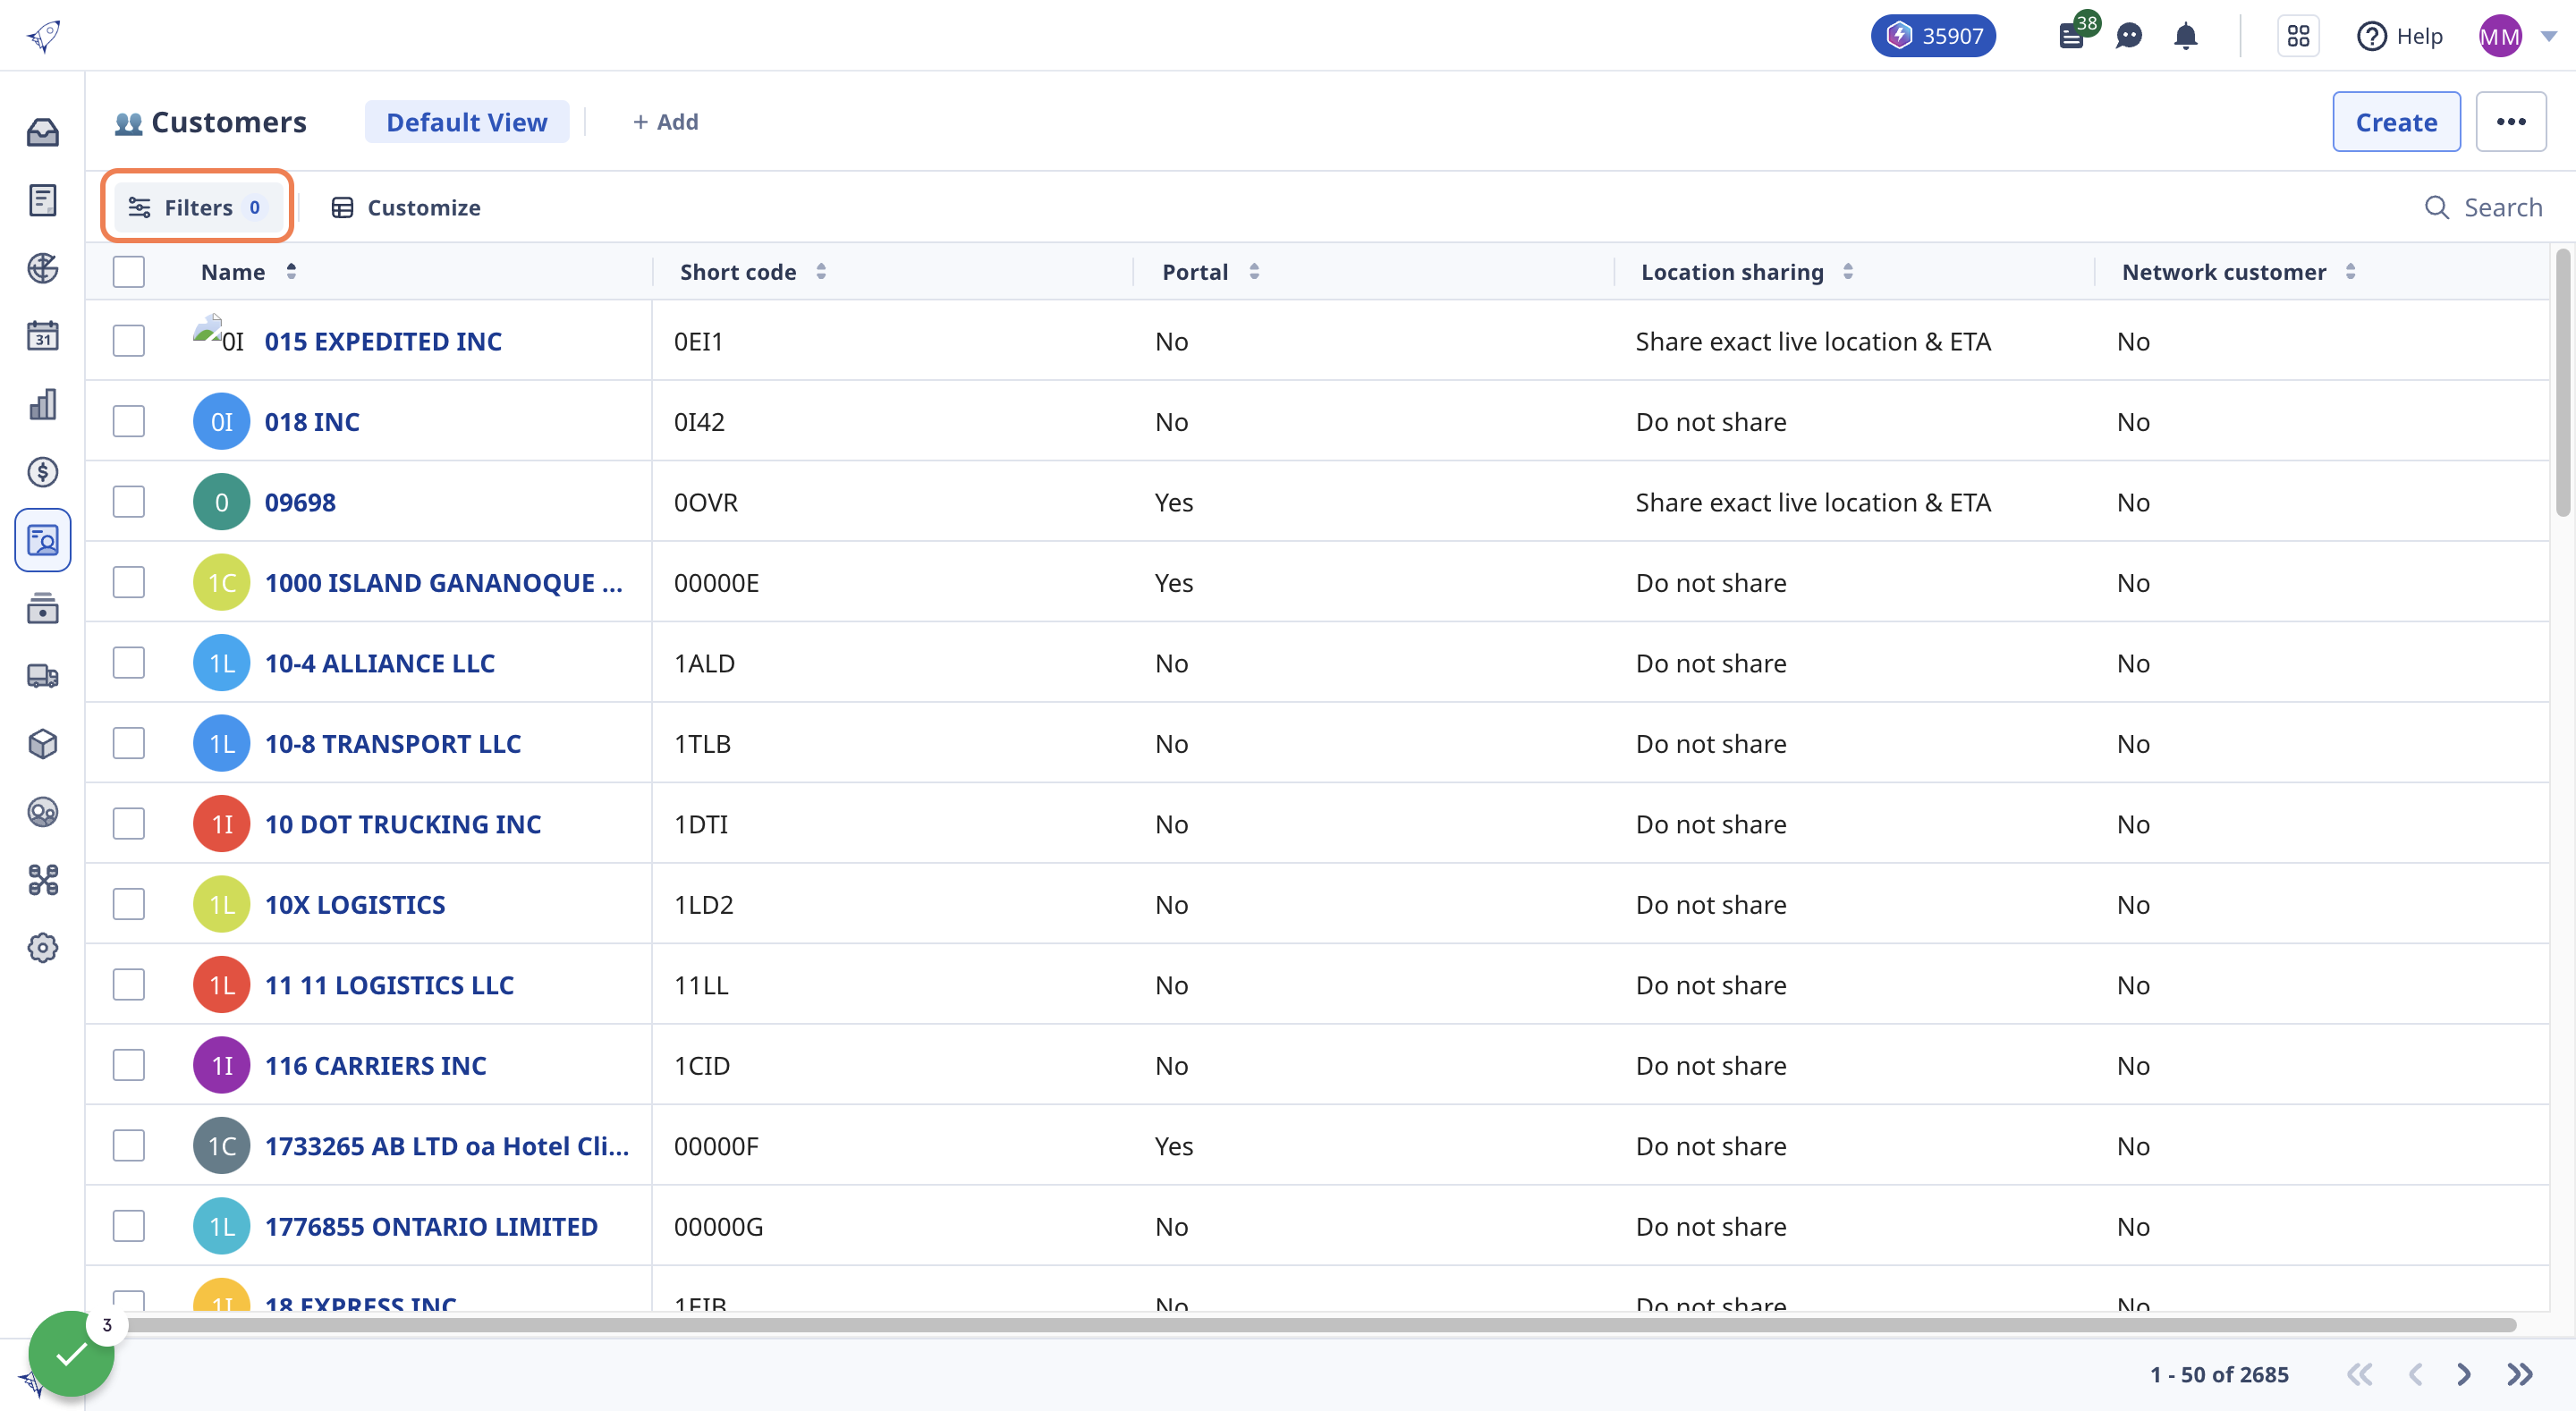
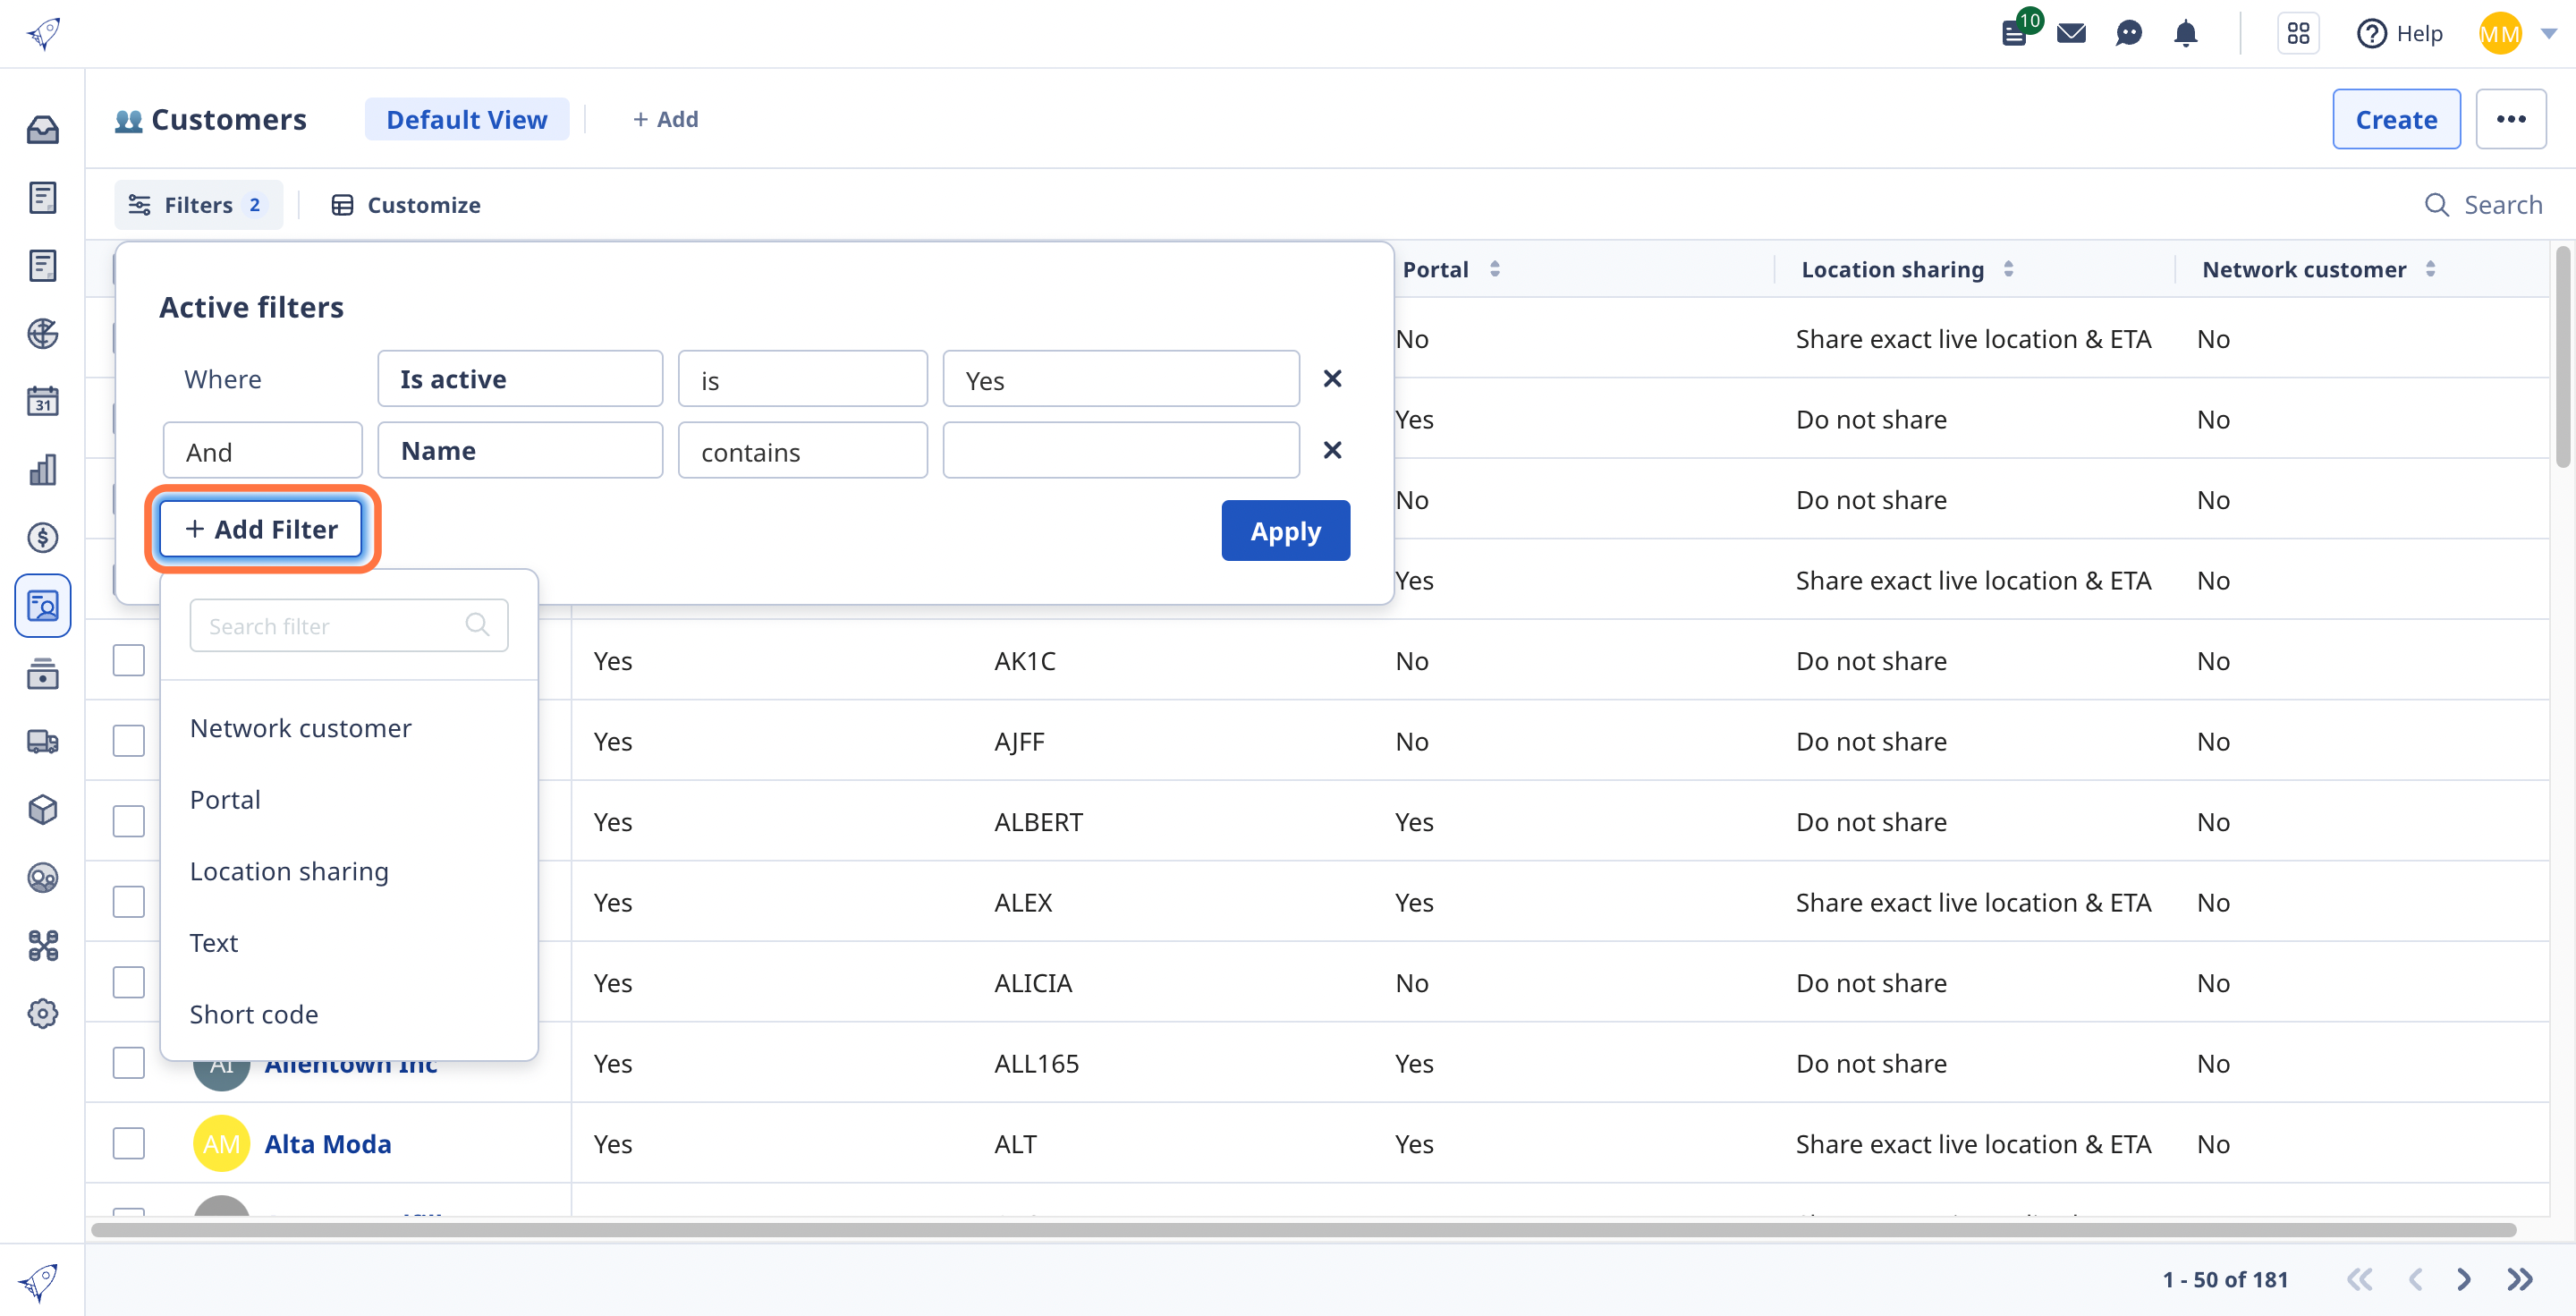
5. Click '+Add Filter' to view available filters.
6. Removing filters
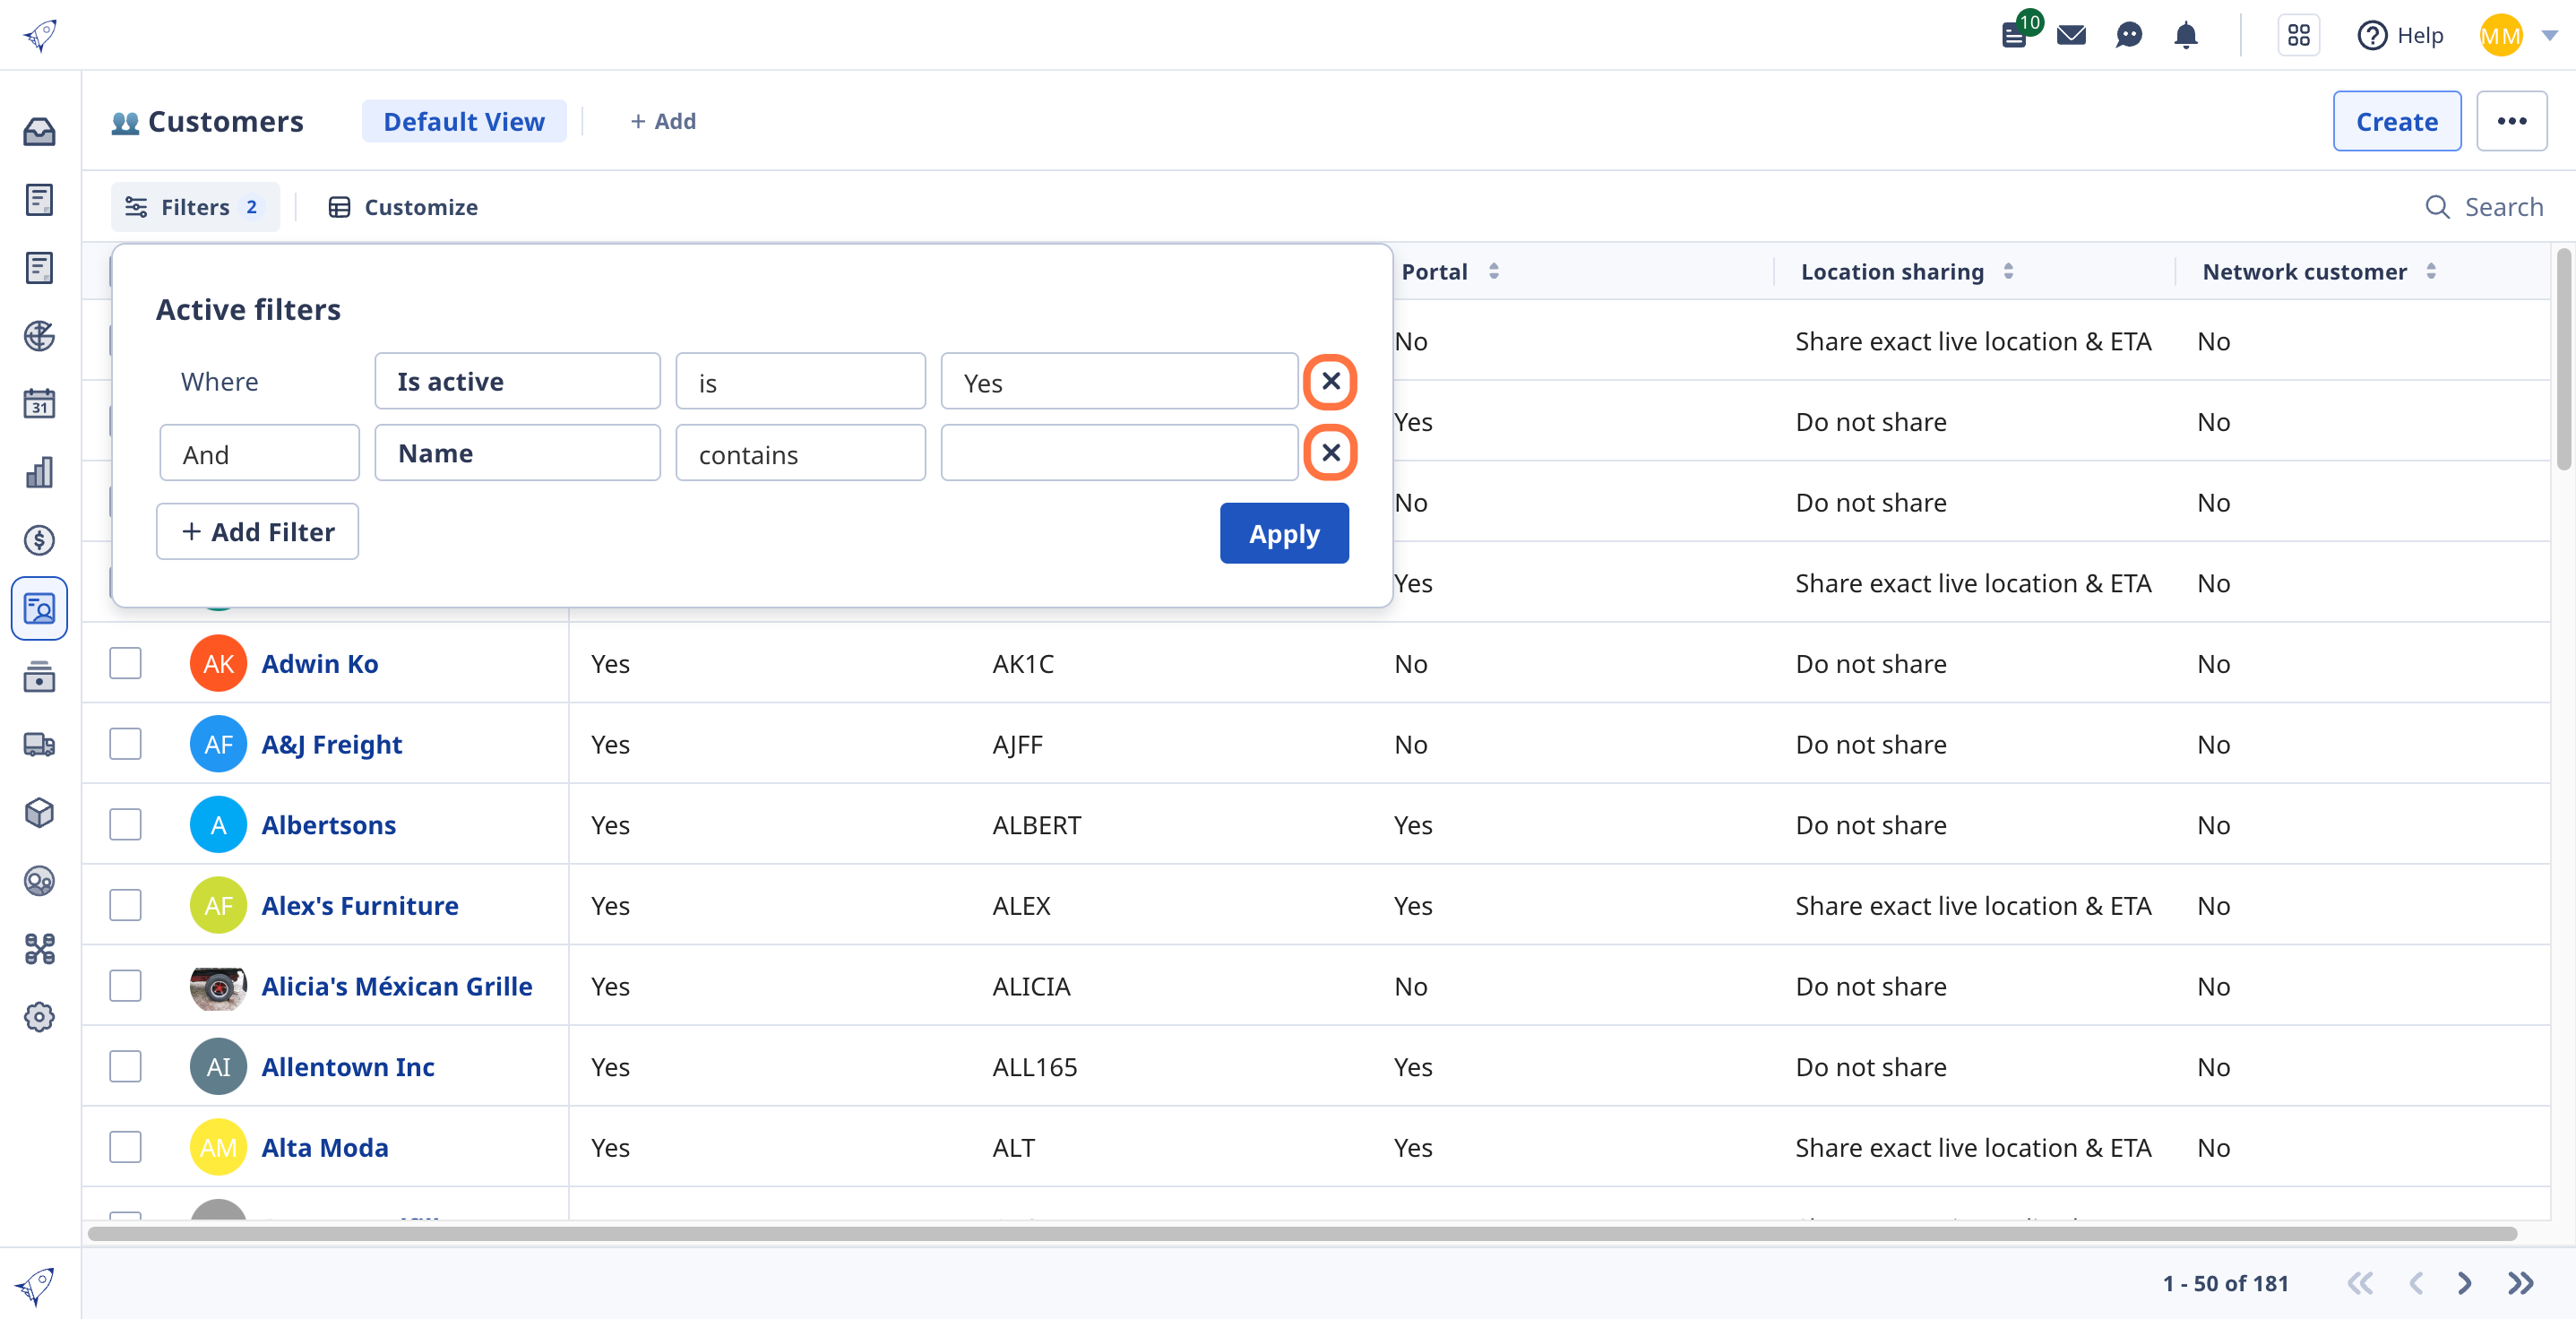
Use the 'X' to remove the filters you have applied.
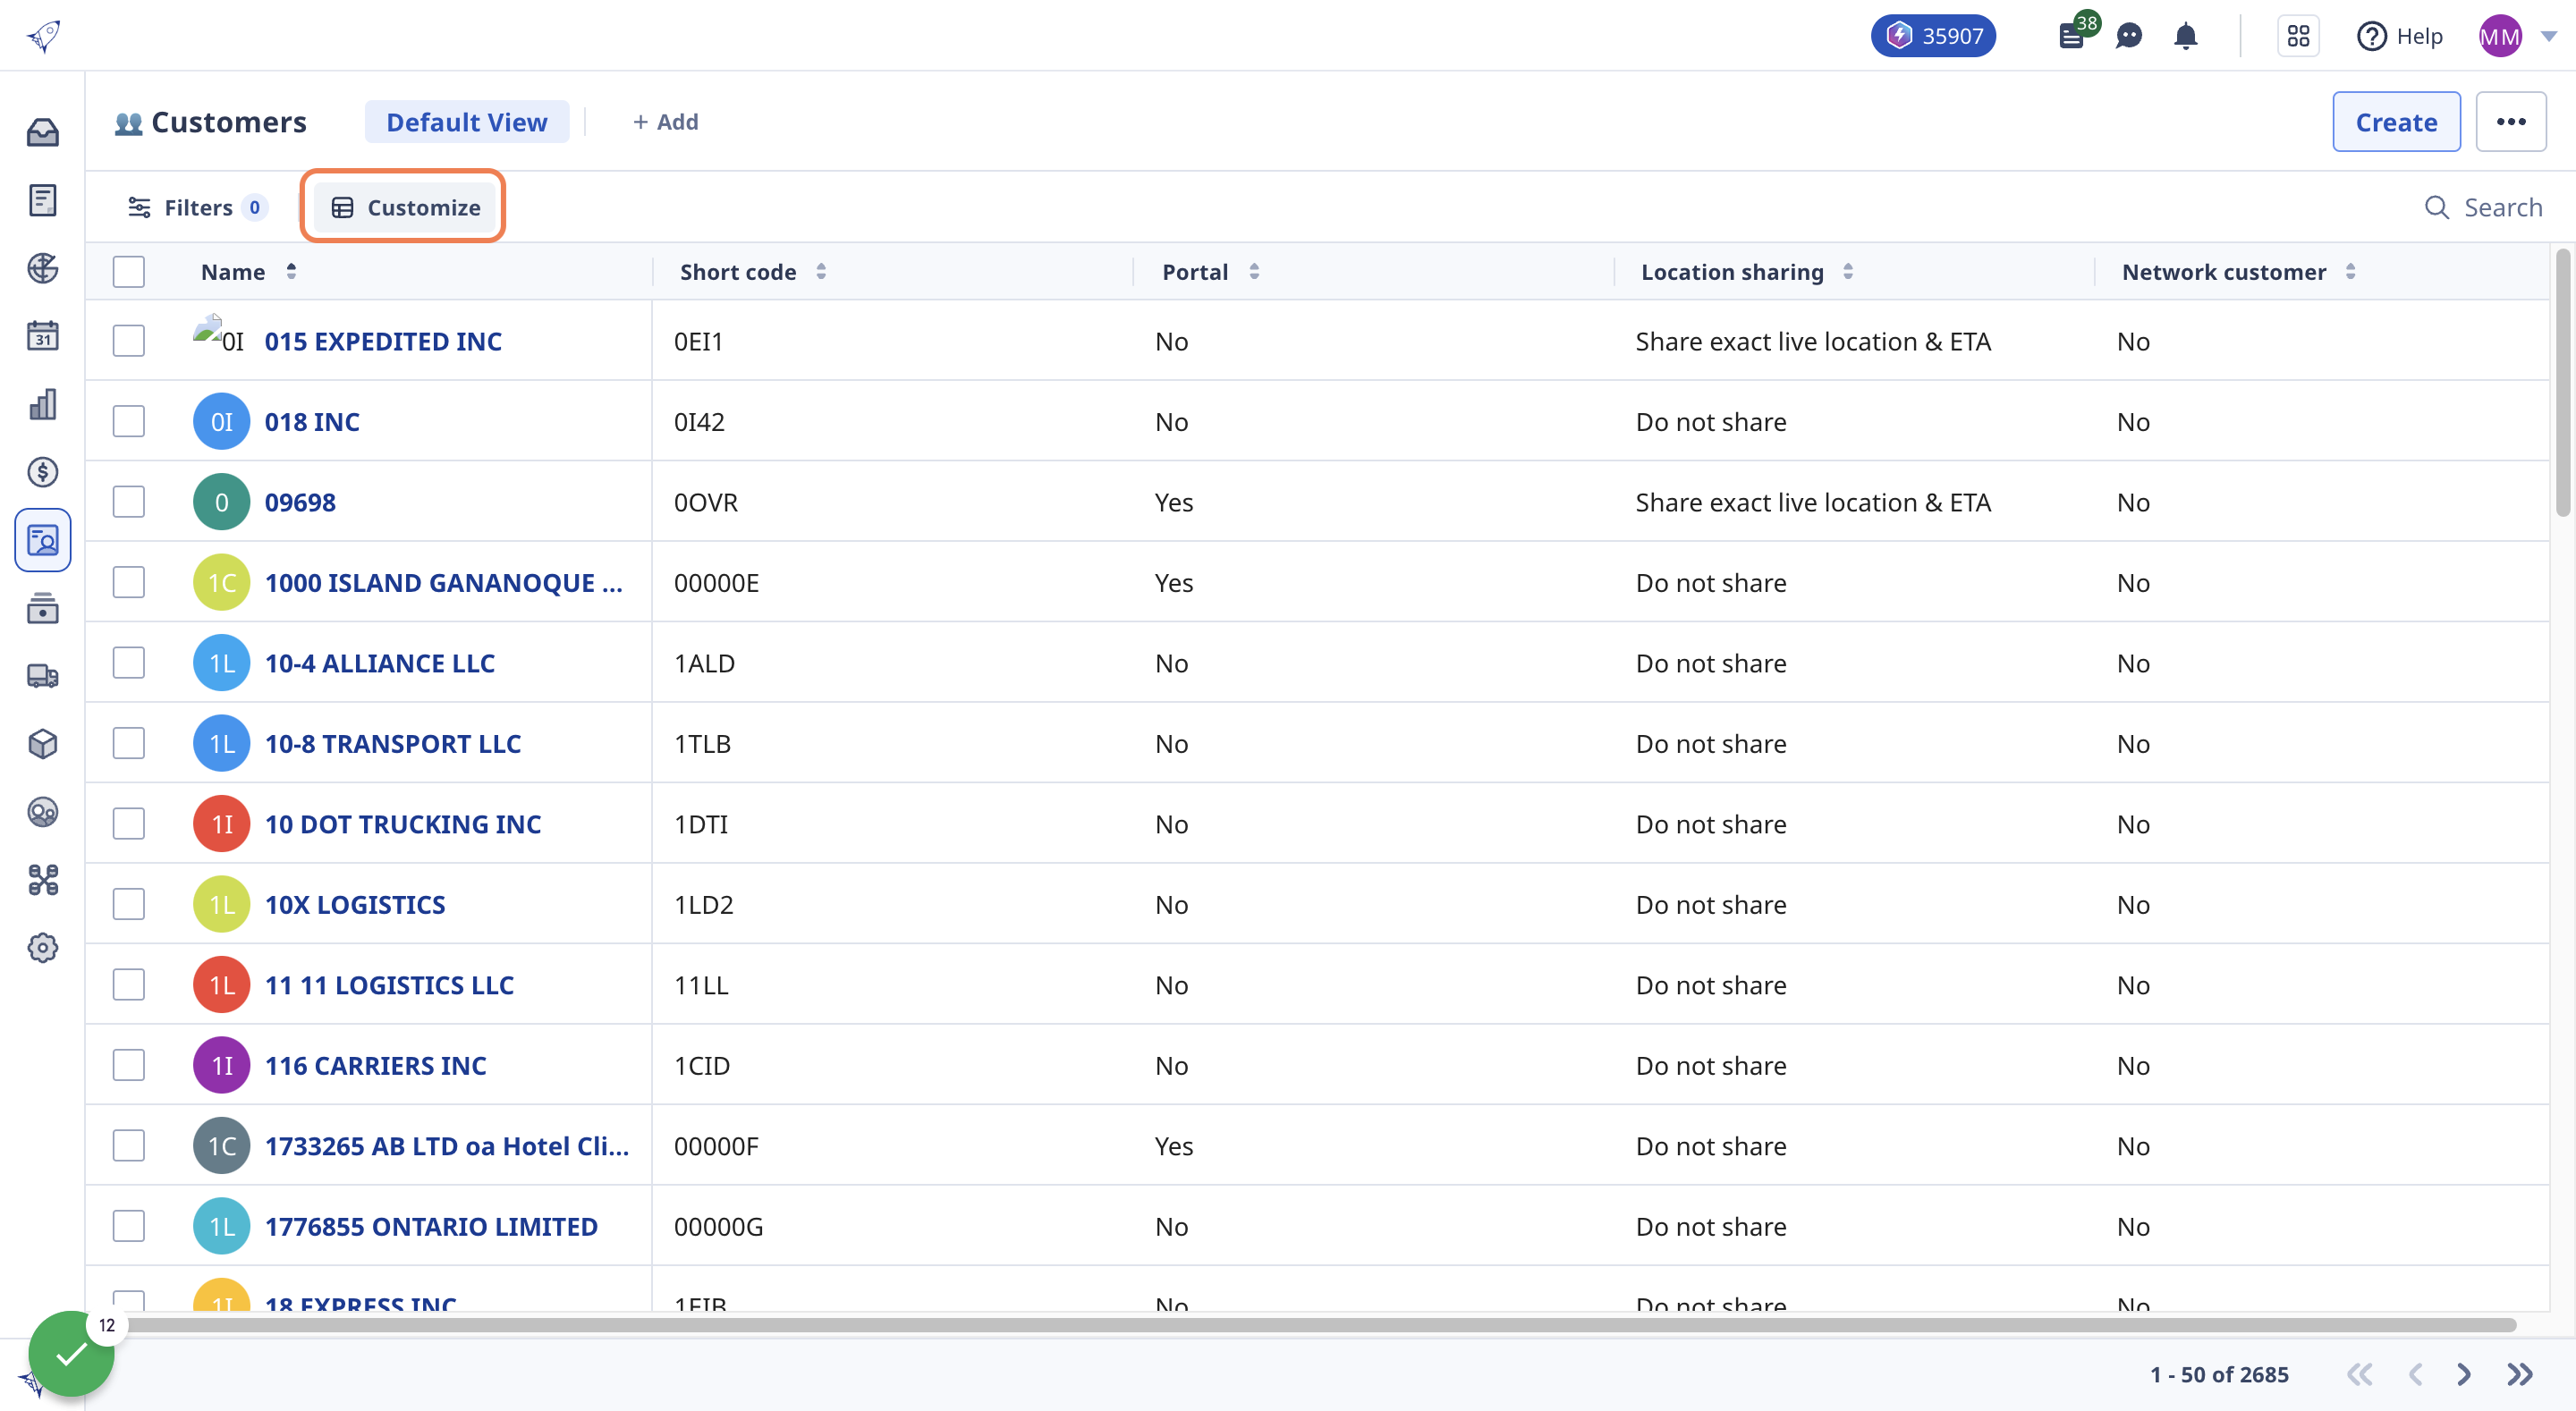
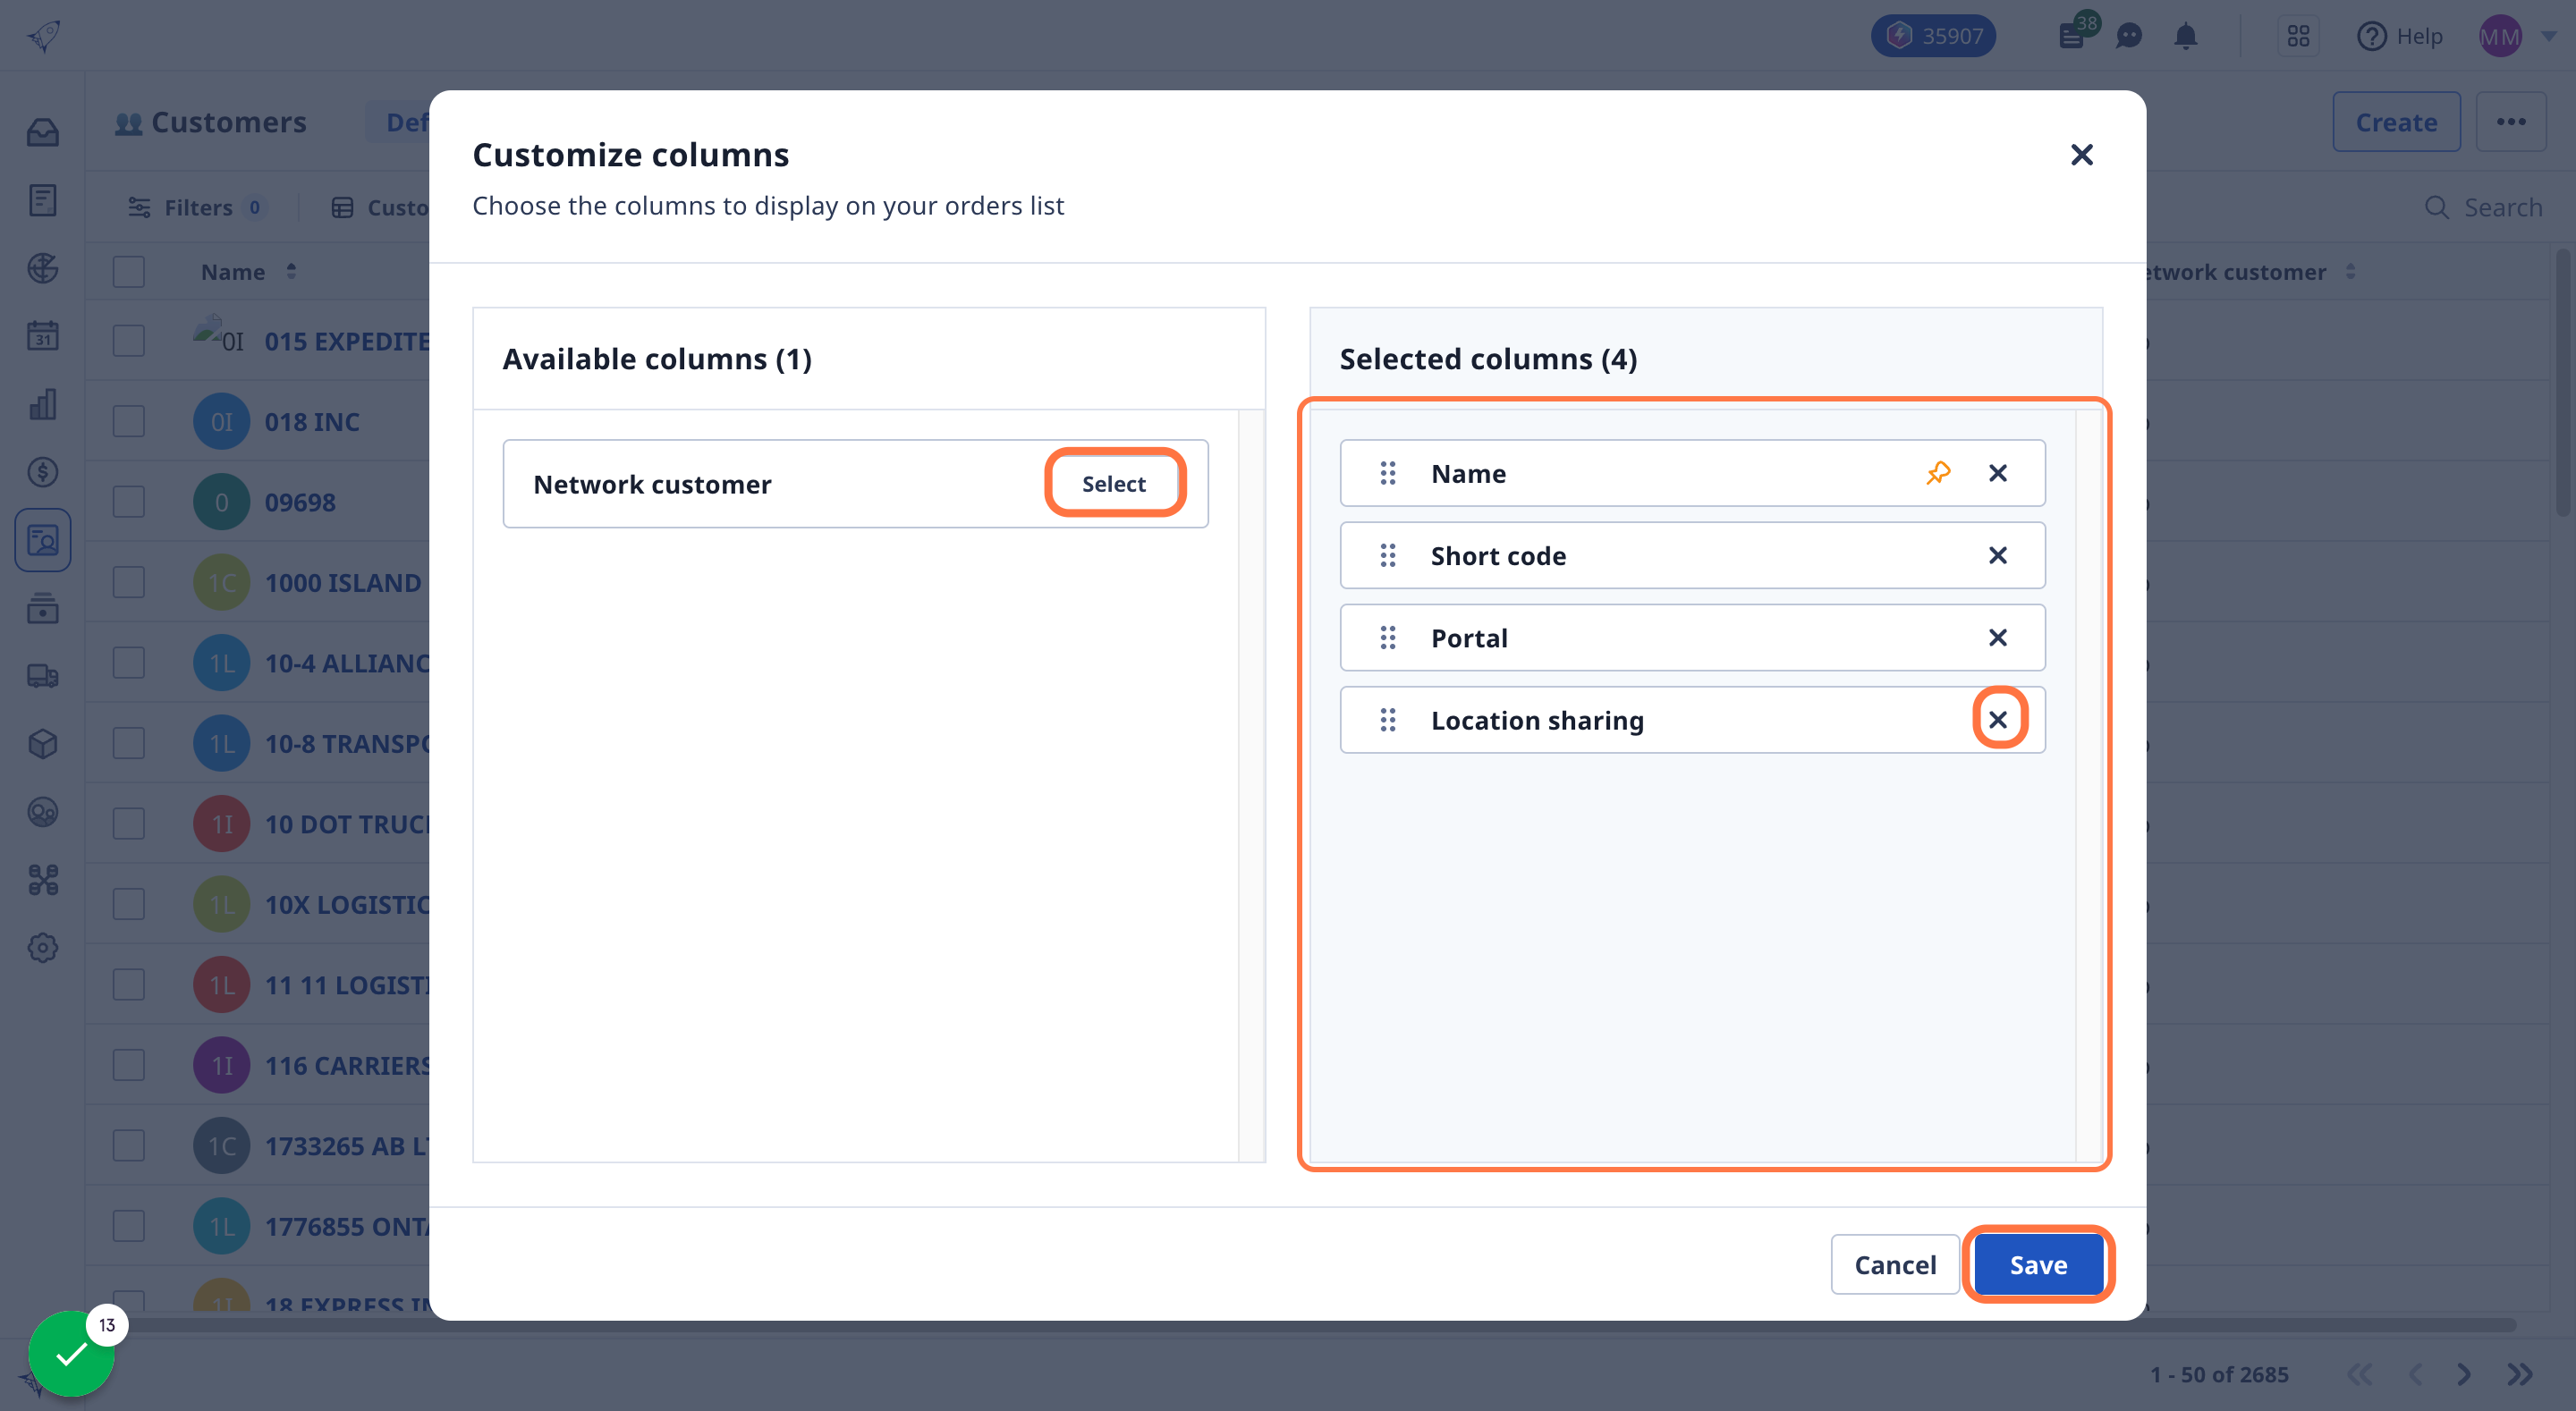
7. Customize your columns
Click the 'Customize' button to choose which columns you want to see.
8. Select the columns you want to add or use the 'x' for columns you want to remove and click 'Save' when you're finished editing.
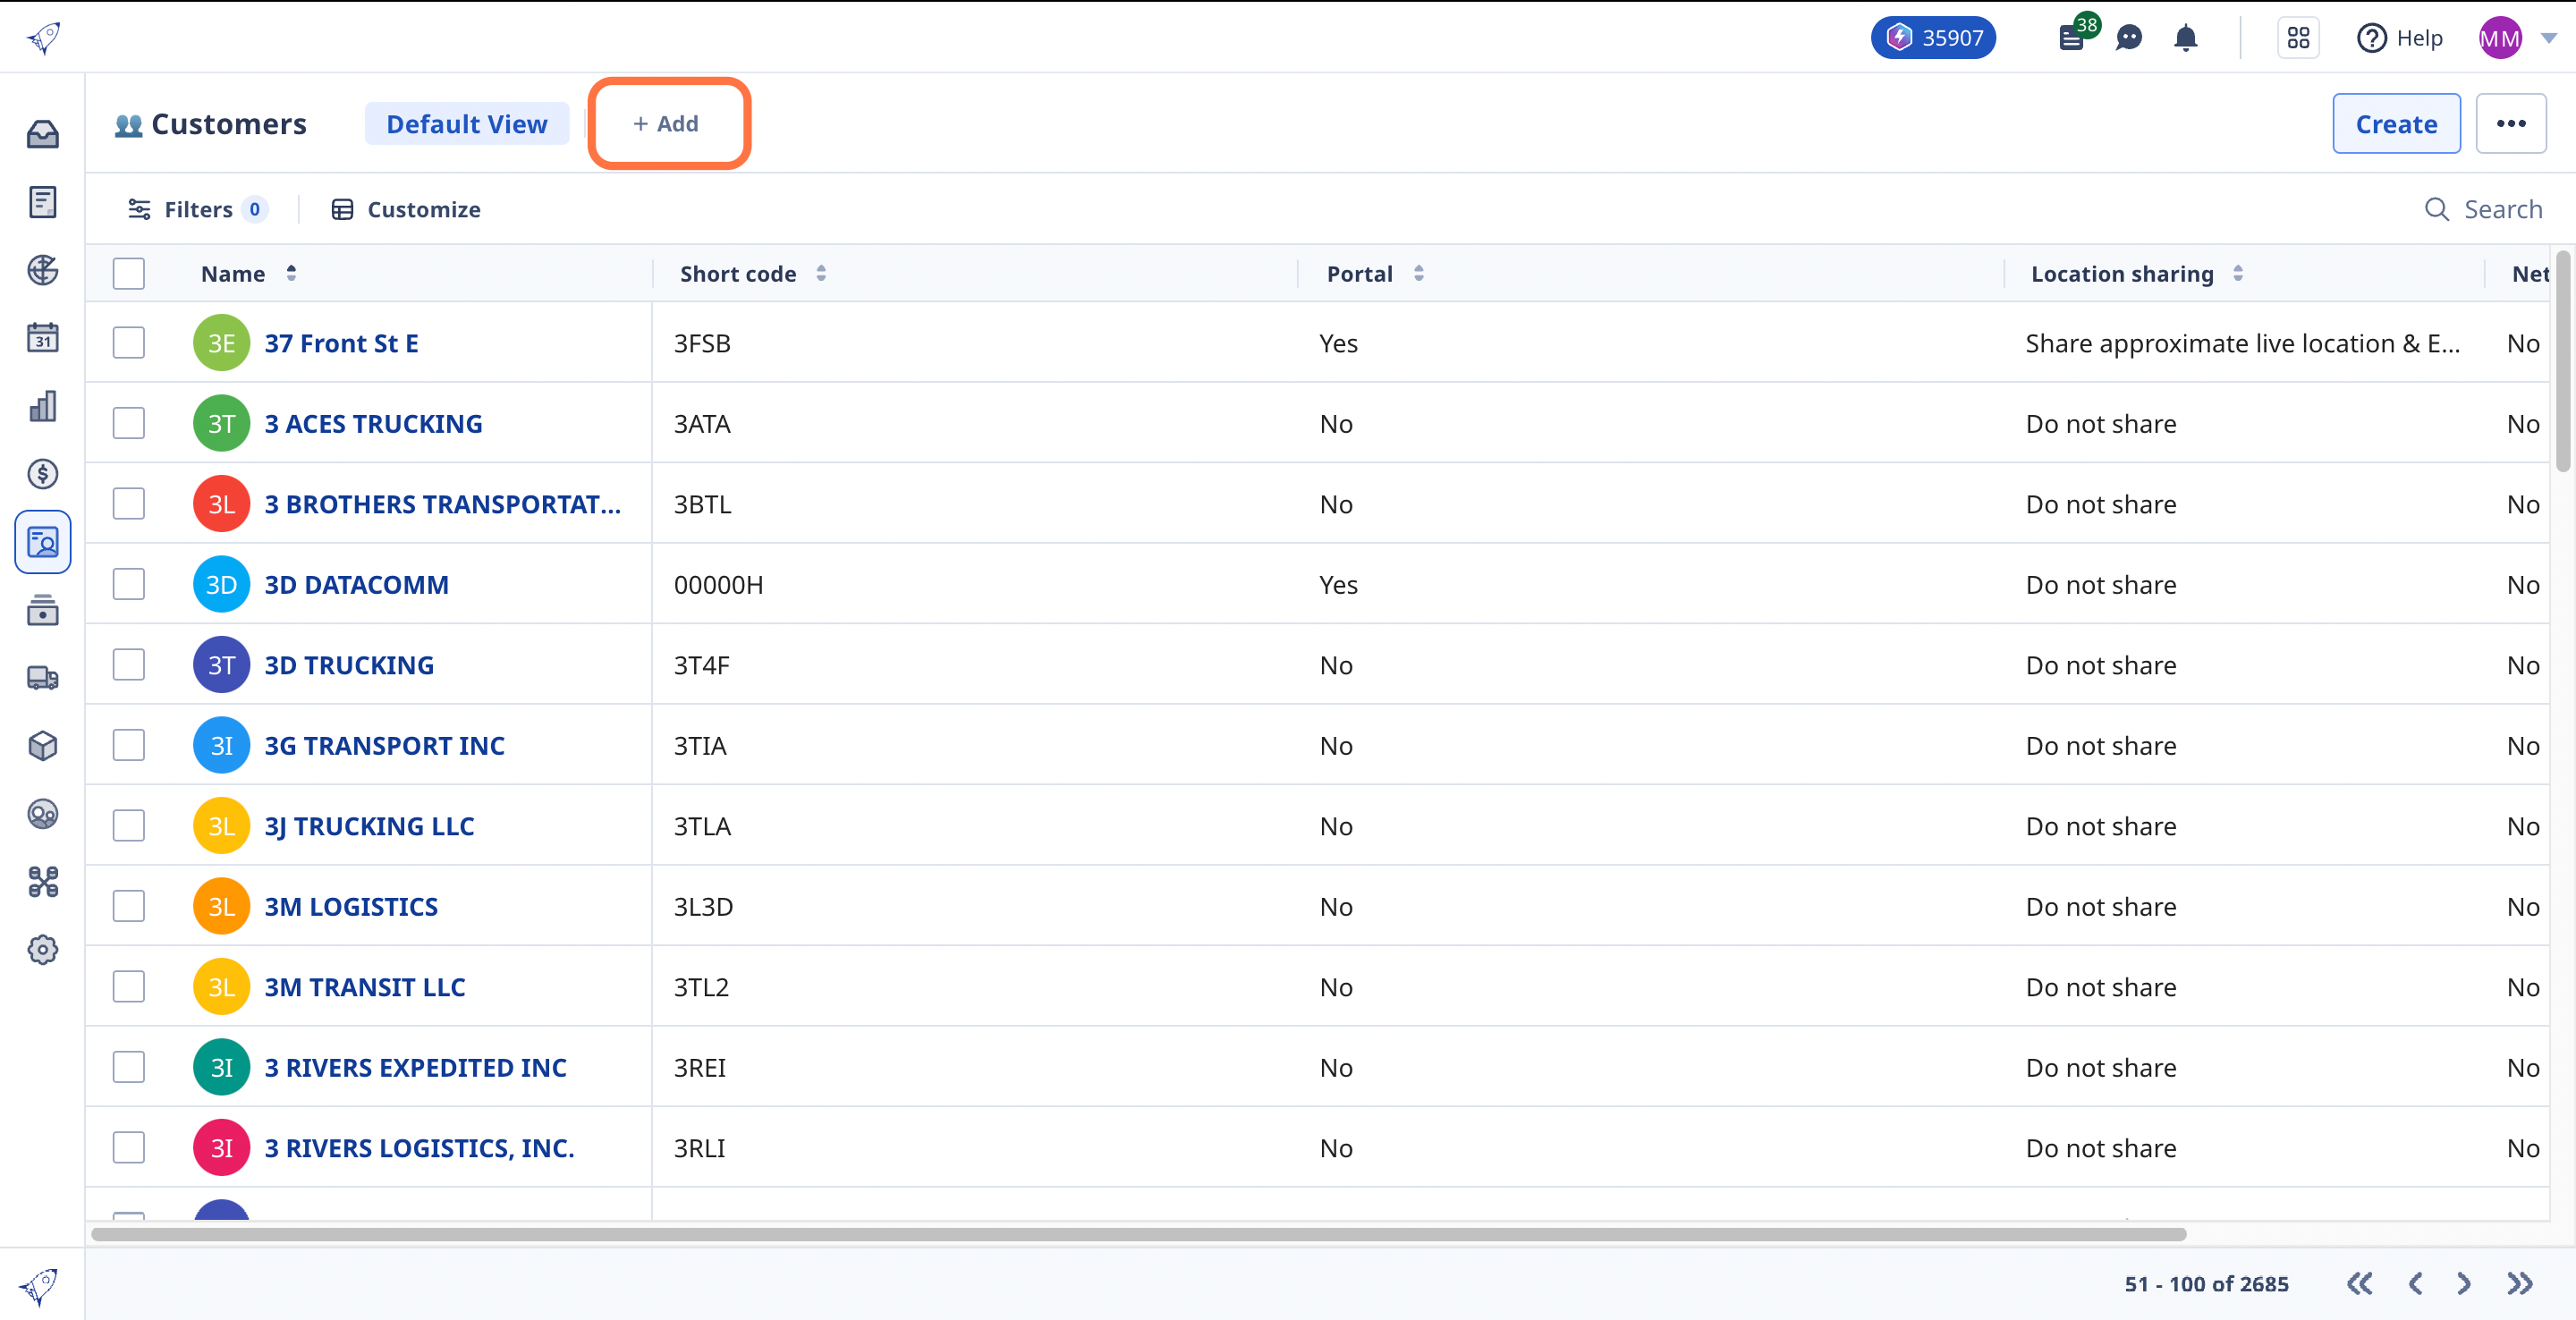
9. Save your views
Click '+Add' to create and save custom views with filters and columns for all your team to use.
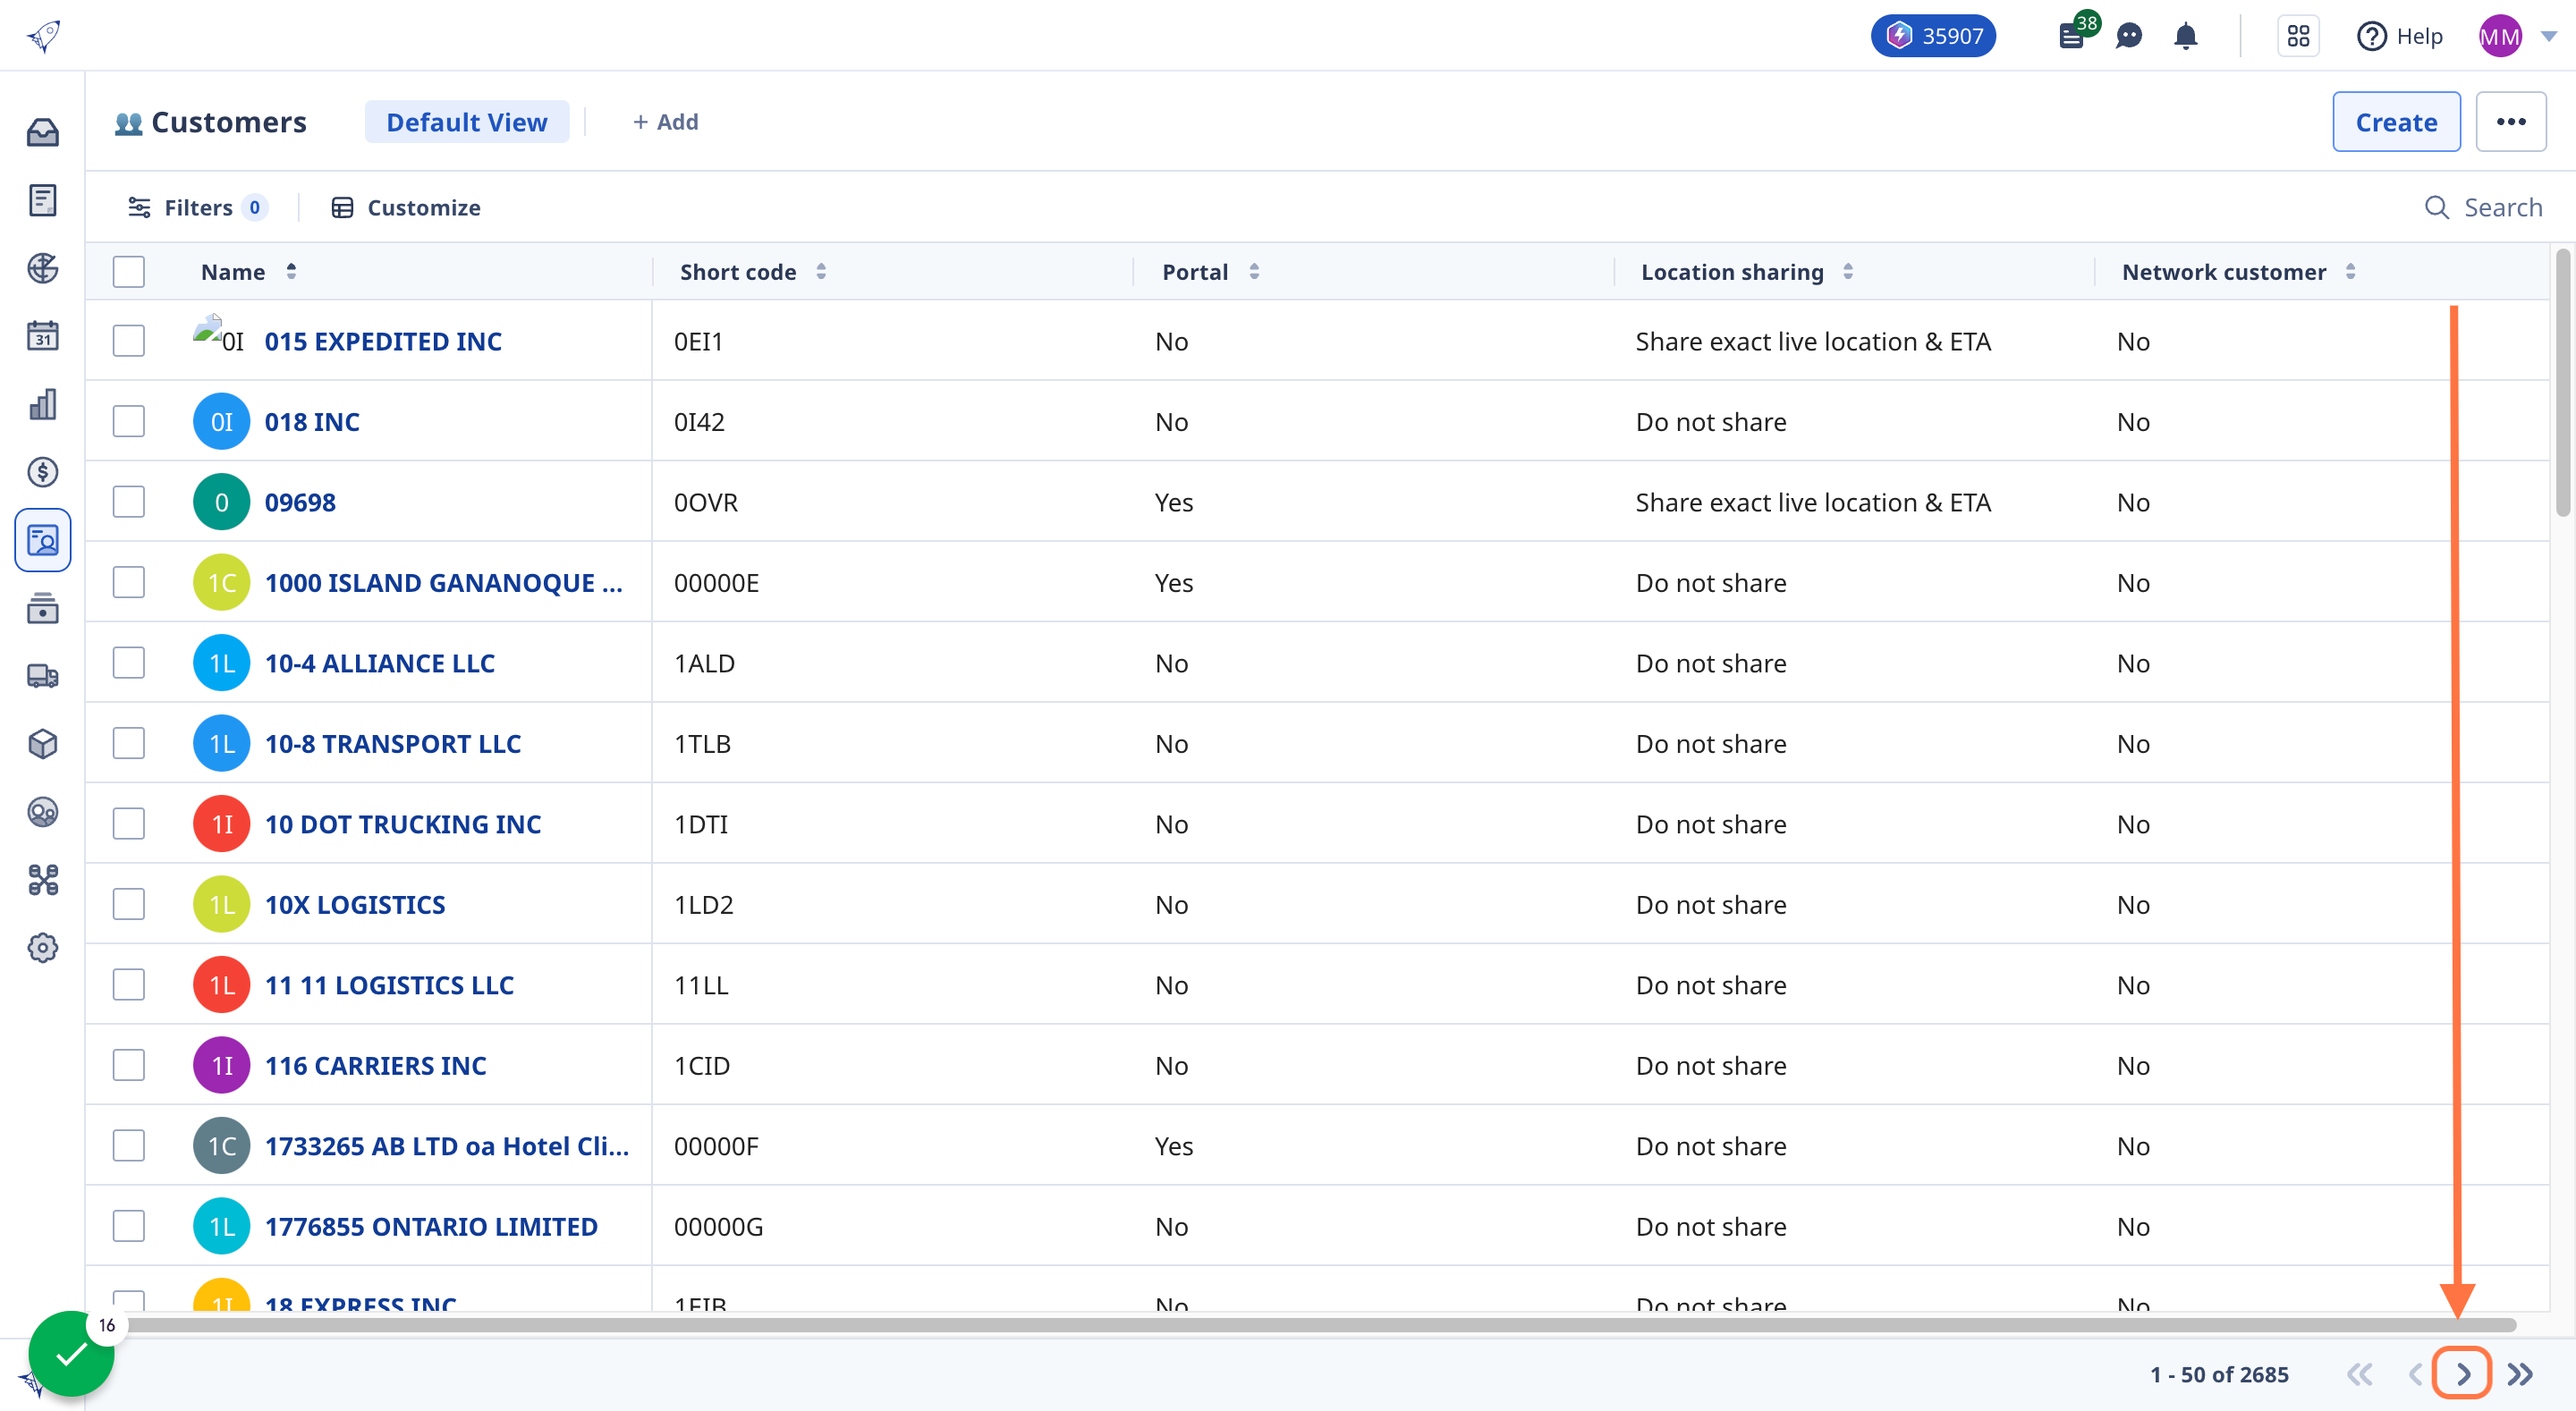
10. Search through the list
You can scroll through the list of Customers displayed if you have multiple pages.
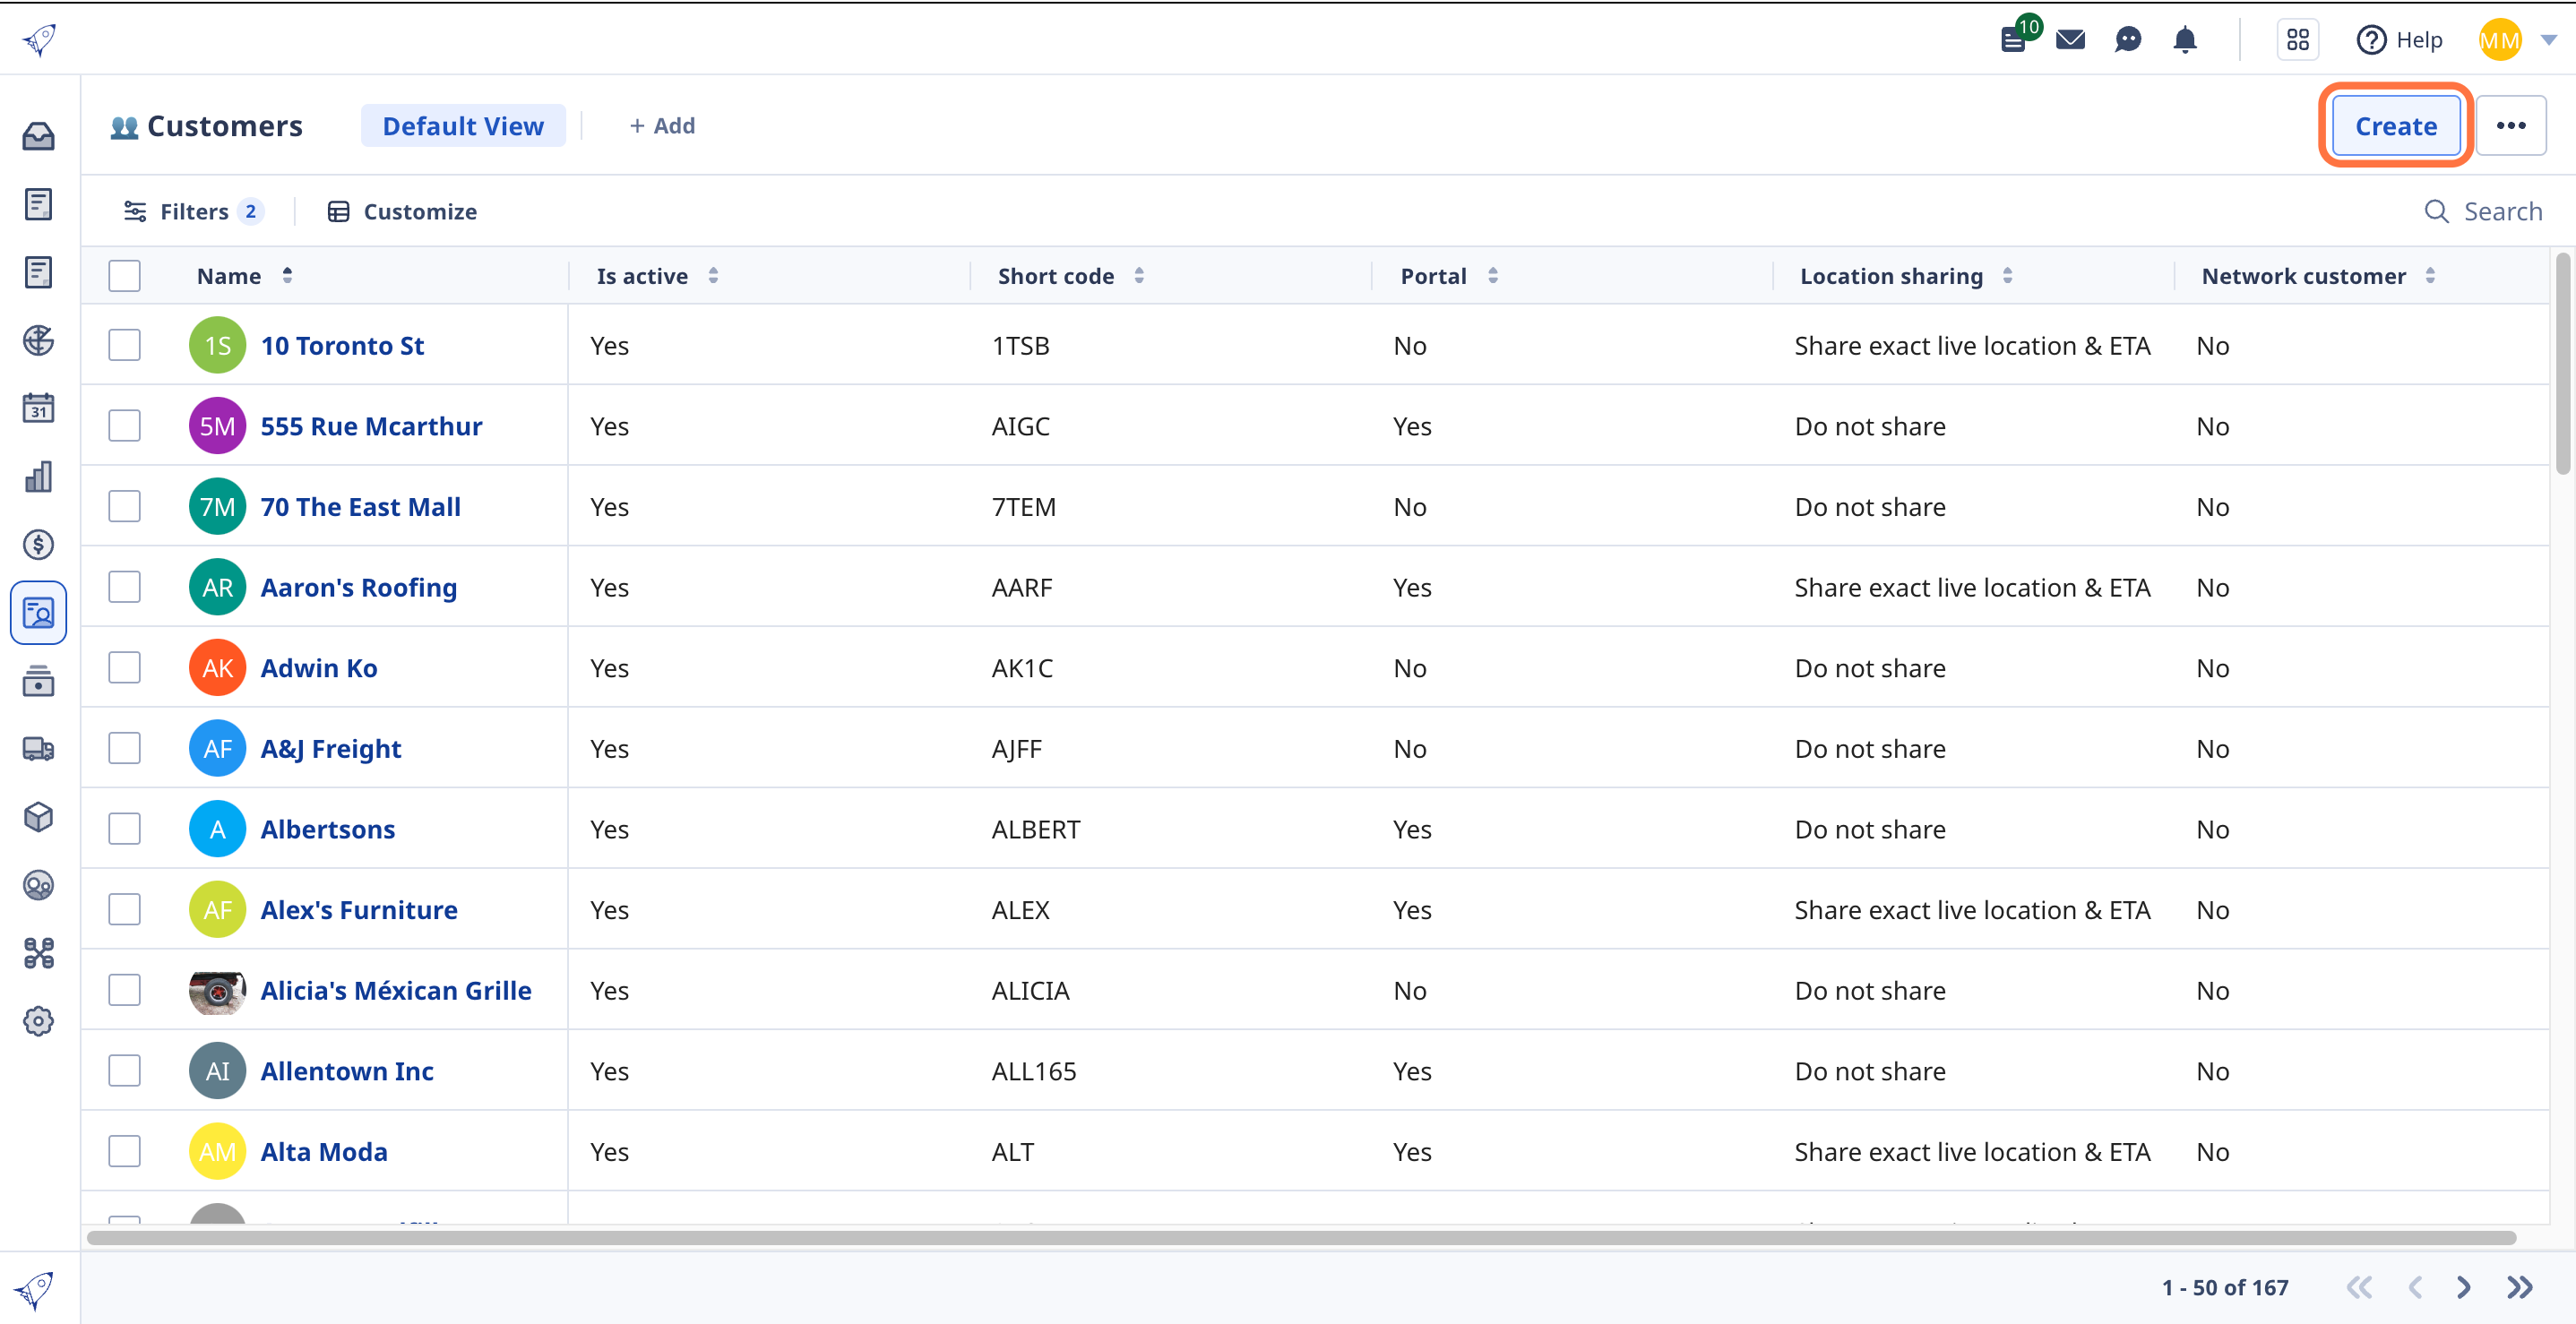
11. Create new customers
Create a new customer by clicking the 'Create' button on the top right.
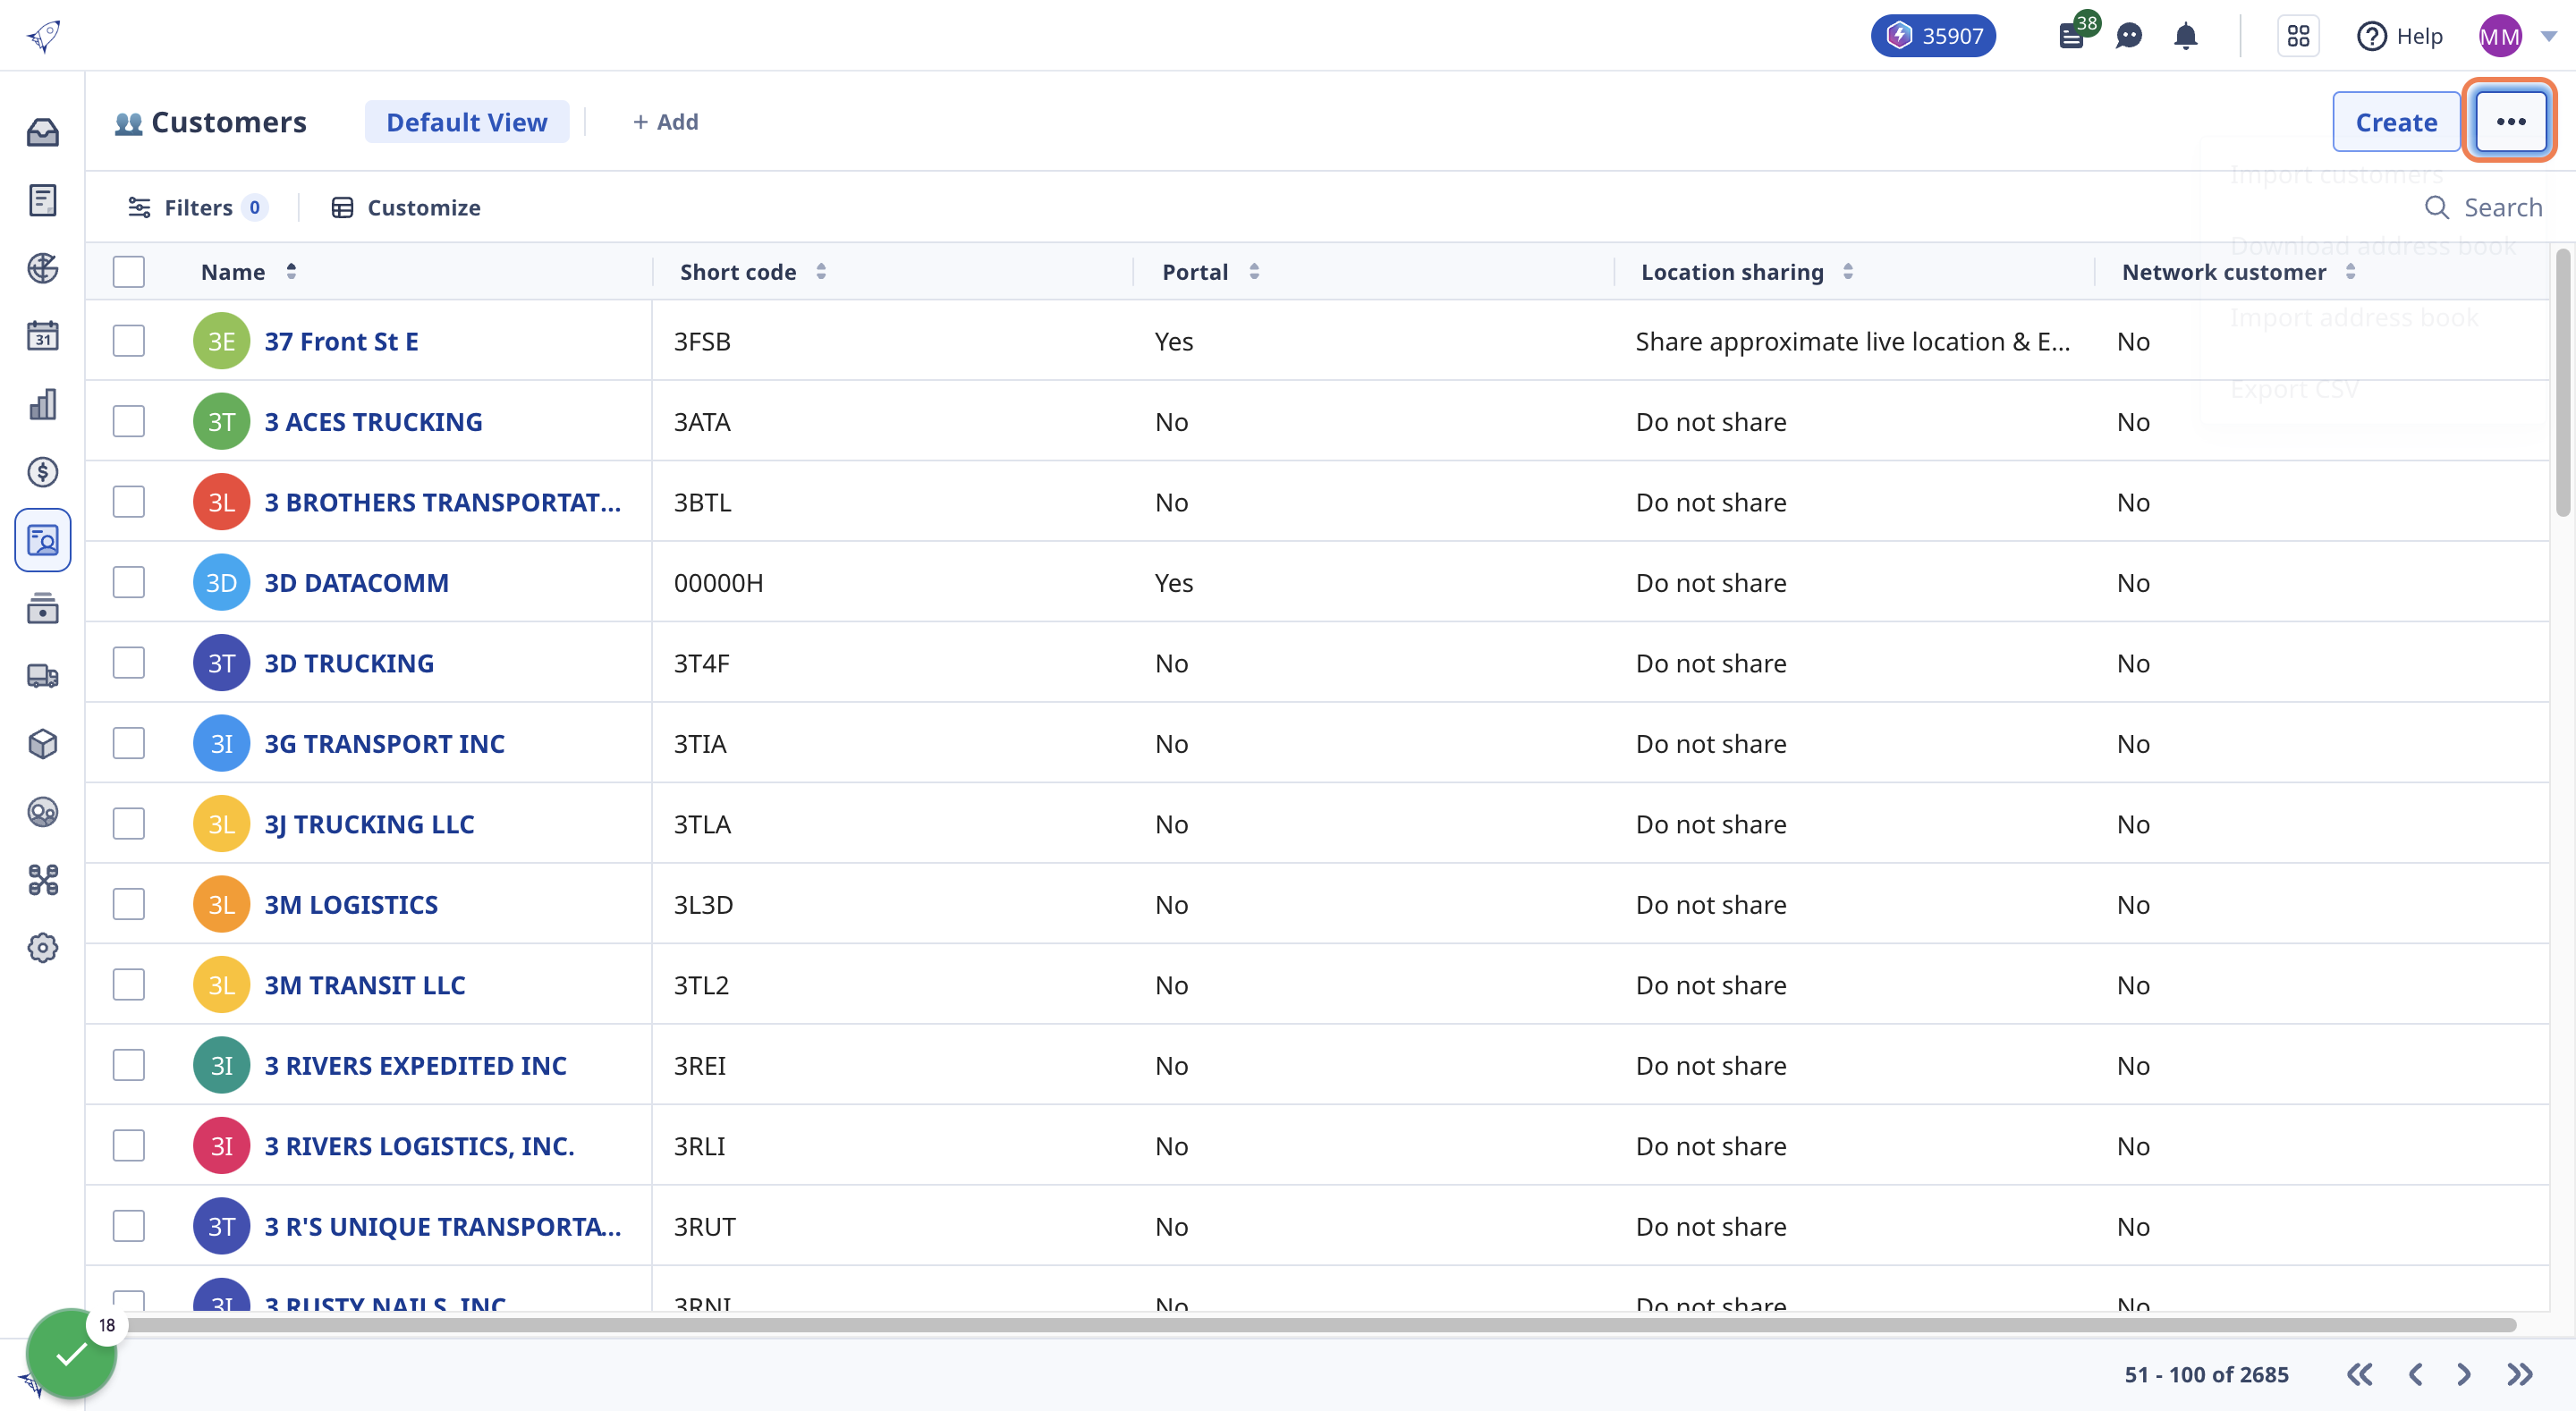
12. Download your data
Using the three dots, you'll have options to import and export your customers.
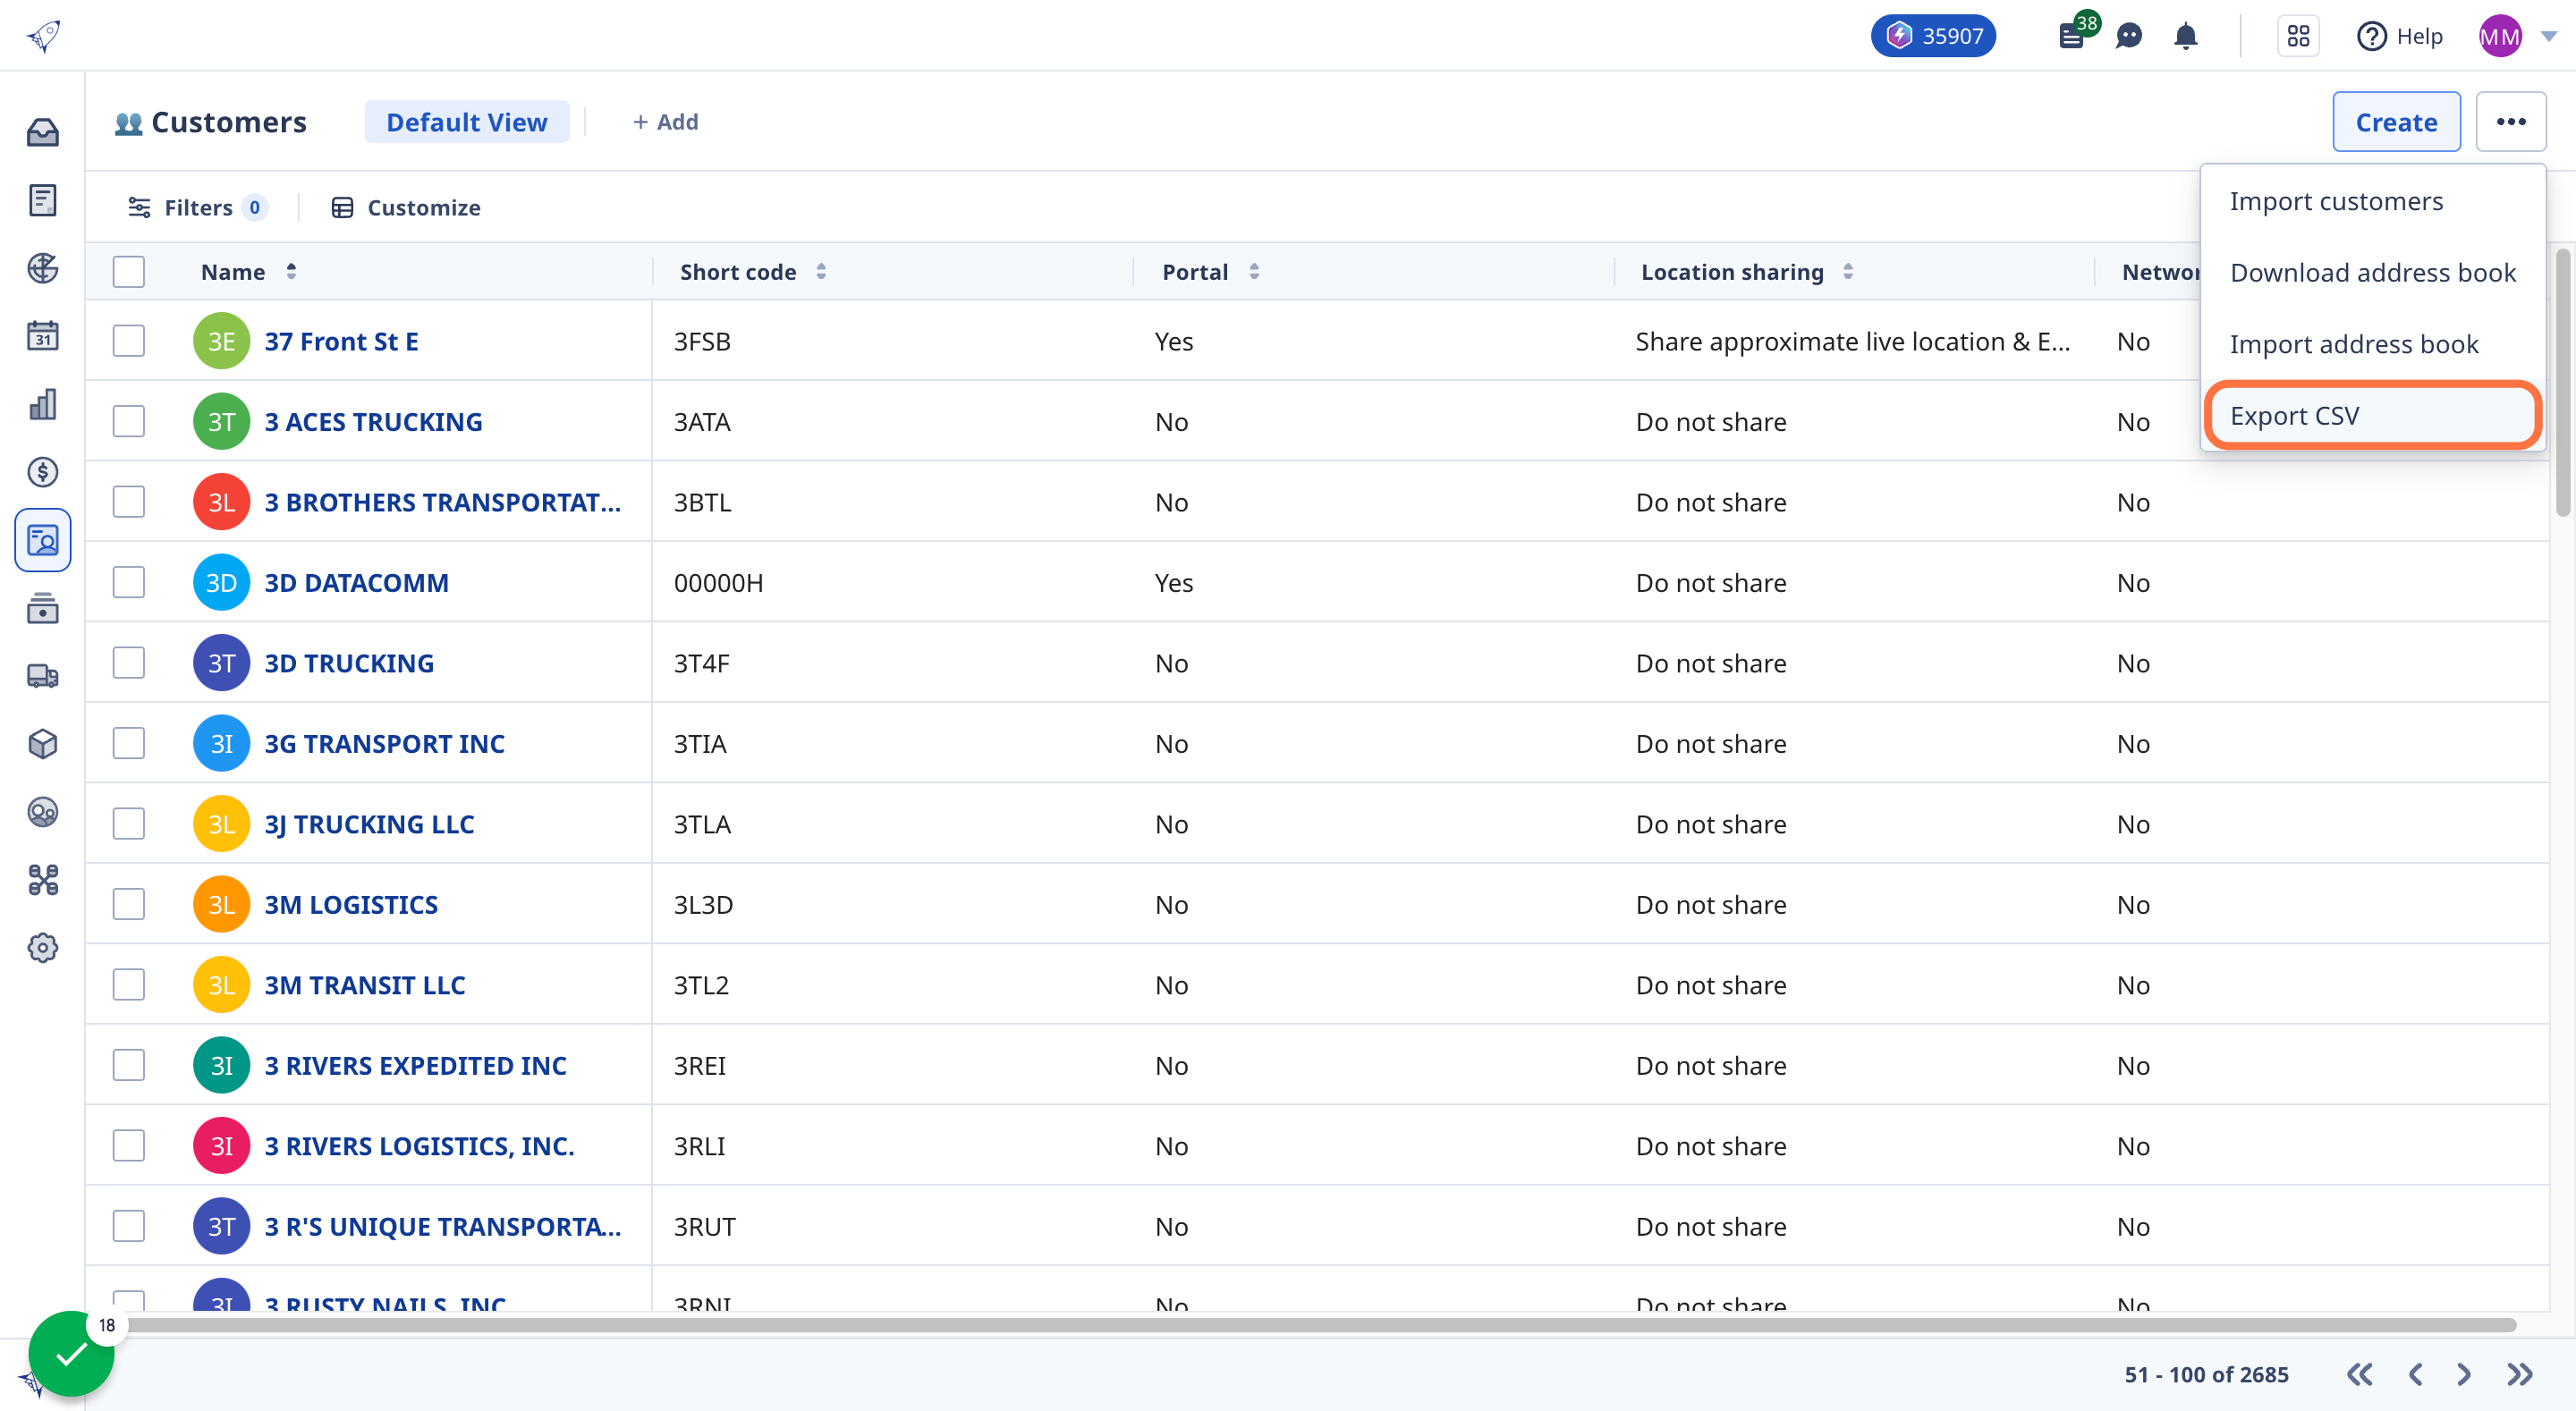
13. Click on Export CSV
Export what you see, exactly as you see it. Adjust the size of your columns to add more or less information.
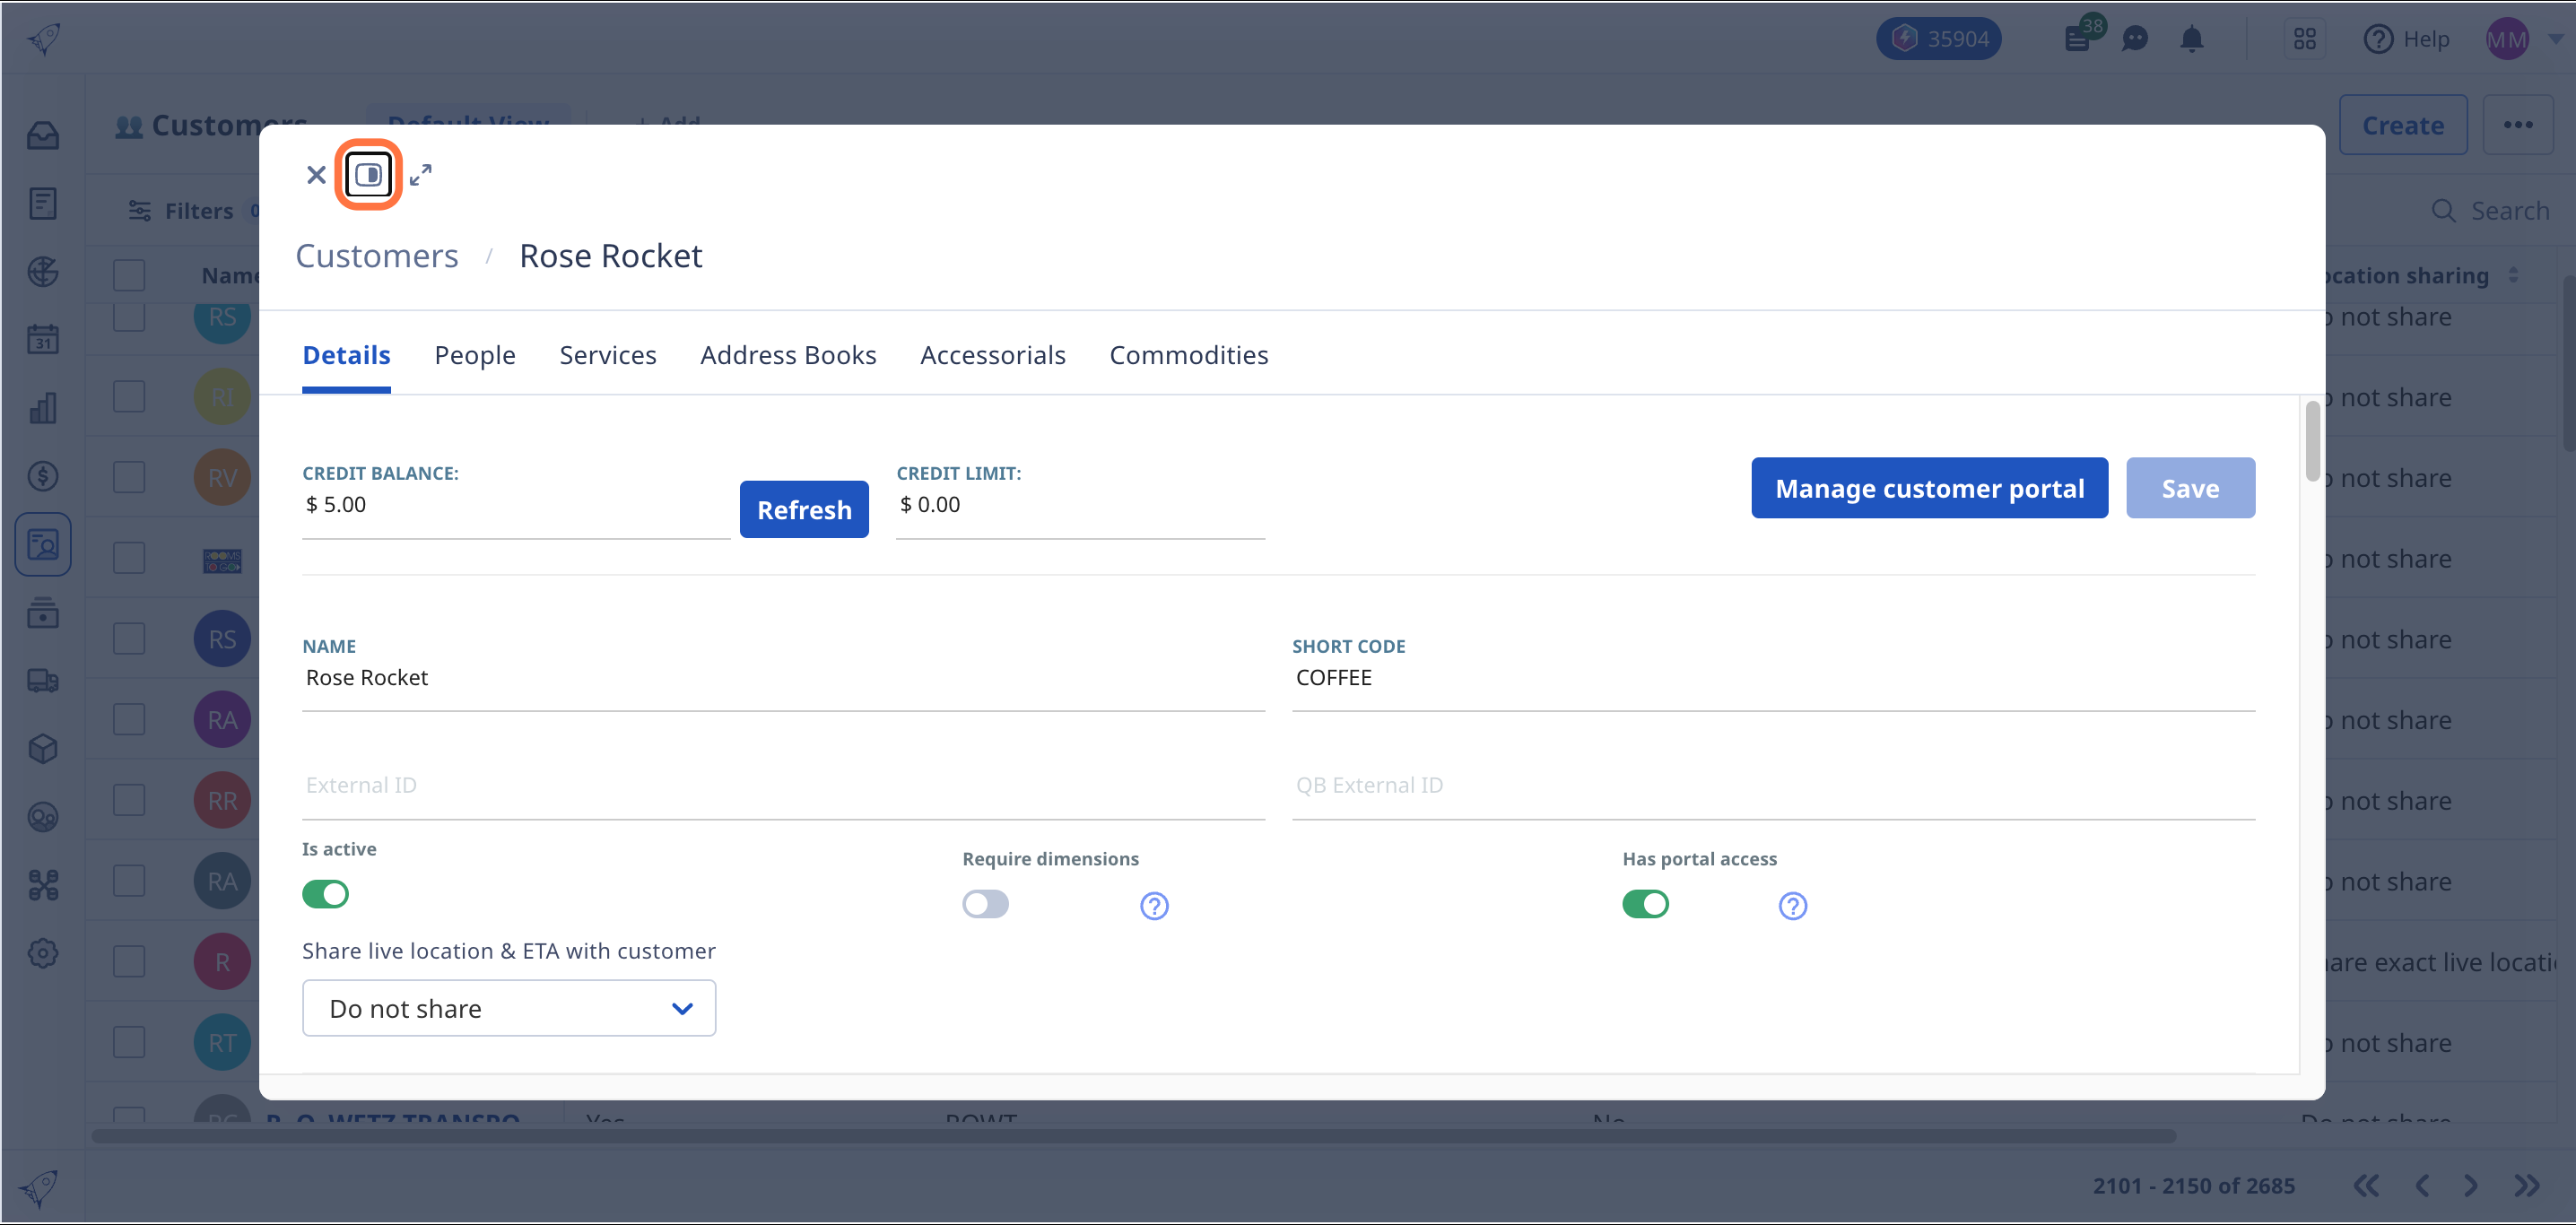
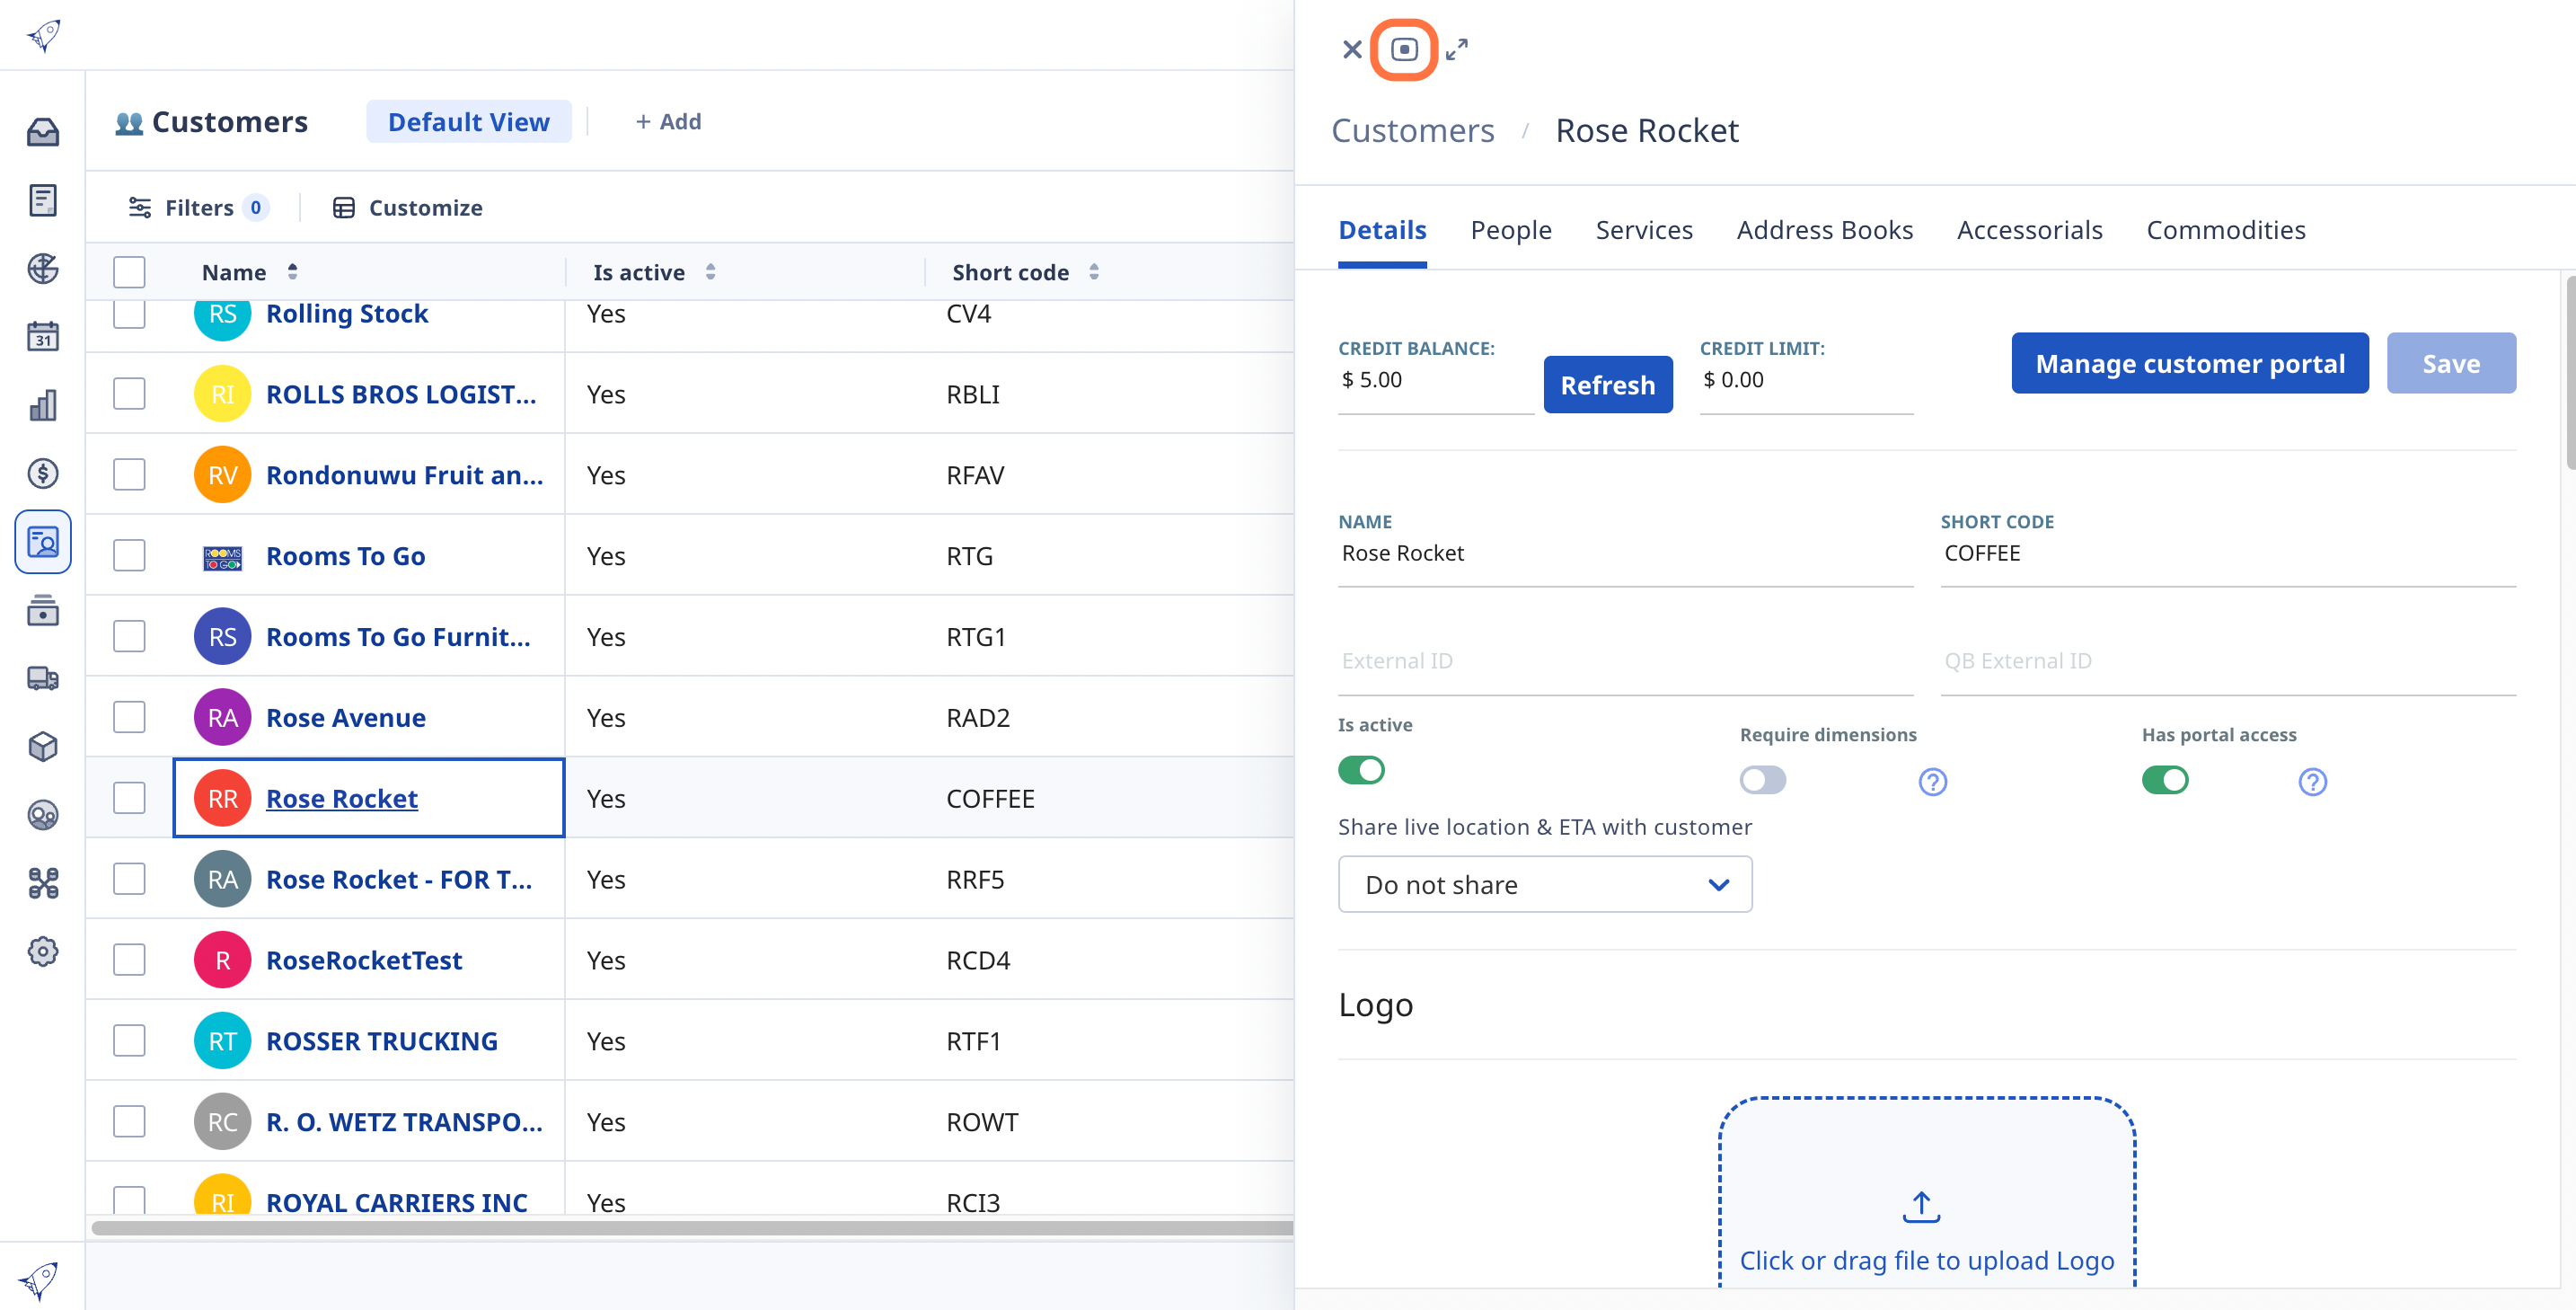
14. Click on the customer's name to view the profile
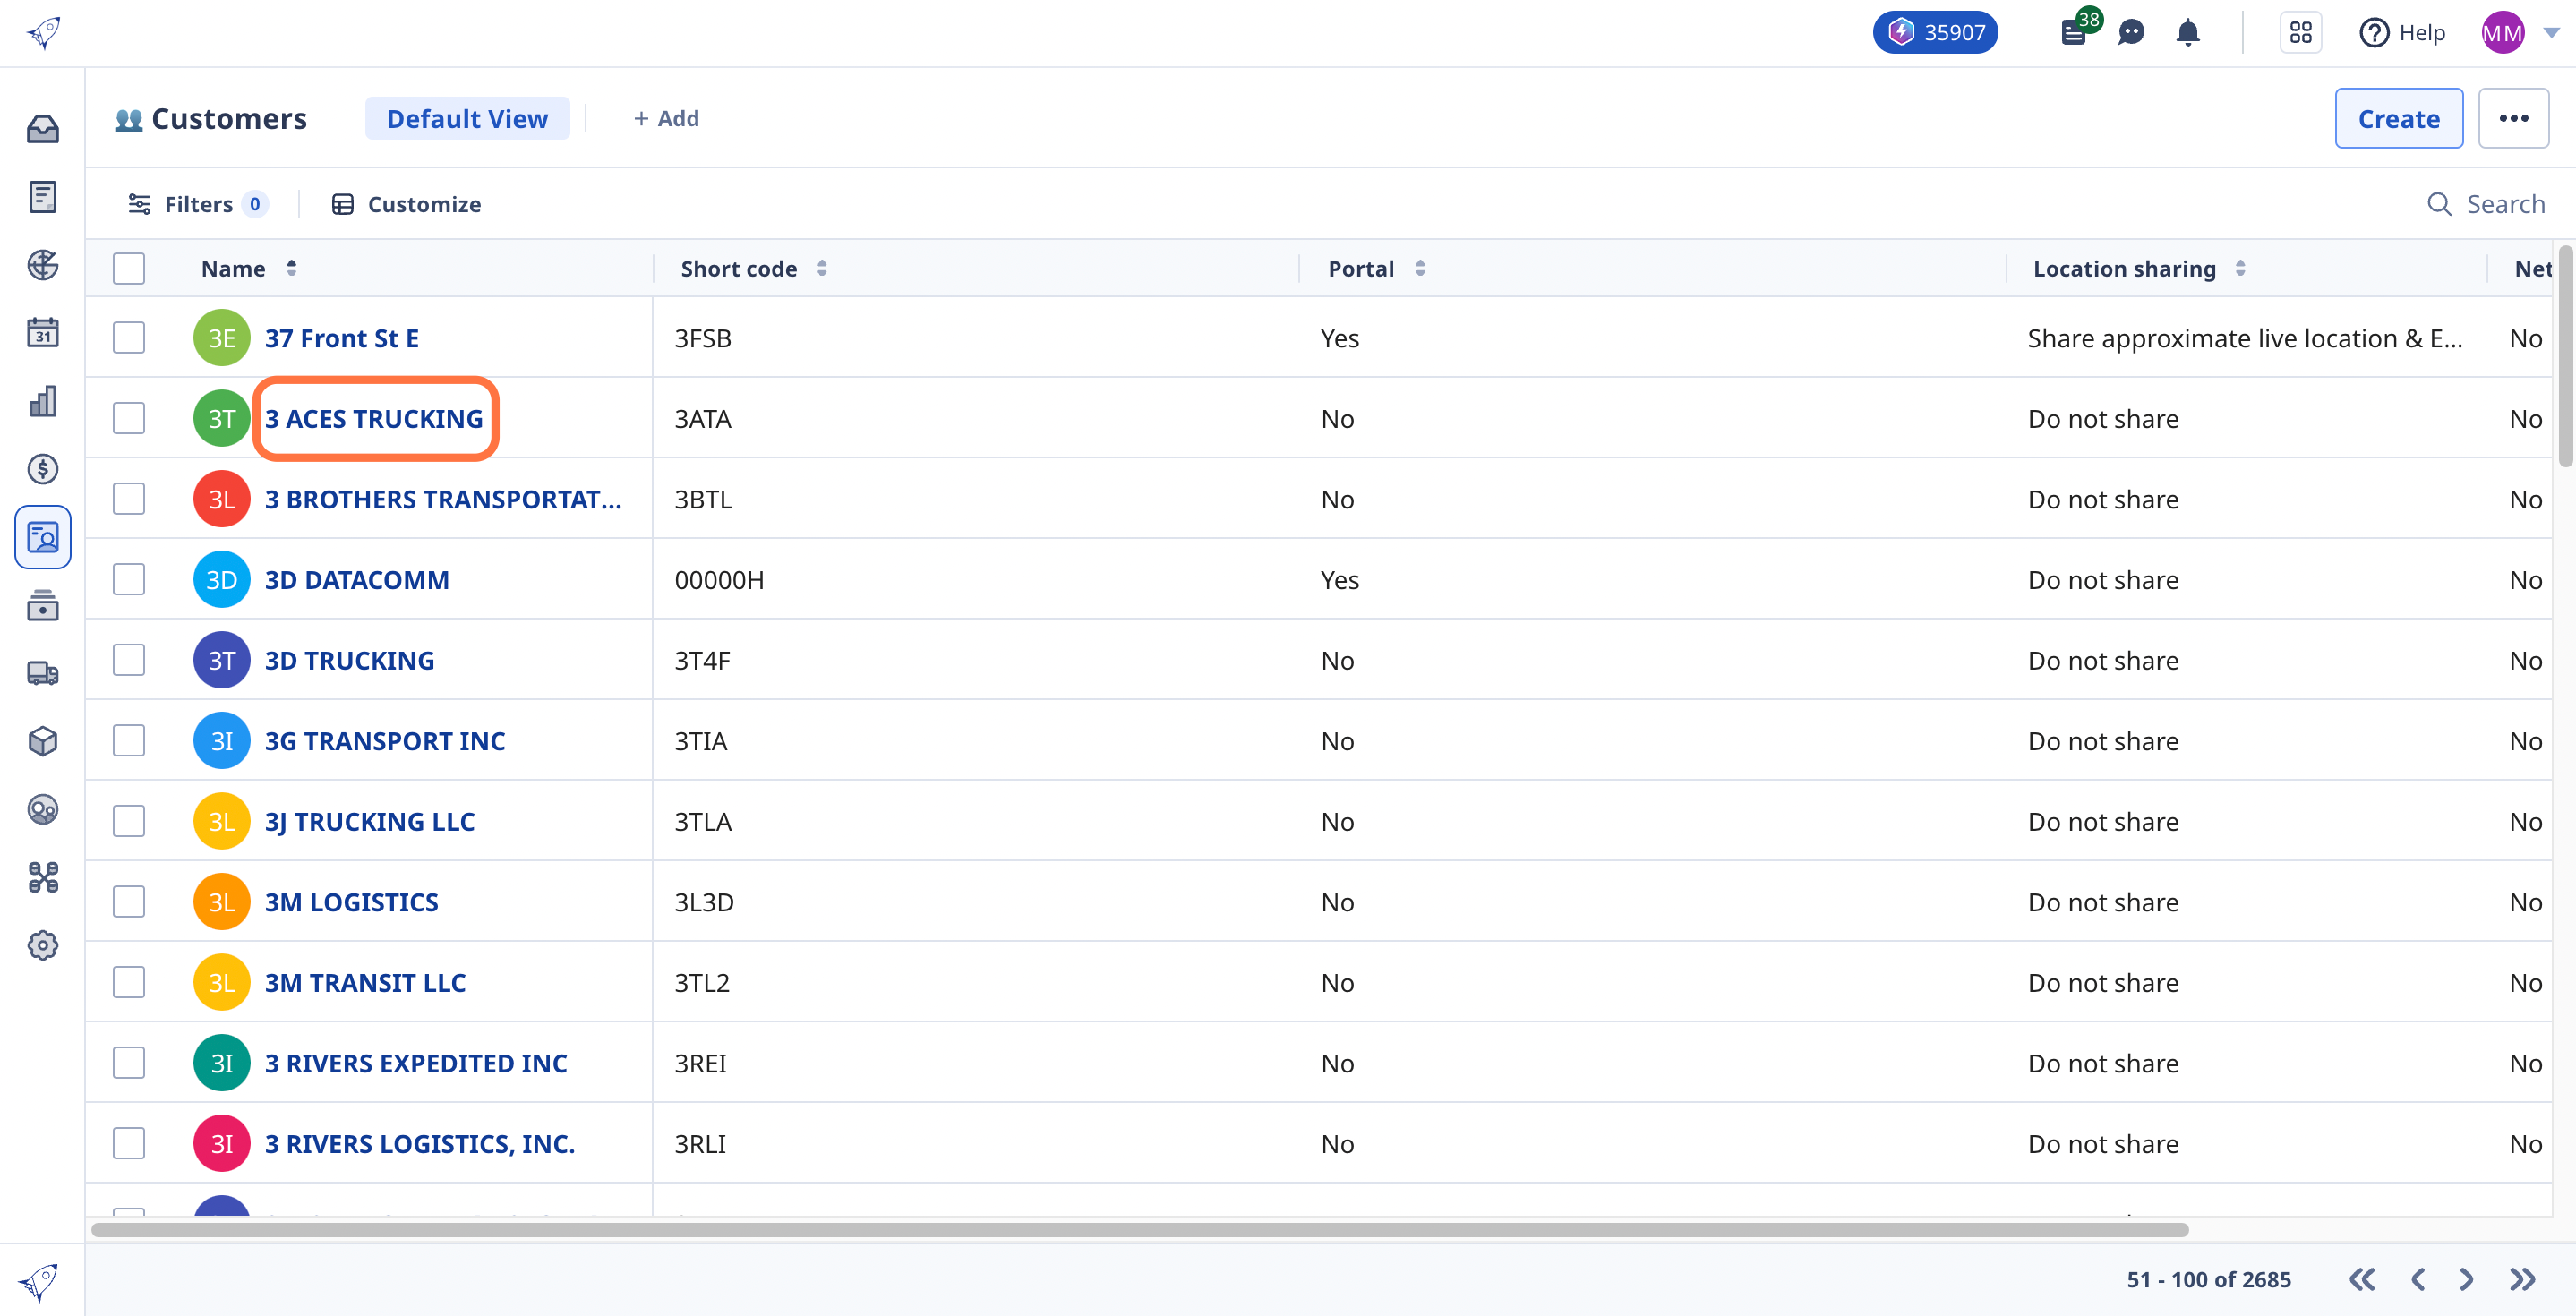
Switch between center-view and side-view to view your customer's profile details.