Outlined below are the steps required to map specific fields from Rose Rocket to QuickBooks. These steps are required to be taken in their entirety before you can export invoices to QuickBooks.
Please note that your Quickbooks account does not need to be associated with a bank account prior to set up as this can always be completed at a later time.
Admin users will be able to complete this action.
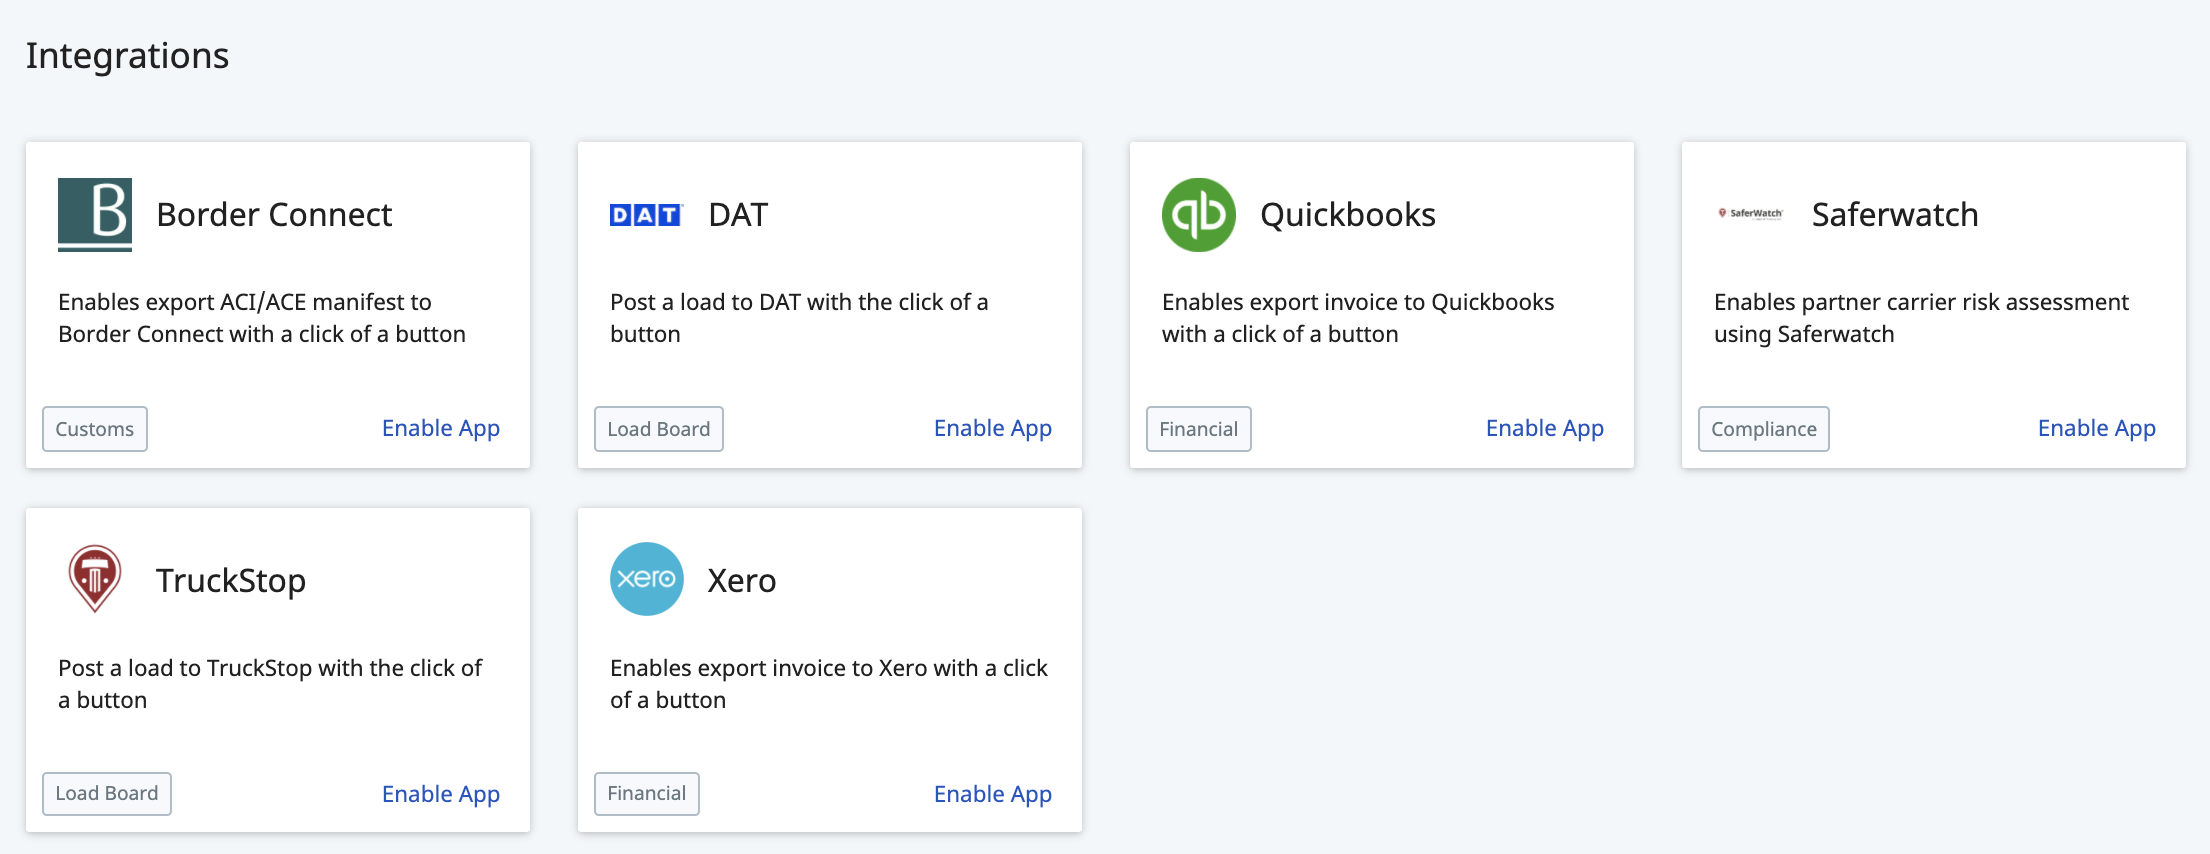
To locate your Integrations module:
- From the menu on the left side of the screen, select the Integrations module

- This will redirect you to the Integrations Page

To update your QuickBooks Settings:
-
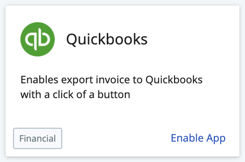
- From the Integrations page, locate the QuickBooks tile

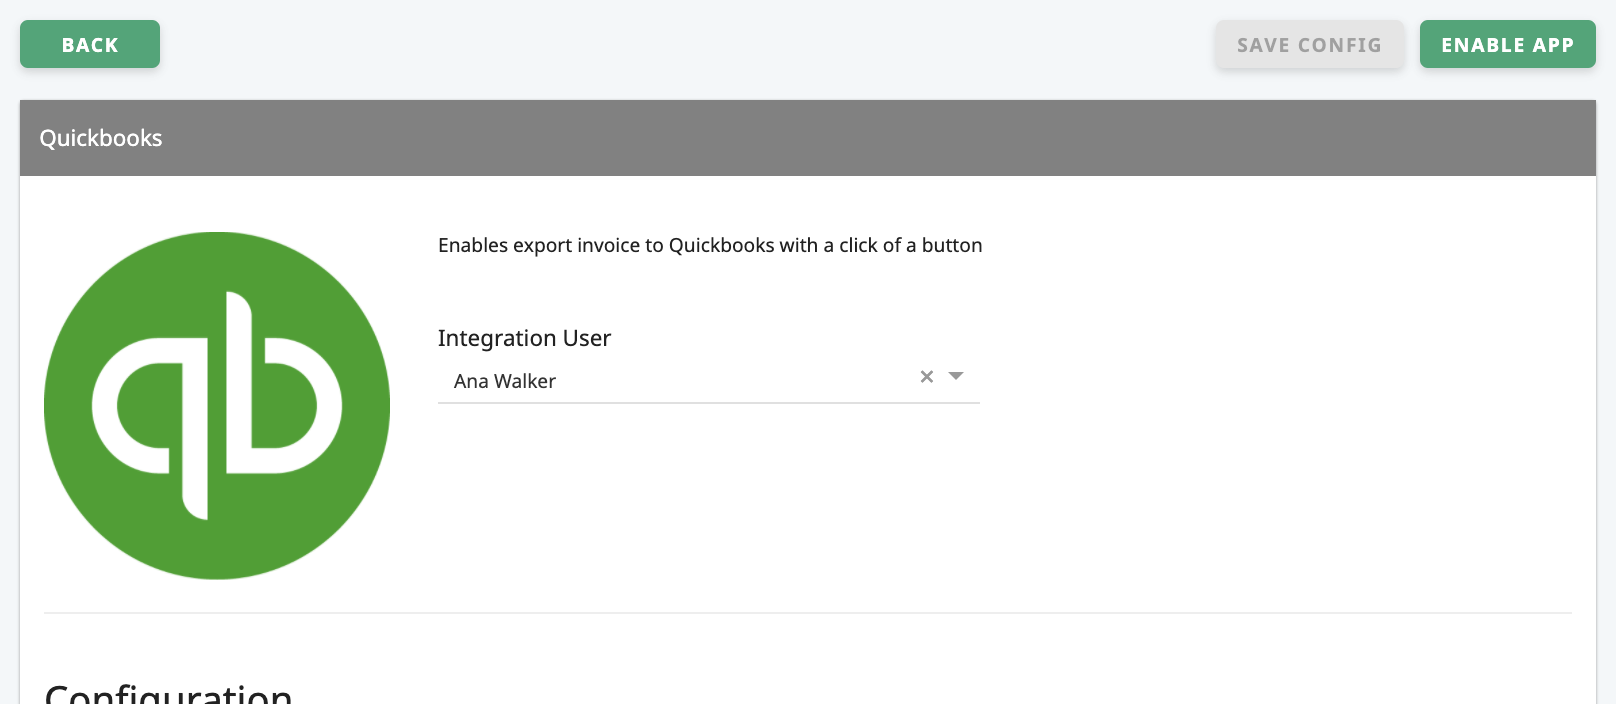
- Click anywhere on this tile to open your QuickBooks Settings

- This will open up your QuickBooks Settings in a new page

- Scroll down to the QuickBooks Settings section

- Within this section, scroll down to the Invoice Dynamic Field Mappings heading

Everything below this heading is part of your mapping settings.
The label on the right is the item in Rose Rocket, and the field on the right allows you to select which label you want to link it to in QuickBooks. - You can fill out every field if you wish to at this time, but only the following are necessary to allow you to export Invoices to Quickbooks at a basic level:
- Invoice Item Types Mapping
- Invoice Pay Terms Mapping
- Tax Settings
- Multi-Currency Settings
- Make sure that the headings listed above all contain selections before you try exporting to QuickBooks, but you are also welcome to make updates to the other sections at any time if you need them
- Once your changes have been made and you are ready to save them, scroll back up to the very top of the page and click "SAVE CONFIG"

- From the Integrations page, locate the QuickBooks tile
Assitance with mapping your Rose Rocket fields to QuickBooks fields is available but usually requires a scheduled call. To schedule a call, please reach out to your Solutions Engineer or to our Support Team at support@roserocket.com.
-01%20(Custom)-1.png?height=120&name=Rose%20Rocket%20Logo%20(Alternate)-01%20(Custom)-1.png)