Admin users will be able to complete this action.
To locate your Integrations module:
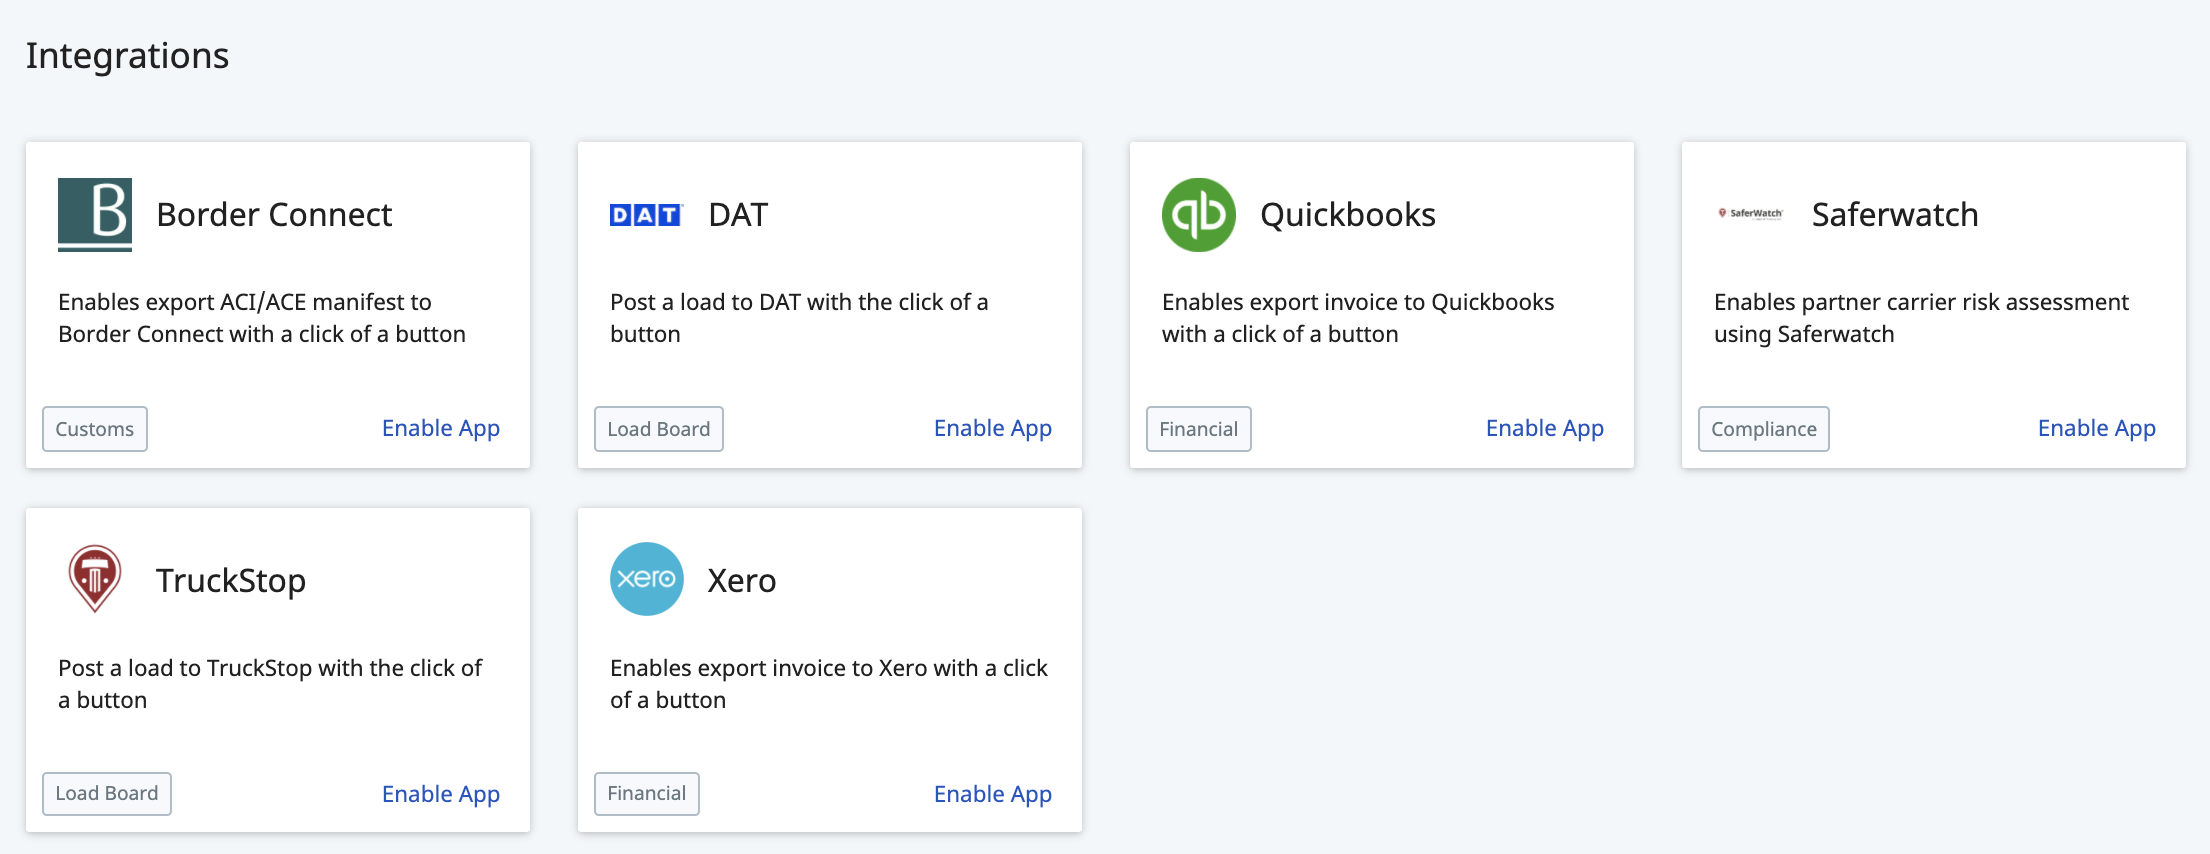
- From the menu on the left side of the screen, select the Integrations module

- This will redirect you to the Integrations Page
To update your QuickBooks Settings:
-
- From the Integrations page, locate the QuickBooks tile
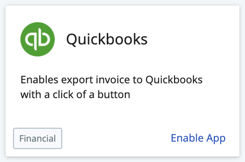
- Click anywhere on this tile to open your QuickBooks Settings

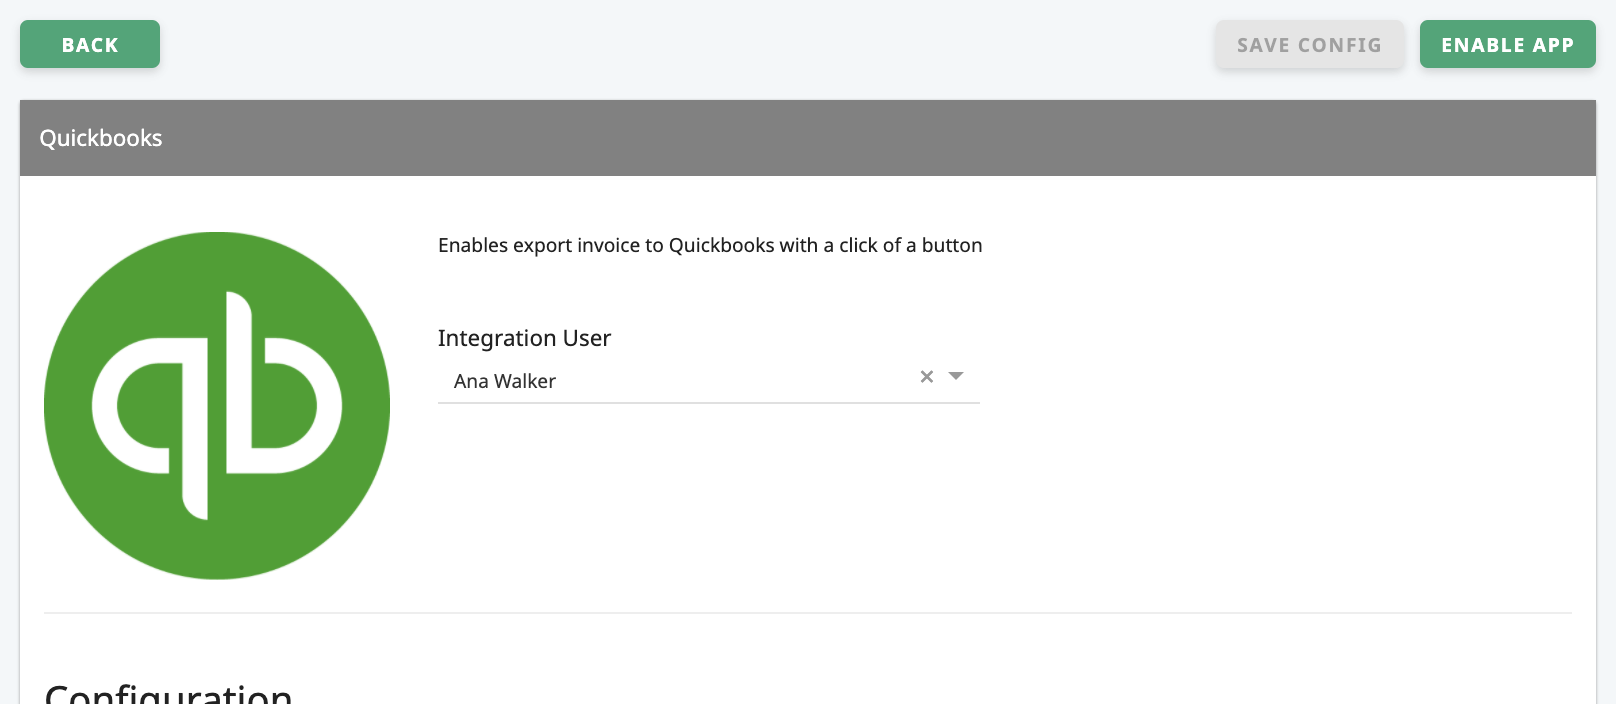
- This will open up your QuickBooks Settings in a new page
- Scroll down to the Configuration section
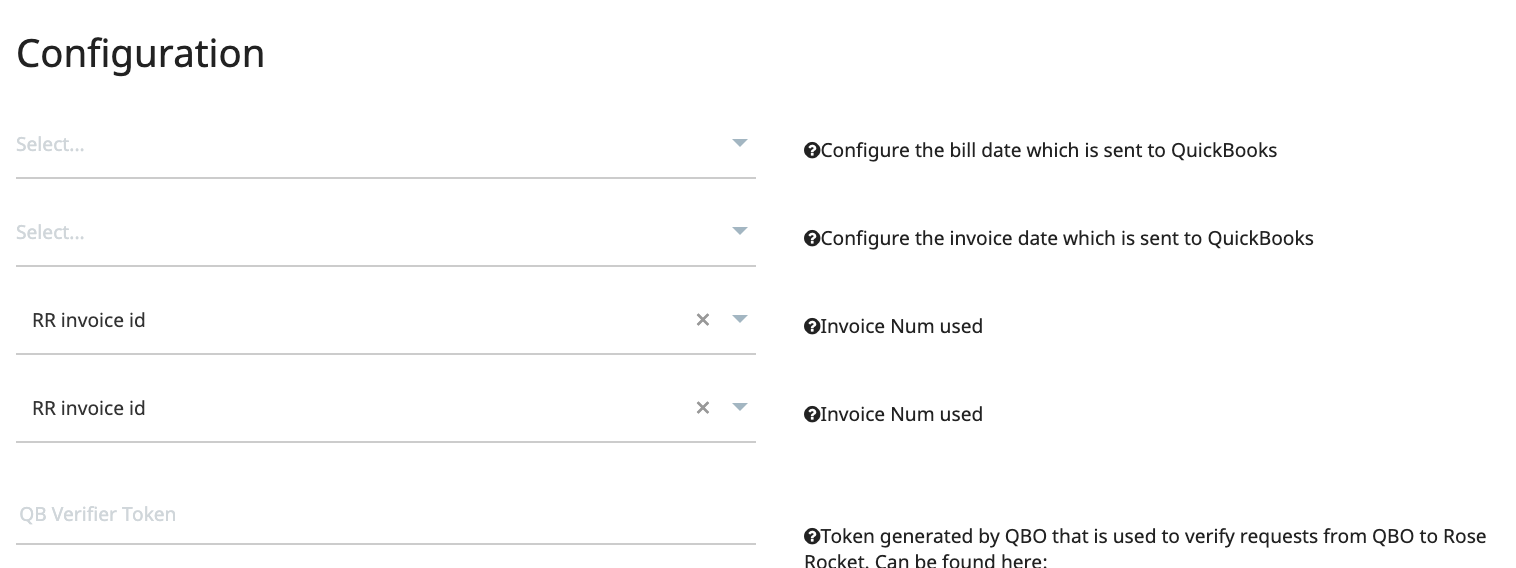
- From this section, locate the line titled:
"Configure the invoice date which is sent to QuickBooks"
- Click the "Select..." menu to expose the potential options for this setting

- From the menu, select the Bill Date configuration you wish to use in QuickBooks
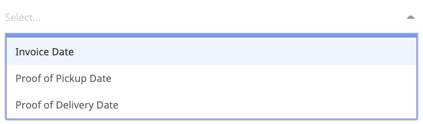
- Click your selection from the menu so that it appears within this field

- Once any changes are made regarding your integration, you may notice that a pop-up will appear at the top of the page prompting you to save your changes:

If you have other changes to make here or do not wish to save any changes just yet, you can ignore this. However, the pop-up will remain visible until you have saved your changes or once you navigate away from the page. This is to ensure any changes made to your integration settings are saved, and it is persistent as these are important settings within your software. - Once your changes have been made and you are ready to save them, you can always click "SAVE NOW" on the persistent pop-up at the top. Alternatively, scroll back up to the very top of the page and click "SAVE CONFIG"
- From the Integrations page, locate the QuickBooks tile