Table of Contents
You can upload any .csv, .tsv, .txt file with any set of columns as long as it has 1 record per row. The system will match your spreadsheet columns to the right data points. You'll be able to clean up or remove any corrupted data before finalizing your report.
Our Customer Import Template is also available for download here.
Rose Rocket offers flexibility with our Customer Import template. There are 29 data points that you can upload and 5 of those fields are mandatory. Those are indicated by an asterisk (*).
Proper Format And Best Practices
We’ve outlined key instructions for the fields below. Please make sure to follow closely as this information will either impact the success of the upload or the data will upload incorrectly.
- Customer Name: Must be unique to each customer.
- Short Code: Must be alpha-numeric, all uppercase, and between 3 and 6 characters. It is used to identify a customer profile within a Rose Rocket instance. The shorter the better as this directly impacts how long an order number or an invoice number will be.
- Currency: Defaulted to the country in the address if it's not filled out. You can only set one type of currency for each customer. This cannot be changed once set.
Tip:
When adding a customer that pays both in USD & CAD, add the currency type to the customer name to clearly identify which profile the order is for.
- Default Billing/Order Options:
- Shipper: The pickup location on the order defaults to the address on the customer profile.
- Consignee: The delivery location on the order defaults to the address on the customer profile.
- Third Party: Set it to third party if you never pick up from or deliver to the address on the customer profile.
- Invoice Emails: Emails must be separated with commas per column.
- Credit limit: Must be a whole number (2,000,000→2000000).
- Attach POP/POD: Select Yes to automatically attach POP/POD to Invoices. Attach POP should be defaulted to No and Attach POD should be defaulted to Yes.
- Require Dimensions: Forces the user to include dimensions when adding commodities on an order.
- Require Quote: Allows the user to skip the quoting process prior to dispatch or make quoting mandatory prior to dispatch. Select No if you do not always know the quote prior to dispatch.
- Default Tag: Must first create the tag in your Rose Rocket instance to upload tags.
- On Commission (by email): Users must be added to Rose Rocket prior to import.
- Flat Rate Per Order (commission): Must be a number. No symbols.
- Percent of Gross Margin (commission): Must be a number. No symbols.
- Percent of Gross Revenue (commission): Must be a number. No symbols.
Note:
Customer contacts cannot be imported at this time.
Instructions On How To Import Customers
1. Go to the Customers module.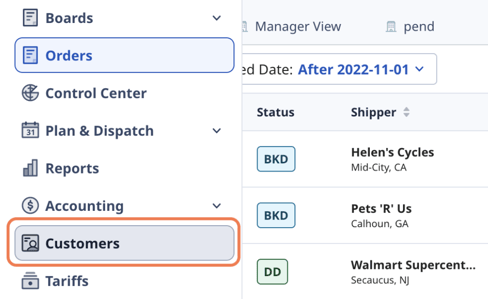
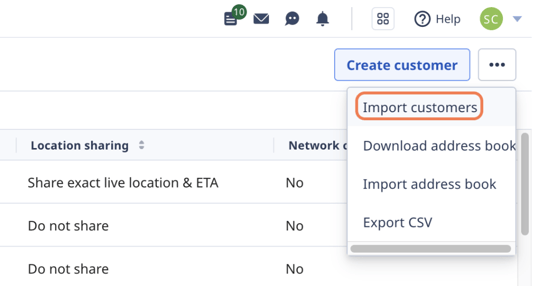
2. Click on the 3 horizontal dots on the top right and select Import customers.
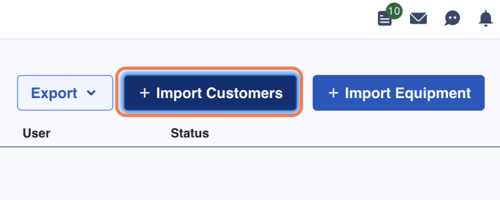
3. Click on + Import Customers.
4. Click on Upload data from file.

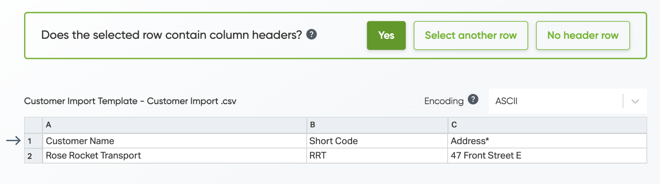
5. Confirm if the selected row contain column headers.
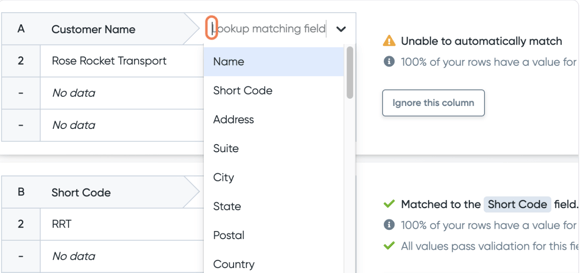
6. The system will automatically match your spreadsheet columns to the right data points.
If the fields don't match, you will see the "unable to automatically match" error. You can look up and select the matching field from the dropdown menu.
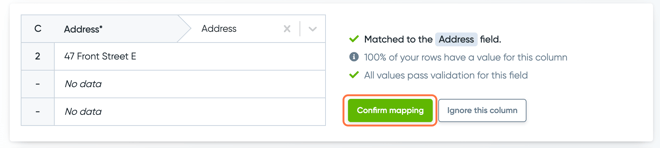
7. Ensure each column is matched to the appropriate field. Once confirmed, click on Confirm mapping.
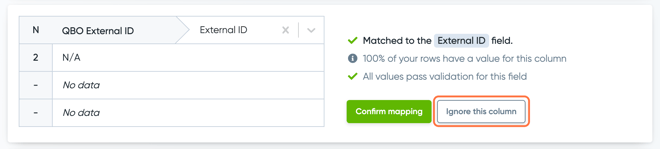
8. Click on Ignore this column if there is no data.
9. Click on Review once you are done mapping.
Click on Edit if you need to change the mapping again.

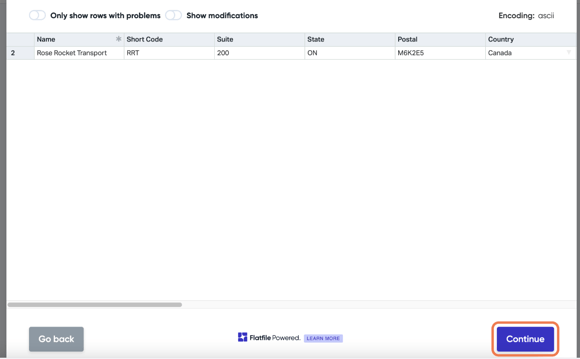
10. Click on Continue once you are done reviewing.
If there is a format issue, the field will be highlighted in red. You can hover over the field to see how to resolve the issue. You will receive an "unresolved format issue" error if you try to continue. Click on Go back to edit the mapping or edit the value directly on this page.
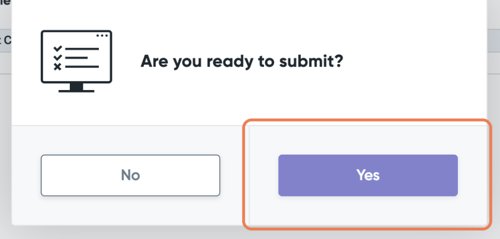
11. Click on Yes to submit. A popup window will tell you to check back in a few minutes.
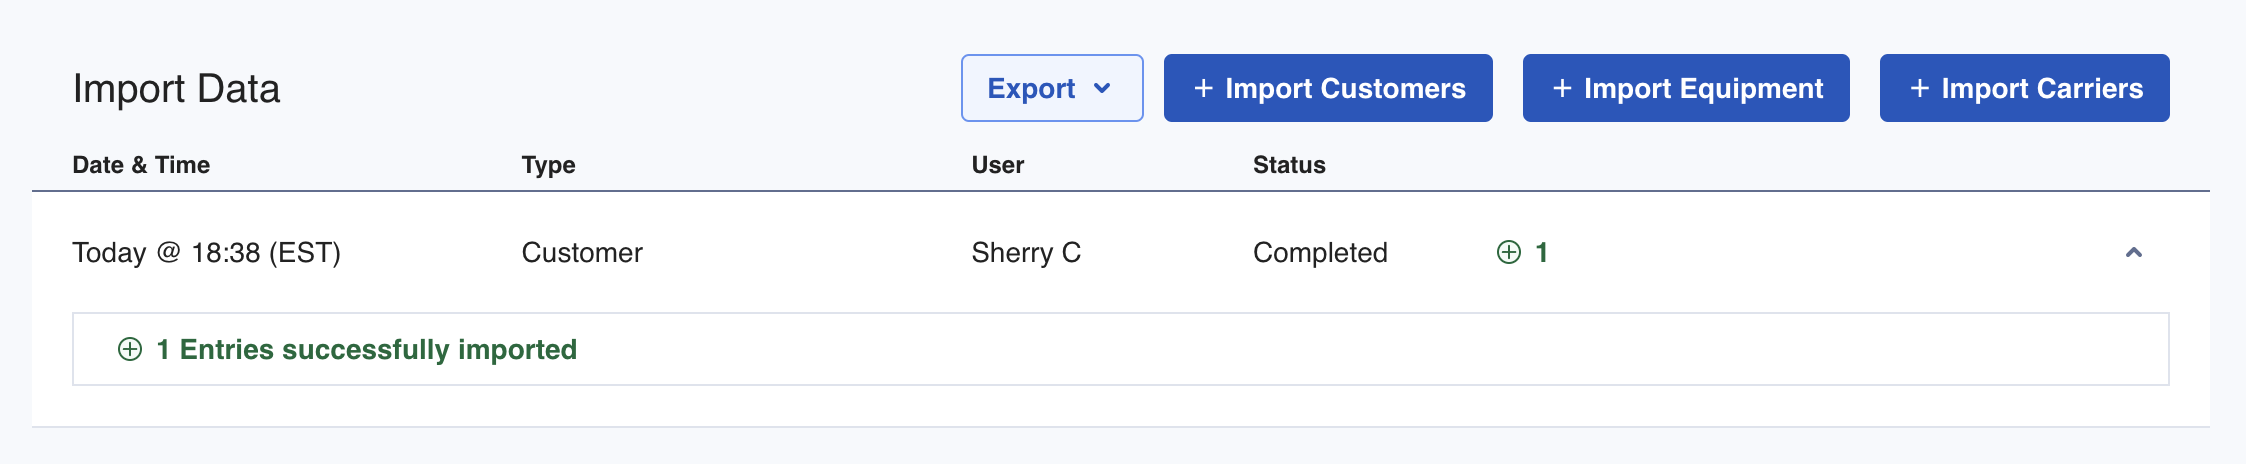
12. The Import Data page will show the upload progress.

13. Once the customers have been imported, the status will become Completed along with the uploaded date & time. You can expand it to see how many entries were successfully imported.