Table of Contents
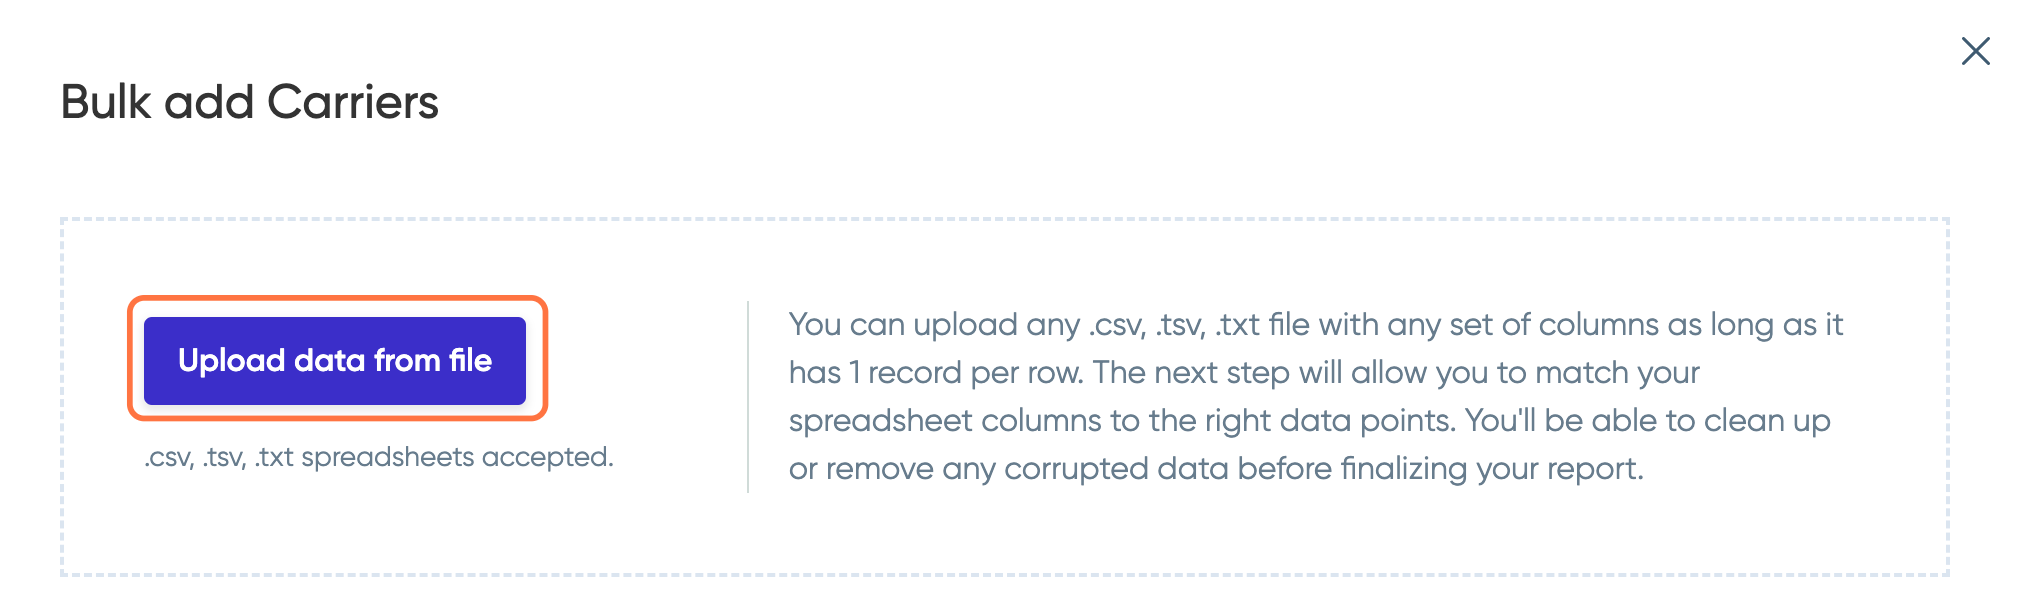
You can upload any .csv, .tsv, .txt file with any set of columns as long as it has 1 record per row. The system will match your spreadsheet columns to the right data points. You'll be able to clean up or remove any corrupted data before finalizing your report.
Our Carrier Import Template is also available for download here.
Rose Rocket offers flexibility with our Carrier Import Template. There are 46 data points that you can upload and 5 of those fields are mandatory. Those are indicated by an asterisk (*).
Proper Format And Best Practices
We’ve outlined key instructions for the fields below. Please make sure to follow closely as this information will either impact the success of the upload or the data will upload incorrectly.
- Carrier Name: Must be unique to each carrier.
- Short Code: Must be alpha-numeric, all uppercase, and between 3 and 6 characters. Must be unique to each carrier because it is used to identify a carrier profile within a Rose Rocket instance.
- Country: Must be formatted as US or CA.
- Currency: Defaulted to the country in the address if it's not filled out. You can only set one type of currency for each carrier. This cannot be changed once set.
Tip:
When adding a carrier that pays both in USD & CAD, add the currency type to the carrier name to clearly identify which profile the manifest is for.
- DOT/MC ID: Although not mandatory, including the DOT or MC ID can help easily identify carrier partners that might also be using Rose Rocket.
- WSIB Expiry: Format it as yyyy-mm-dd.
- Cargo/Liability/Auto Amount: Must be a number. No symbols.
- Cargo/Liability/Auto Expiry: Format it as yyyy-mm-dd.
- Dispatch Name/Email/Phone: You can add up to 5. Each must have their own column when uploading.
Note:
Remittance address cannot be imported at this time. It has to be manually entered into the carrier profile.
Instructions On How To Import Carriers
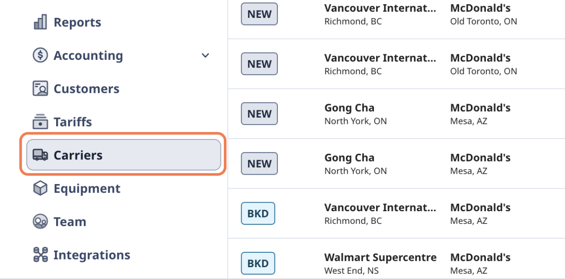
1. Go to the Carriers module.
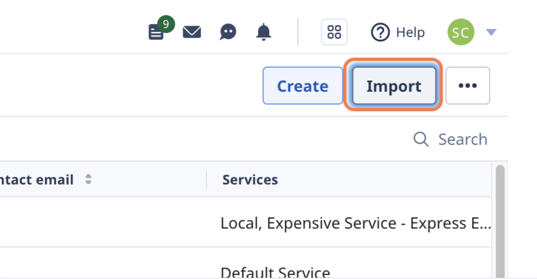
2. Click on Import.
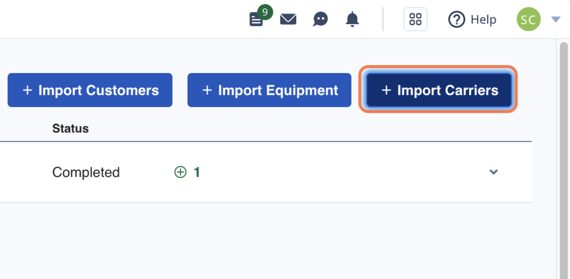
3. Click on + Import Carriers.
4. Click on Upload data from file.
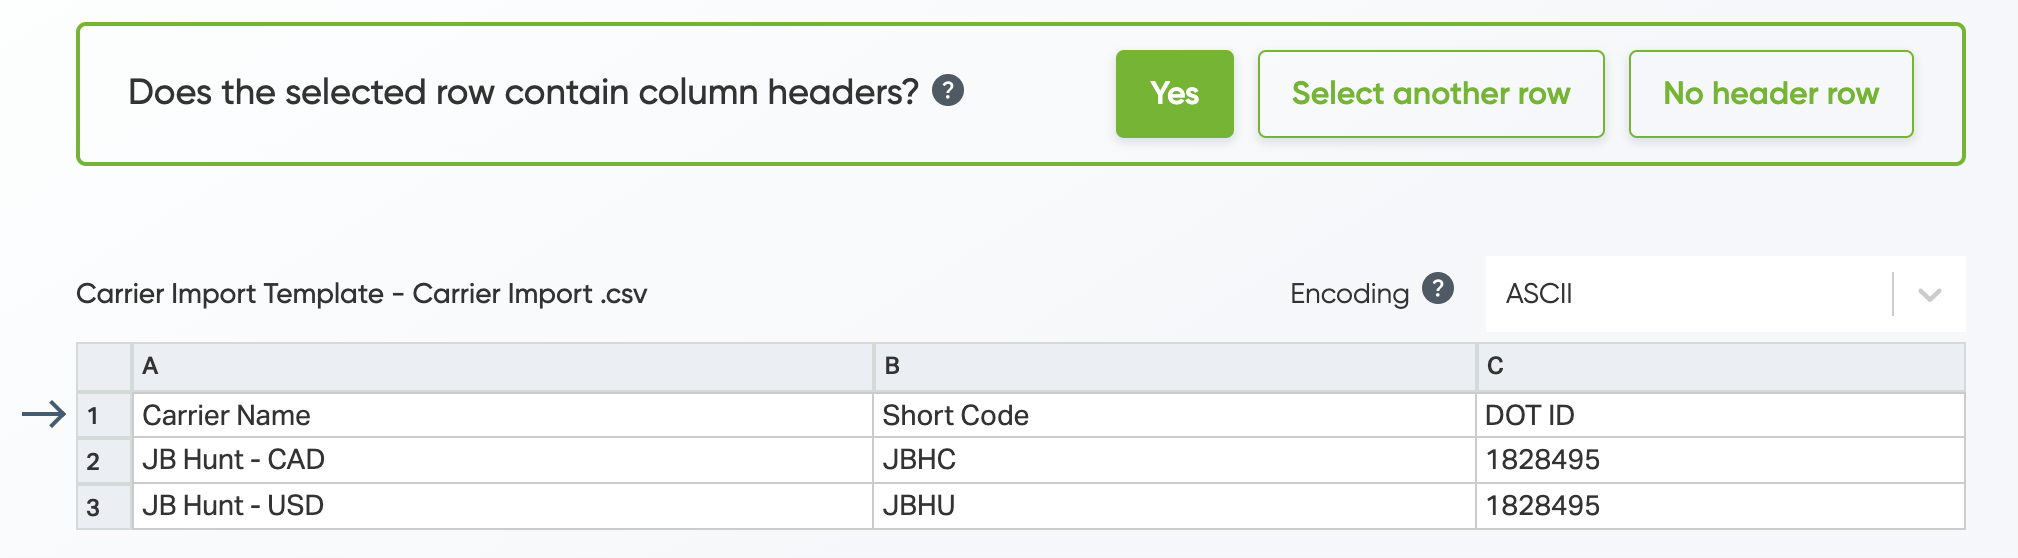
5. Confirm if the selected row contain column headers.
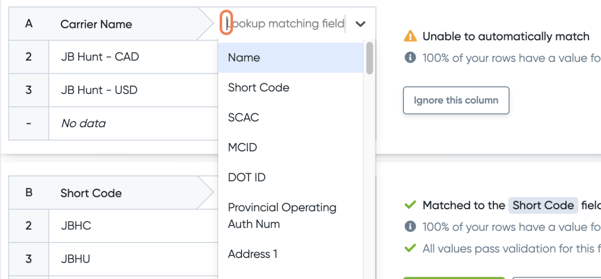
6. The system will automatically match your spreadsheet columns to the right data points.
If the fields don't match, you will see the "unable to automatically match" error. You can look up and select the matching field from the dropdown menu.
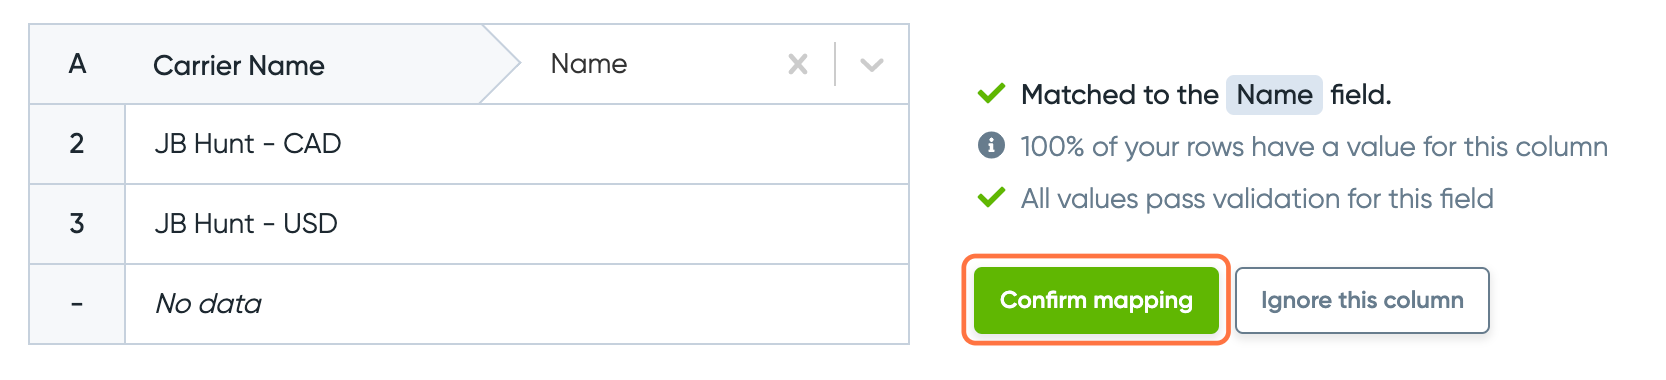
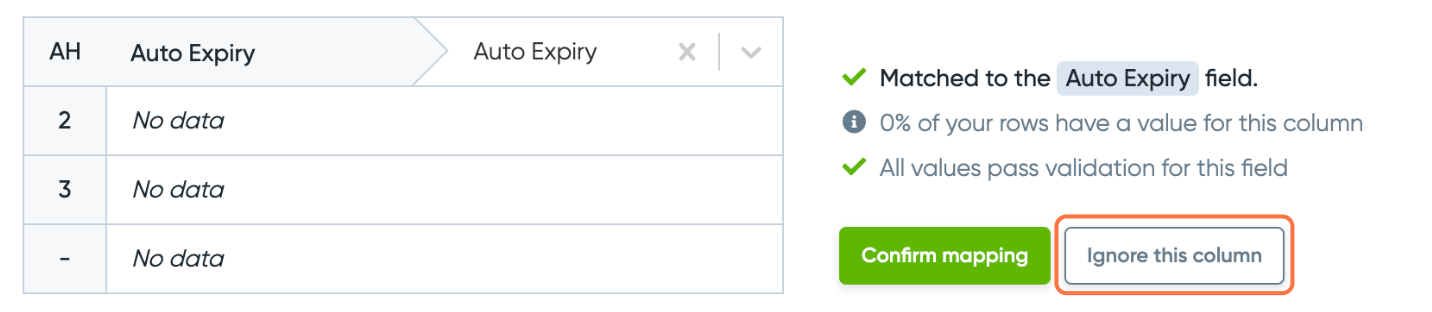
7. Ensure each column is matched to the appropriate field. Once confirmed, click on Confirm mapping.
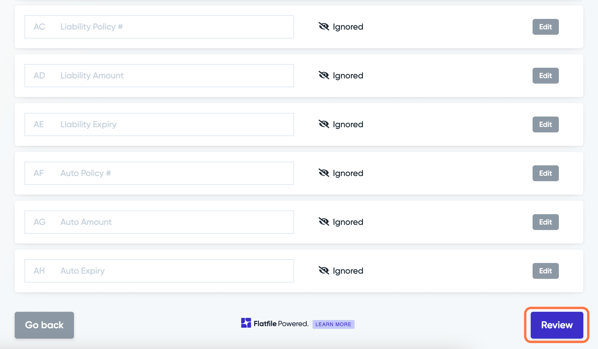
8. Click on Ignore this column if there is no data.
9. Click on Review once you are done mapping.
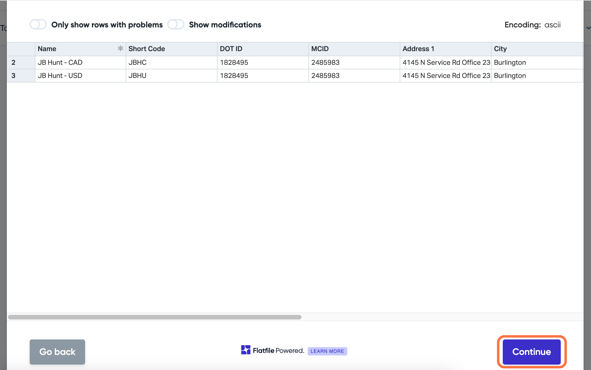
10. Click on Continue once you are done reviewing.
If there is a format issue, the field will be highlighted in red. You can hover over the field to see how to resolve the issue. You will receive an "unresolved format issue" error if you try to continue. Click on Go back to edit the mapping or edit the value directly on this page.
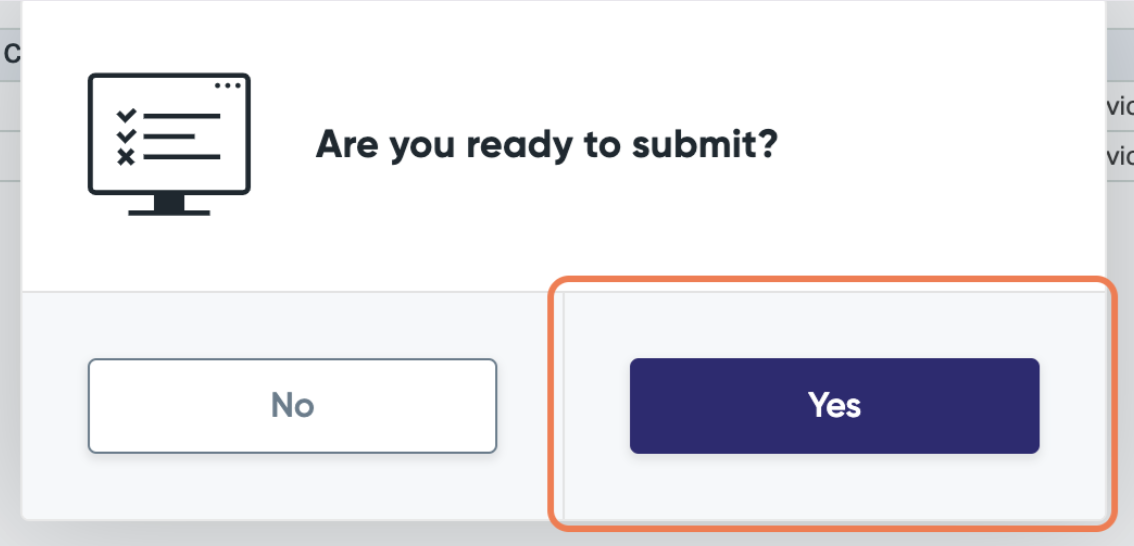
11. Click on Yes to submit. A popup window will tell you to check back in a few minutes.
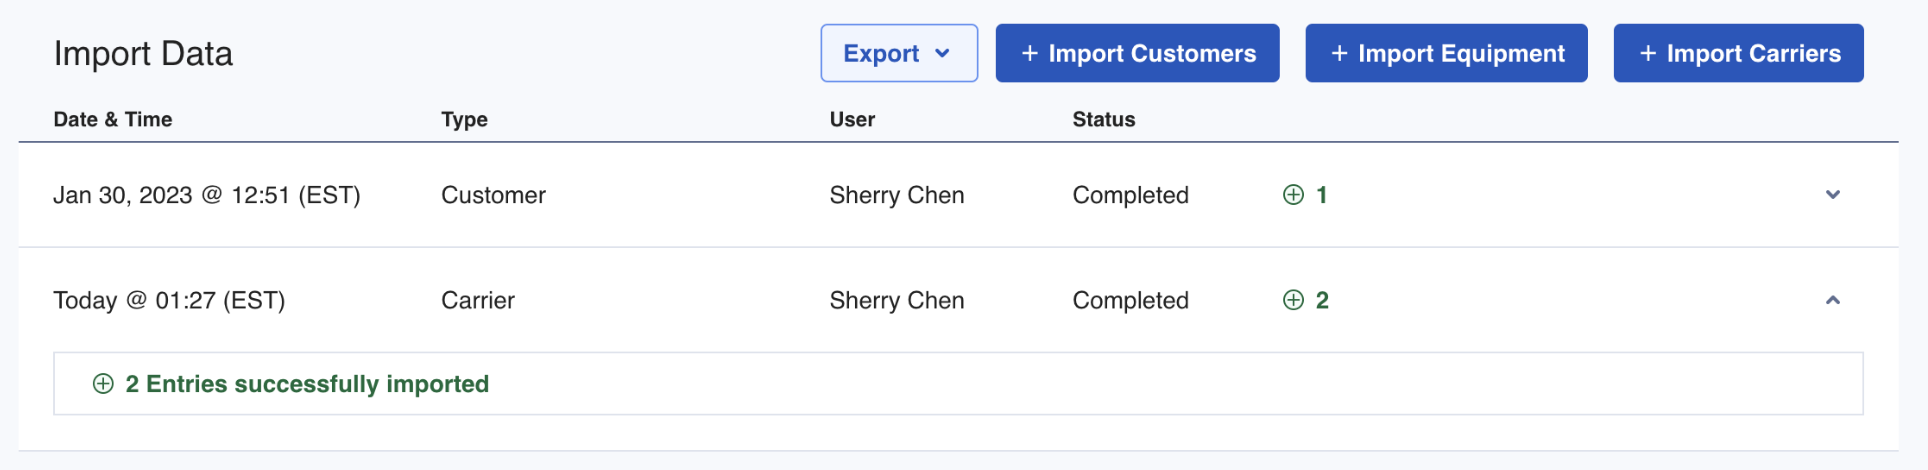
12. The Import Data page will show the upload progress.

13. Once the carriers have been imported, the status will become Completed along with the uploaded date & time. You can expand it to see how many entries were successfully imported.