All customers with Portal access will be able to complete this action.
To locate your filter settings:
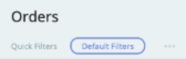
- Navigate to your Orders Module

When you first log in, this is automatically the first screen you will see - You will see on the Orders module that the Default Filters are automatically selected
To create a new filter:
-
- In the top left, click the "Filters" option, which will bring up a drop-down menu

- From the drop-down menu, select the criteria you would like to filter by
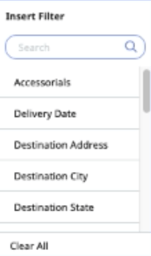
You can choose as many items as you would like, but you will have to select them one at a time. - You can also search this drop-down menu for specific criteria using the search bar
- For this example, we will filter by pickups, so select "Pickup Date"
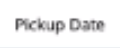
- The Pickup Date filter will be applied, and a new drop-down menu will ask you to select the data used for this criteria
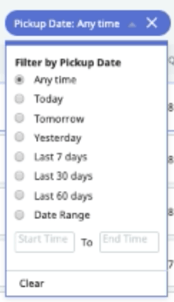
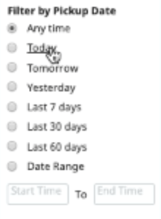
- To show Orders to be picked up today, select "Today"
- Once you have selected all the criteria by which you wish to filter your Orders, navigate to the top of the page under "Orders" and click the three horizontal dots

- From the drop-down menu that appears, select "Create New Filter"
- A pop-up box will appear where you can enter the new filter's information

- Once you have typed in the filter name, click "CREATE"

- In the top left, click the "Filters" option, which will bring up a drop-down menu
You now have a new filter to use when searching your Orders!
If you're looking for a more visual explanation on this, check out the video below!