Table of Contents
- What Is A Customer Portal?
- Enabling Customer Portals - Organization Level
- Enabling Customer Portals - Individual Level
- Sending A Customer Portal
- Accessing & Using The Customer Portal
- Additional Resources
What Is A Customer Portal?
The Rose Rocket Customer Portal is a free-to-use, easy-to-share extension of your TMS designed to help you and your customers work together efficiently.
The Portal invites customers to a one-stop shop for all the order details they need, while giving your team time back.
With one click, you can:
- Save time and work better: Customers can input their own orders, get documents, and see the status of a shipment so your team doesn't have to.
- Improve customer visibility: Customers expect more visibility into their freight at every stage of the order. Now they can get it at their own convenience.
Enabling Customer Portals - Organization Level
Customer Portals are enabled by default for all your customers, but you should double-check that your customers are enabled before attempting to send one. Here's how.
1. Navigate to the Customer Module
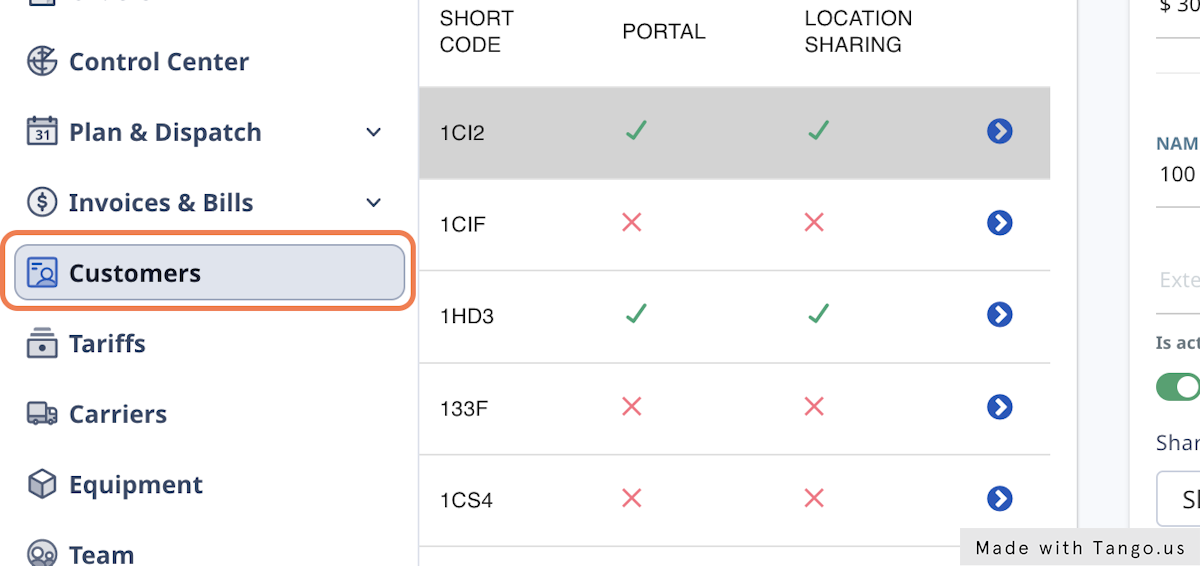
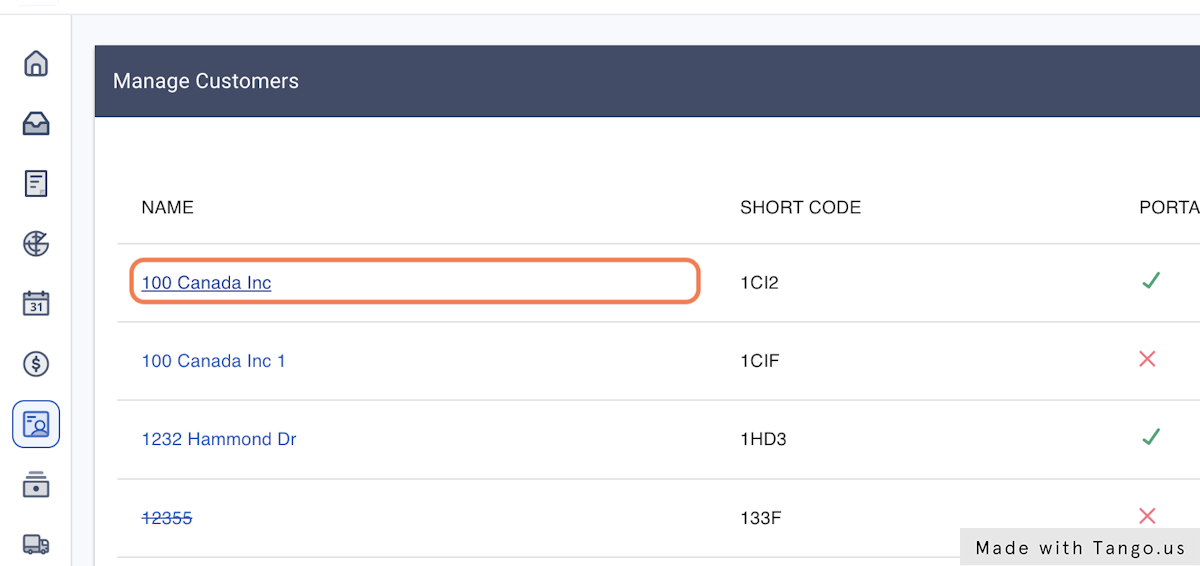
2. Select the customer you wish to enable
3. In the Details section, check that 'Has portal access' and 'Is active' are toggled ON
If your customer will be submitting orders through the Portal, you can also require they add dimensions to their commodities by toggling 'Require dimensions' ON
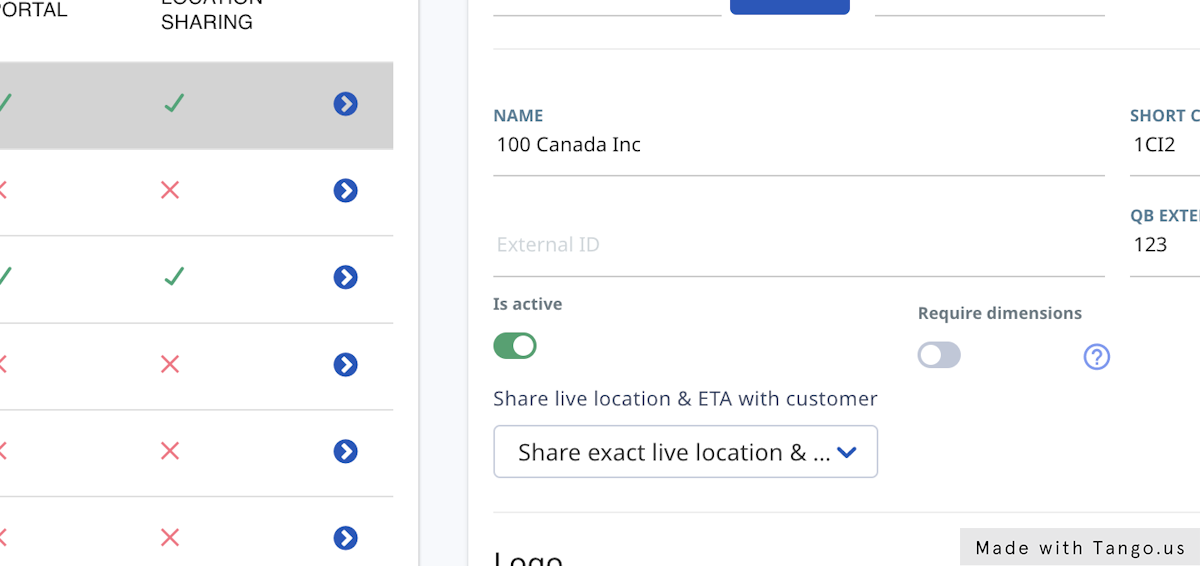
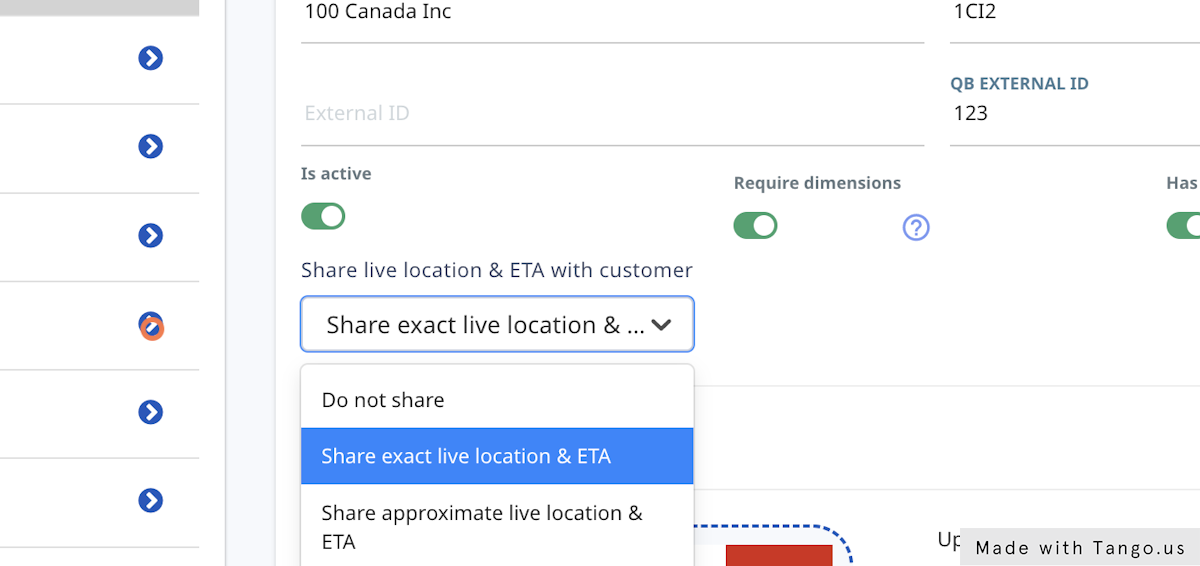
4. Select the level of location sharing you want to share
The Customer Portal allows you to share your load's live location on route, however there may be some situations where you don't want to share its exact location, or share any location at all.
Set your preference here.
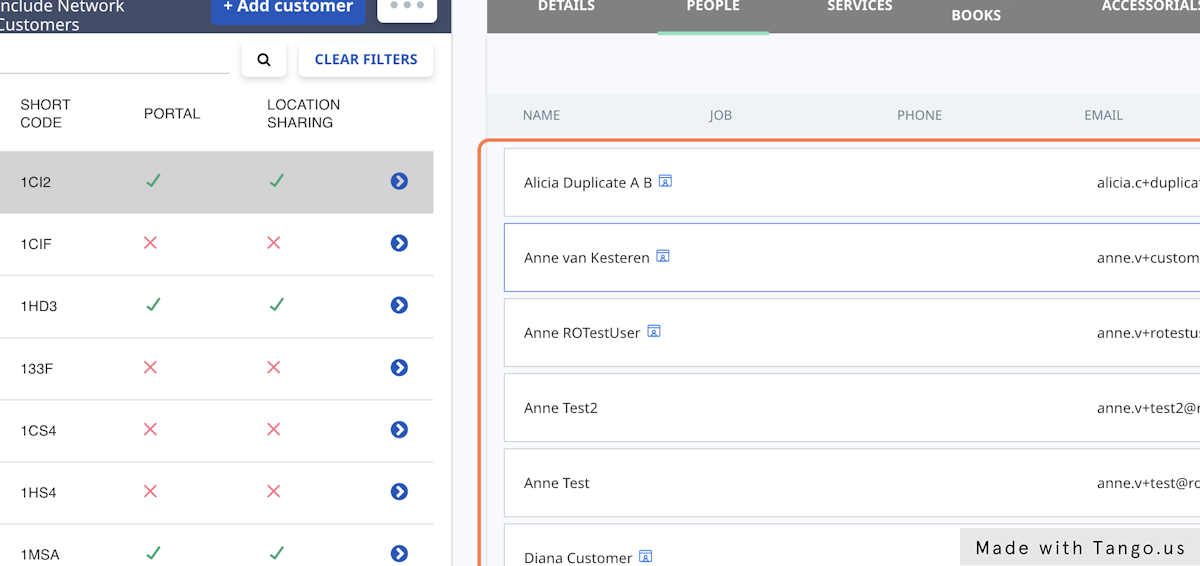
You can also set Portal access permissions on the individual user level. Here's how.
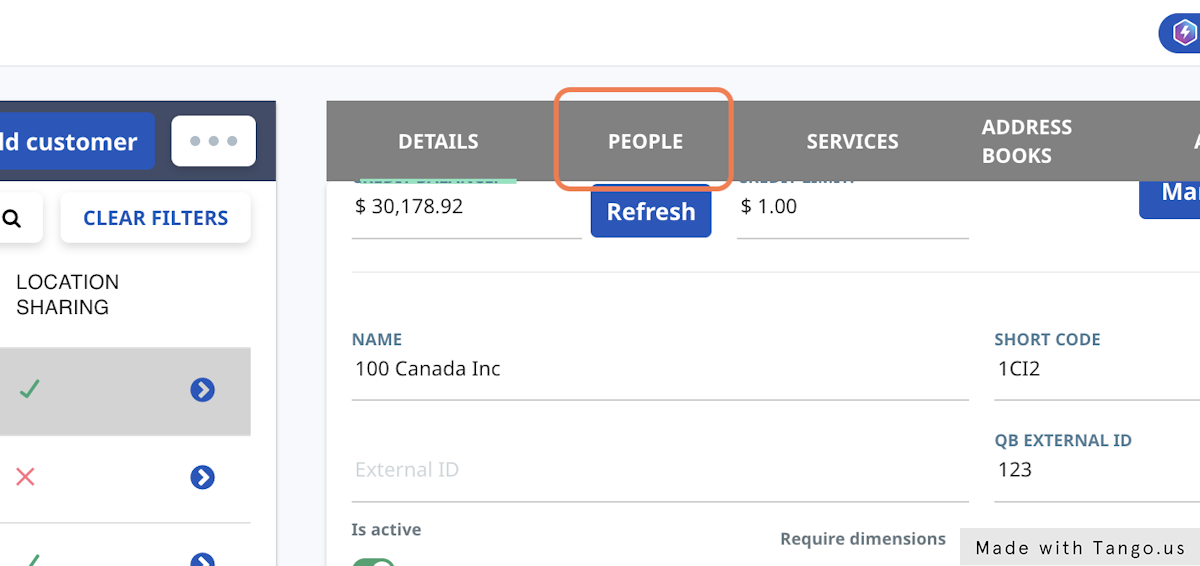
2.. Select the customer's name
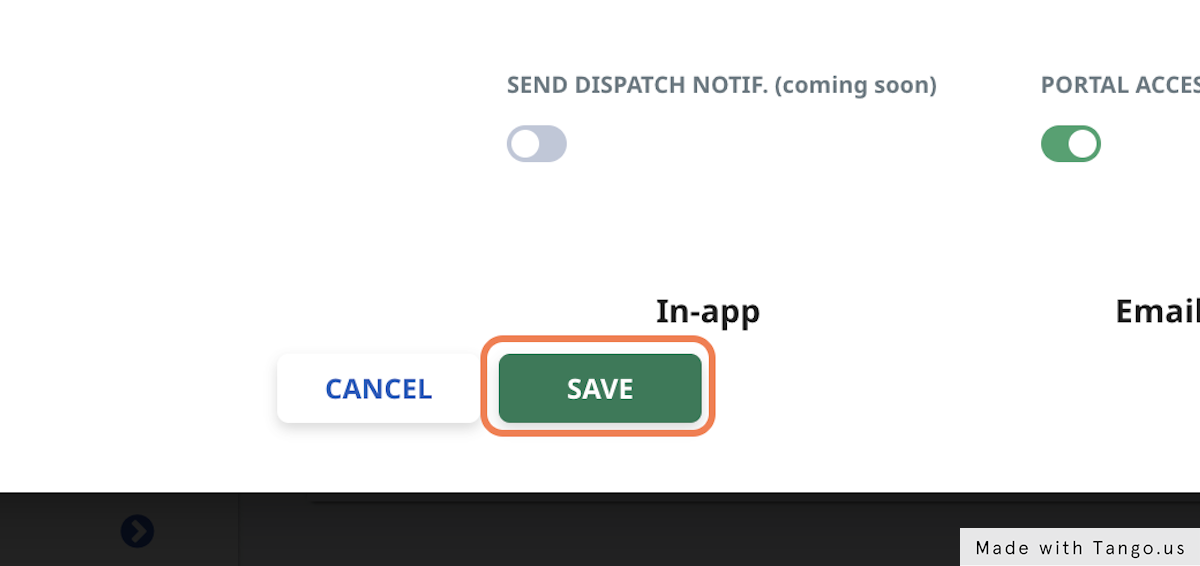
7. Ensure 'Portal Access' is toggled ON
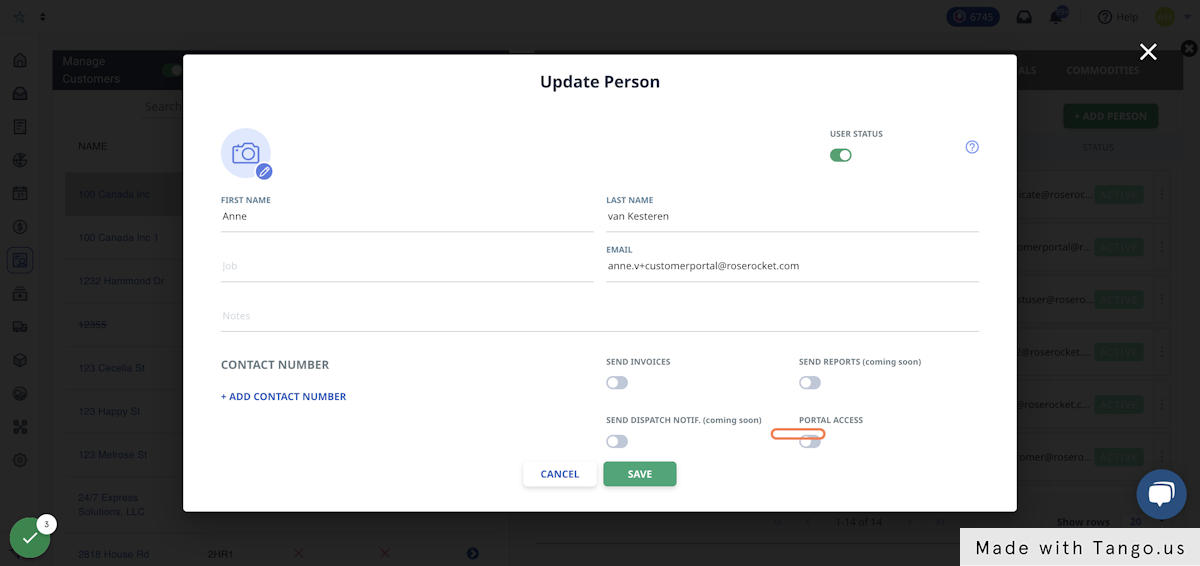
8. Click on 'SAVE'
Sending A Customer Portal
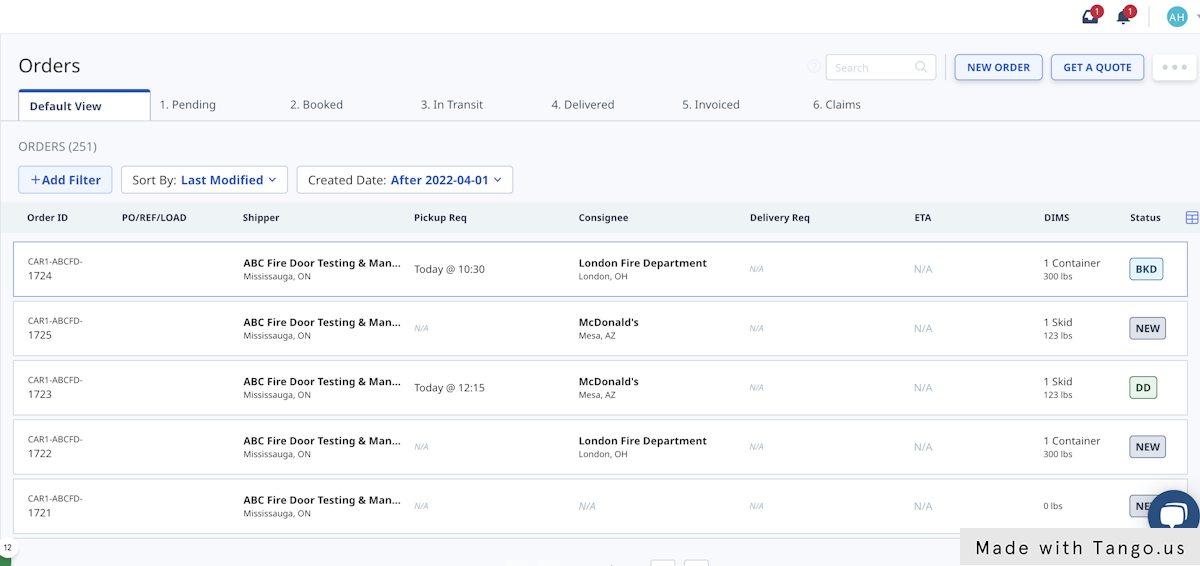
1. Select an order you'd like to share with a customer
Customer Portal can be send for any order status that's not 'NEW'

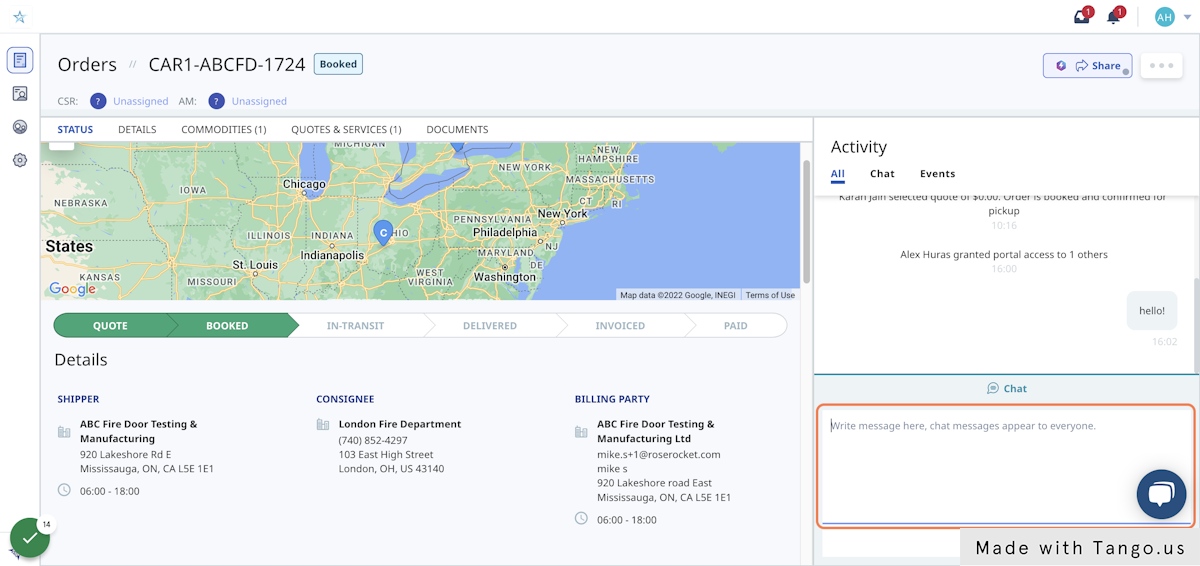
2. Click on Share & Invite

3a. Type in the email addresses of the brokers or customers you wish to invite
You can invite up to 20 users per Customer Portal

3b. If you want to only share location status, send an e-tracking page instead.
An e-tracking page is a lite version of the Customer Portal that only shares order status and location

5. Click 'Invite', and your Customer Portal invites will be sent!

Accessing & Using A Customer Portal
Basic walk-through for your customer.
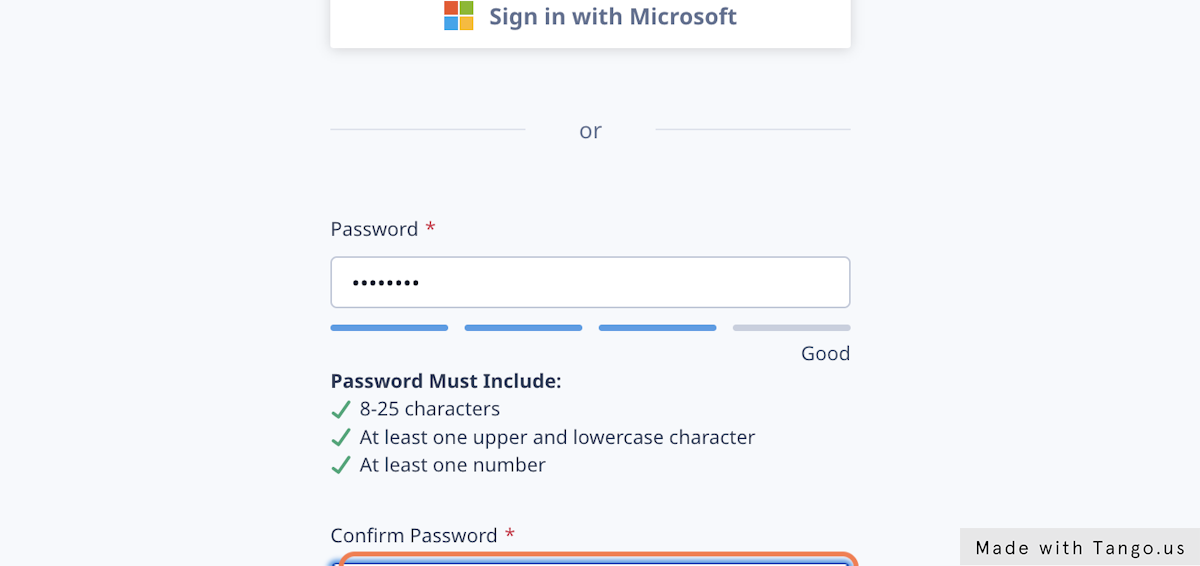
1. After accepting your email invite, your customer will be asked to set-up an account
They can choose to use Single Sign On through Google or Microsoft, or set their account manually
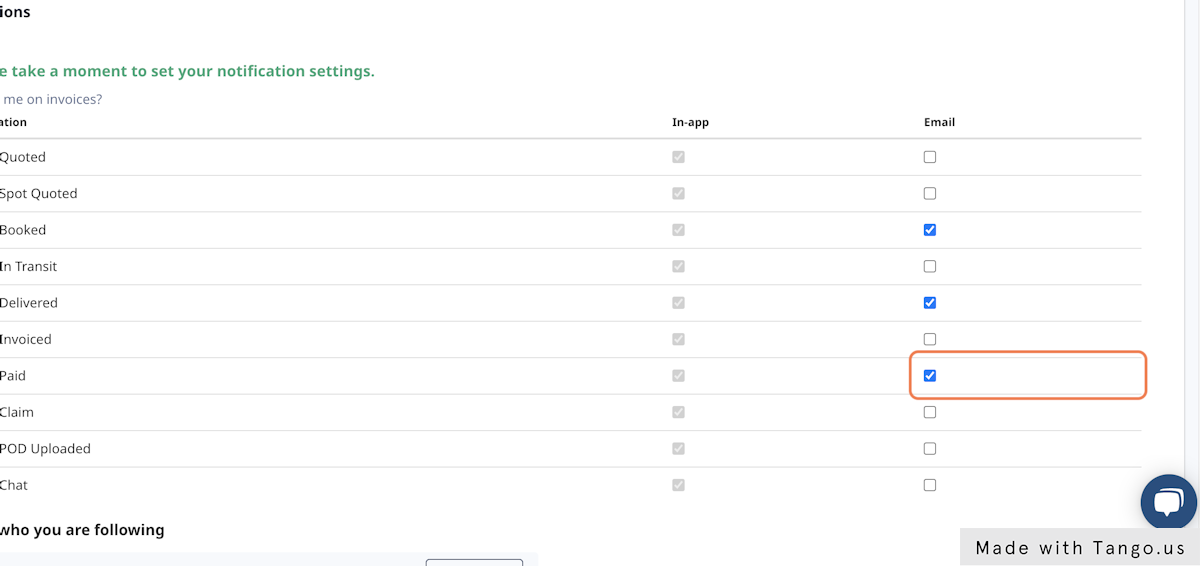
2. They will land on their profile page, where they can opt-in to what notifications they'd like to receive, and where
Your customers can choose to be notified in-app and through email
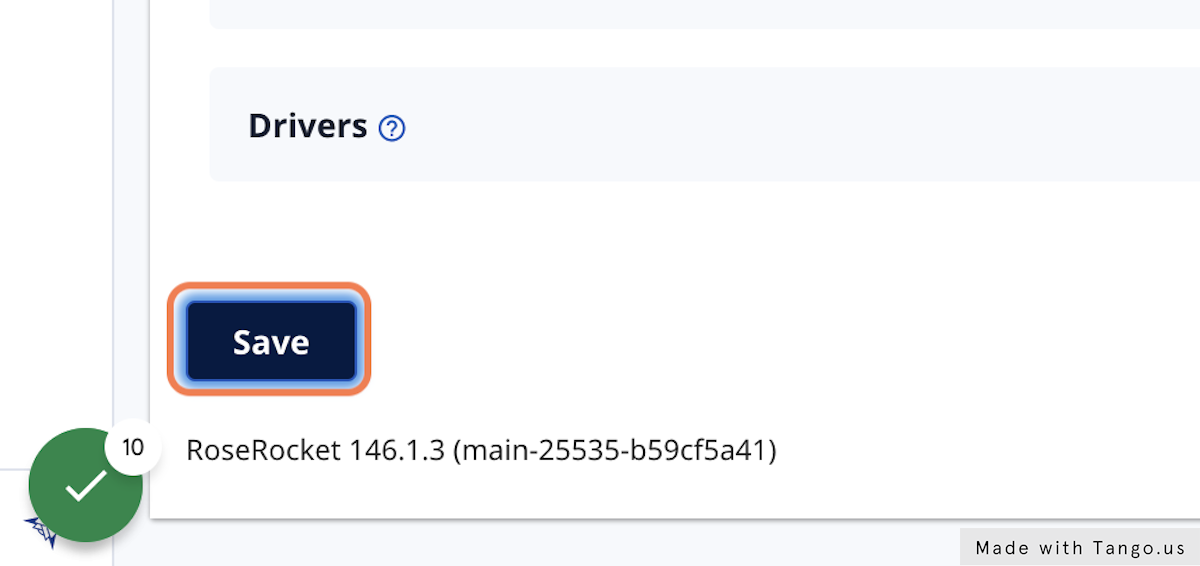
3. Click on 'Save' to save their settings
4. From the side-bar menu, click on 'Orders'
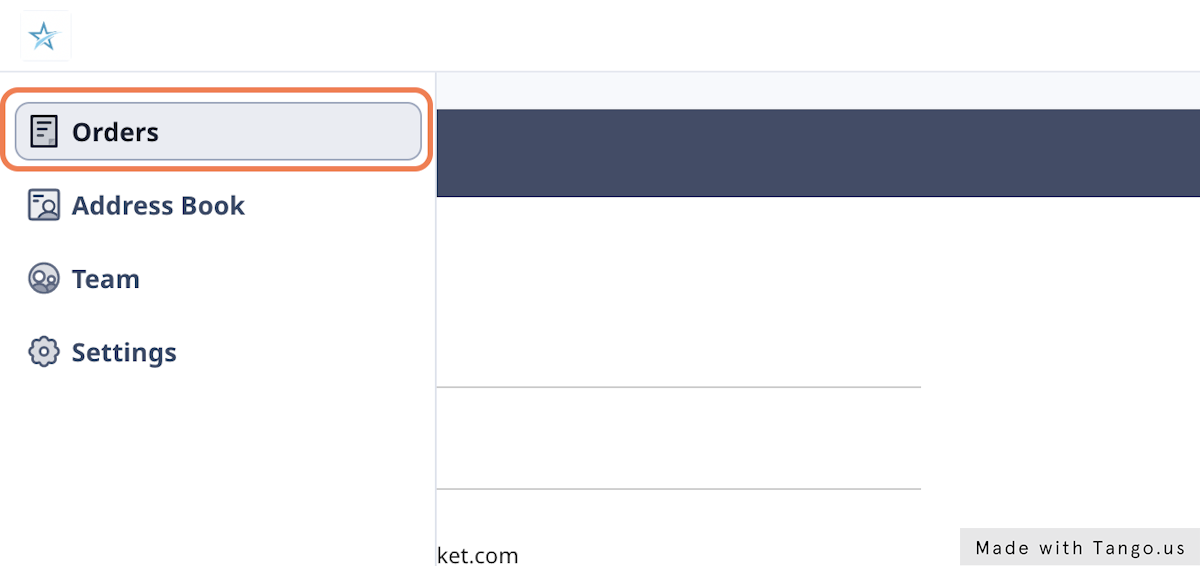
5. This will list all orders, past and current, they have with your organization
Your customer can customize and configure this view to their liking
6. Clicking on an order will send them to the Order Detail View
From here they can view order details, status, location, live chat with your team, and upload documents
Additional Resources
Additional documents for you and your customers
- Customer Portal Website
- Customer Portal For Brokers
- Customer Portal For Carriers
- Customer Portal For Your Customers