Table of Contents
- Moving from Driver Bills to Driver Settlement - Video Overview
- Moving from Driver Settlement (beta) to Driver Settlement - Video Overview
- How to use Driver Settlement - Step-by-step instructions
Moving from Driver Bills to Driver Settlement
As part of our efforts to improve the experience of paying drivers on Rose Rocket, we will be sunsetting the old Driver Bills page and replacing it with the new Driver Settlement.
This update will take effect on Tuesday, August 8th. To help ease the transition from Driver Bills to Driver Settlement, we've created video and instructional guide to get you familiar with the new process.
Video Overview:
Moving from Driver Settlement (Beta) to Driver Settlement
If you are currently using Driver Settlement Beta, we have made quite a few improvements since this was first released. Follow along to the video or step-by-step instructions below to see the new page in action.
Video Overview:
Step-by-Step Instructions
Here's how you can navigate the new Driver Settlement page and create statements for your drivers.
Navigation
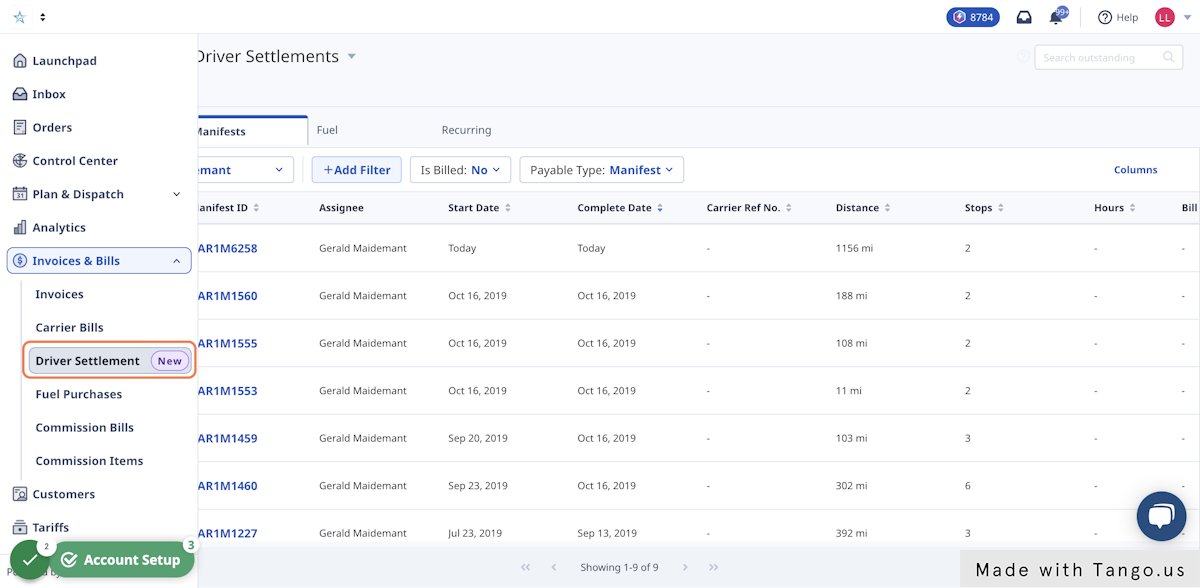
Go to the Invoices & Bills module, and click on the Driver Settlement page.
New! Driver Settlement page is organized by two tabs - Outstanding and Bills.
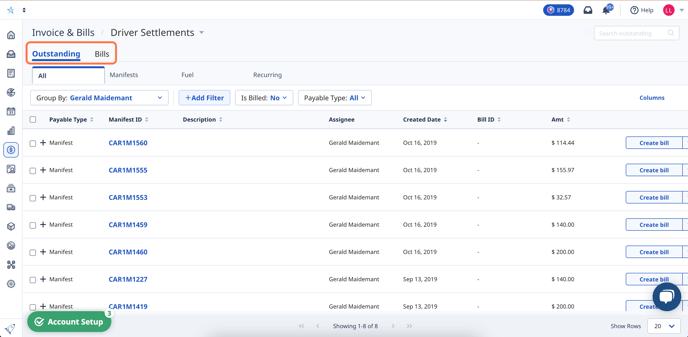
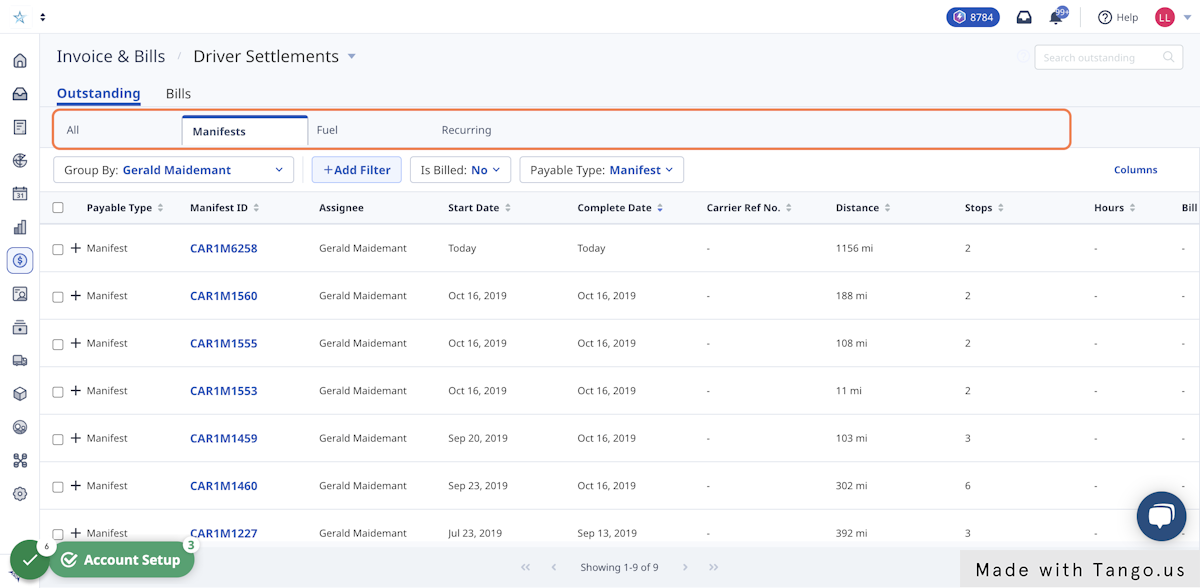
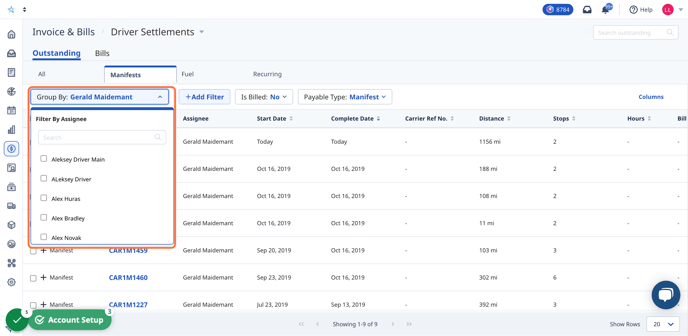
This tab shows all items that have not been added to a settlement bill yet, broken down by completed manifests, fuel, and recurring items.
Bills tab:
This tab shows all bills that have been created, broken down by In Review, Approved, or Paid status.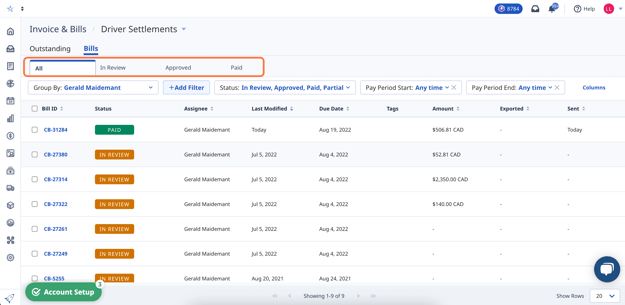
Creating a Settlement bill
1. Select your driver from the dropdown list.
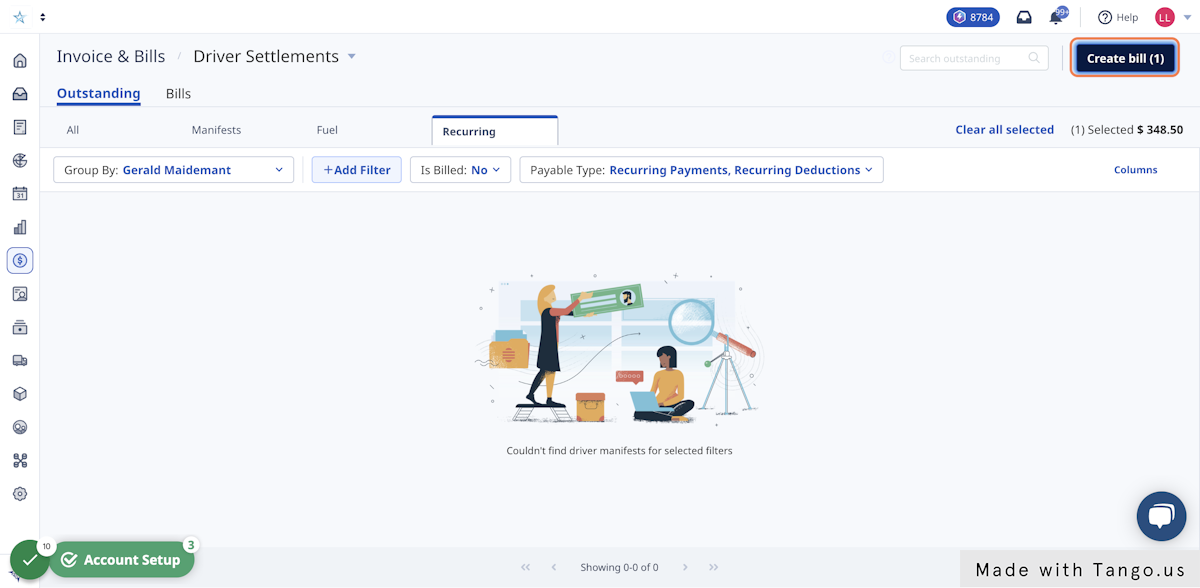
2. Use the checkbox to select your items from each view.
Rose Rocket will save your selection as you move through the Manifests, Fuel, and Recurring views.

3. Once you've selected all your items, click on 'Create bill'.
4. Add items to an existing bill, or create a new one.
To add your items to an existing bill, select it from the list.
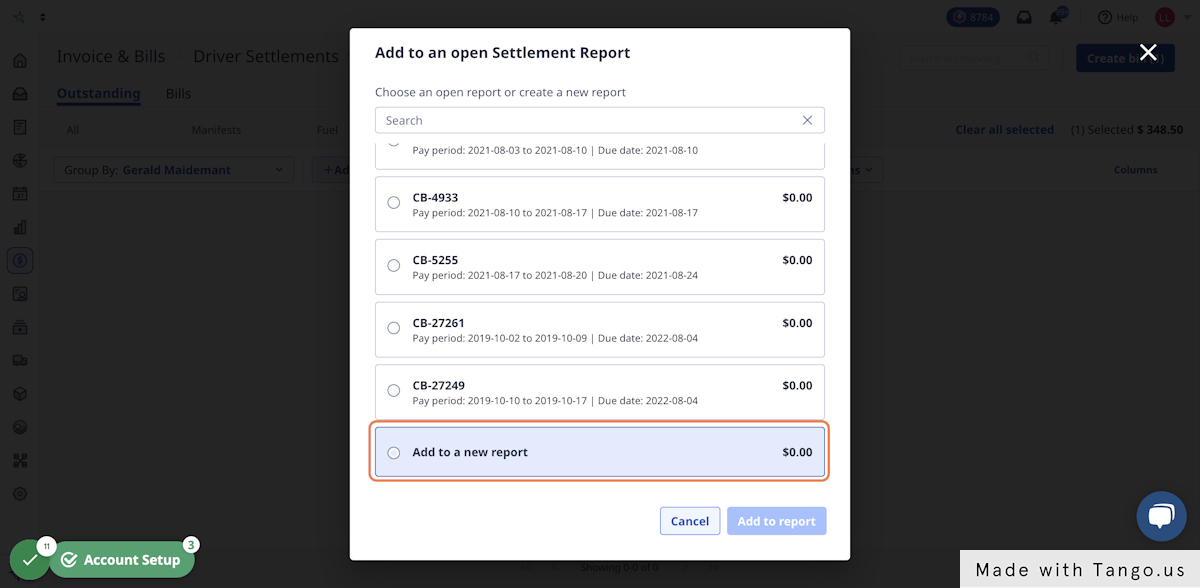
5. Click on the 'Add to report' button to save.
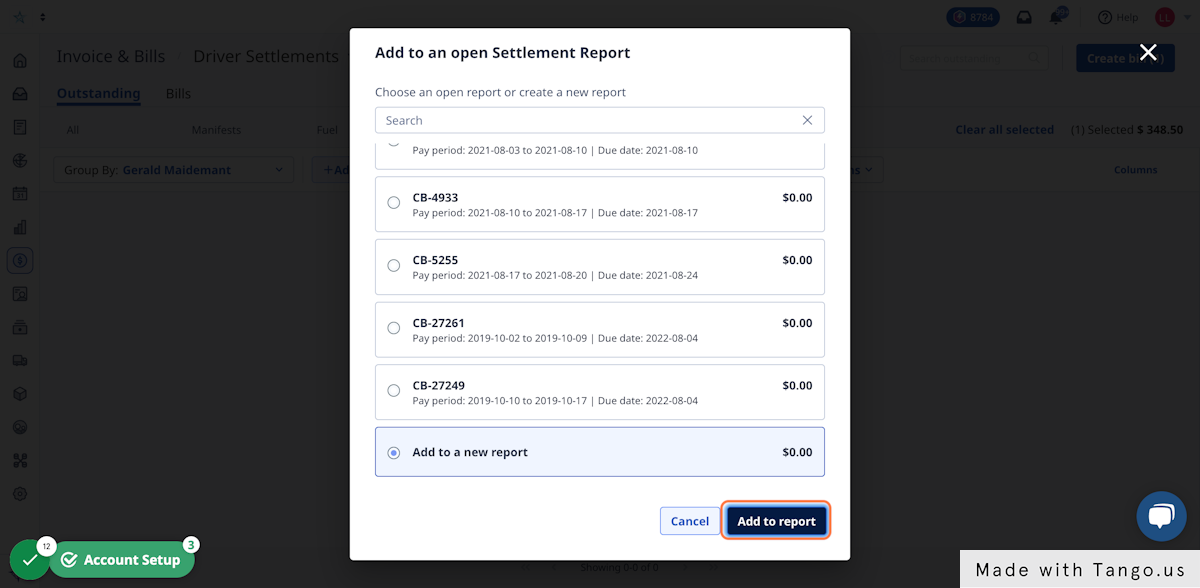
6. A new settlement bill will be created in an 'In Review' status.
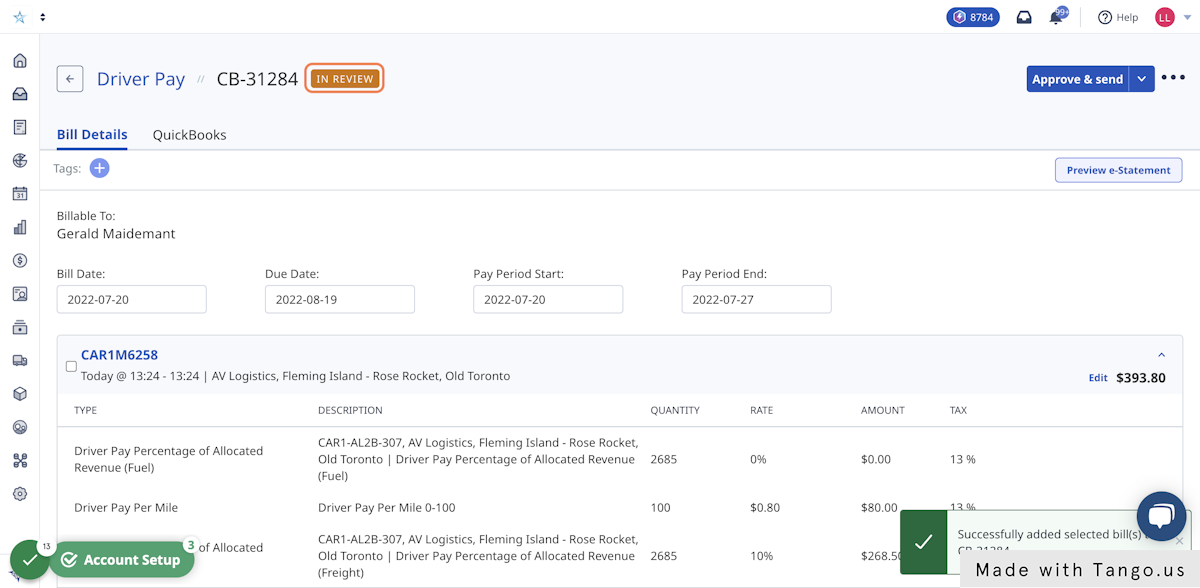
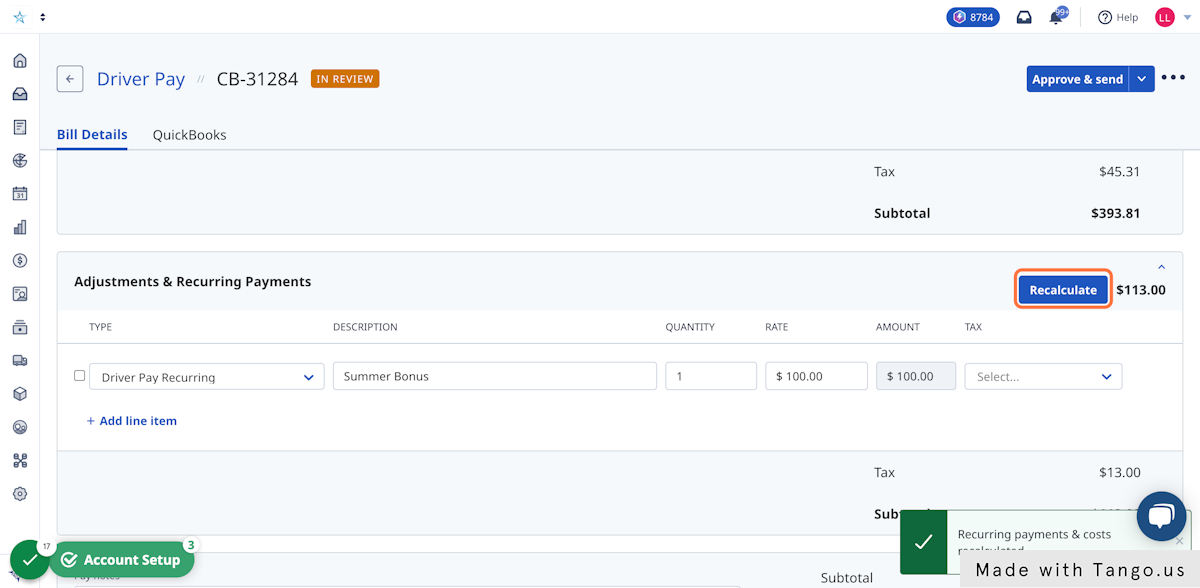
7. Add recurring or miscellaneous items to your driver's statement.
- Recurring items: In the 'Adjustments & Recurring Payments' section, click the 'Recalculate' button. The recurring items saved on the driver profile will automatically be added to the bill.
- Miscellaneous items: Line items can also be added manually using the "Add line item" button.
8. Review the bill total and leave any notes.
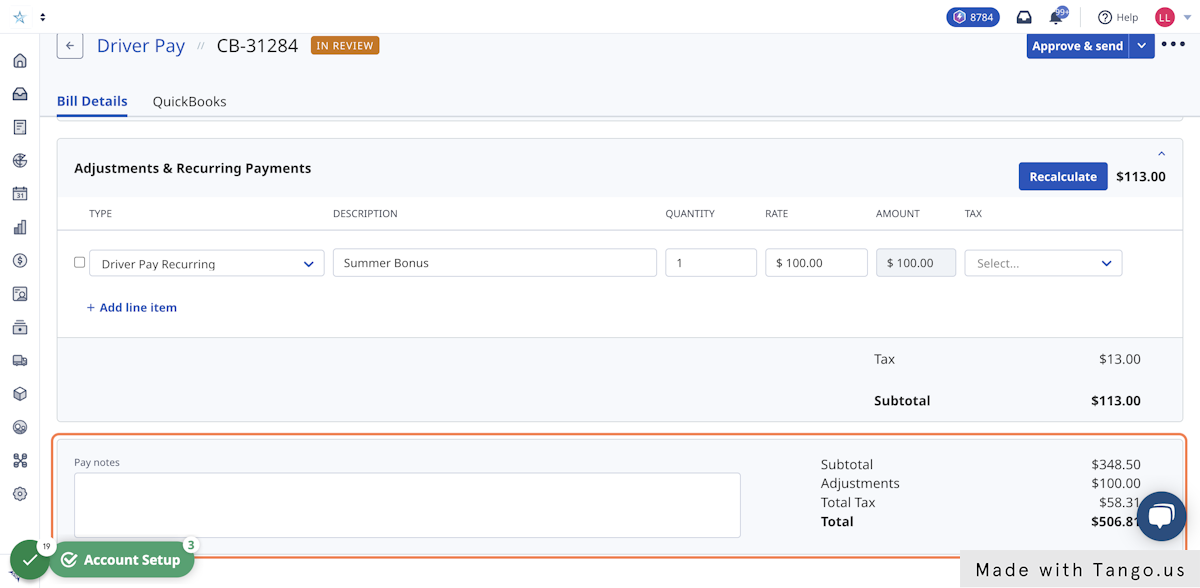
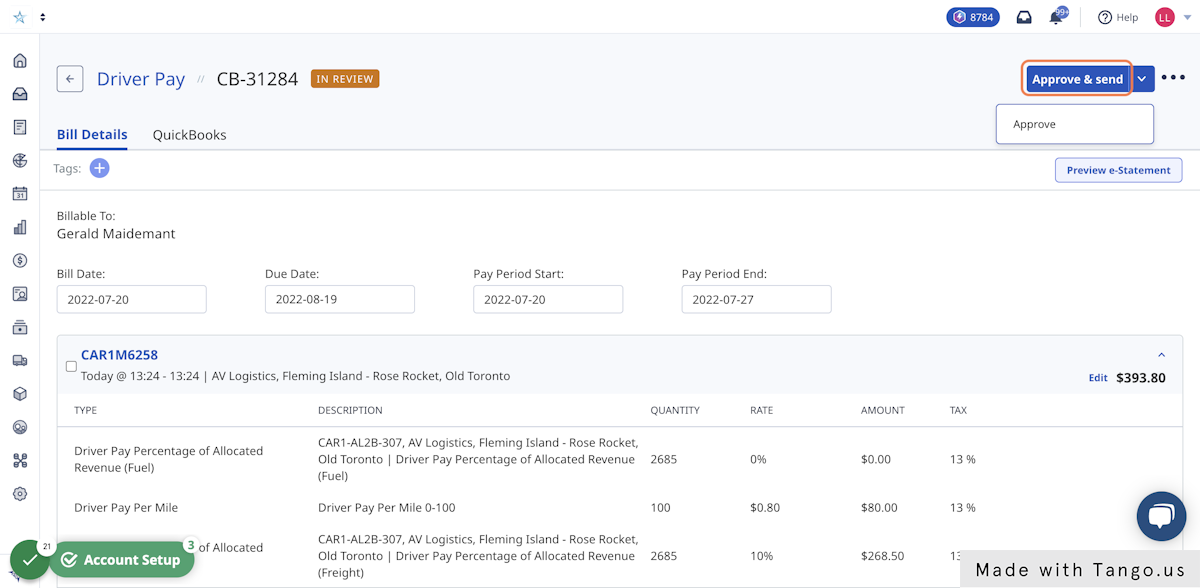
9. Approve the bill.
Once your bill has been reviewed, it can be approved using the 'Approve & send' button.
- Approve & send: This is great if you want to send the bill directly to your driver's email or Driver Mobile App.
- Approve: Use this if you want to mark the bill as Approved in Rose Rocket, but not notify your driver.
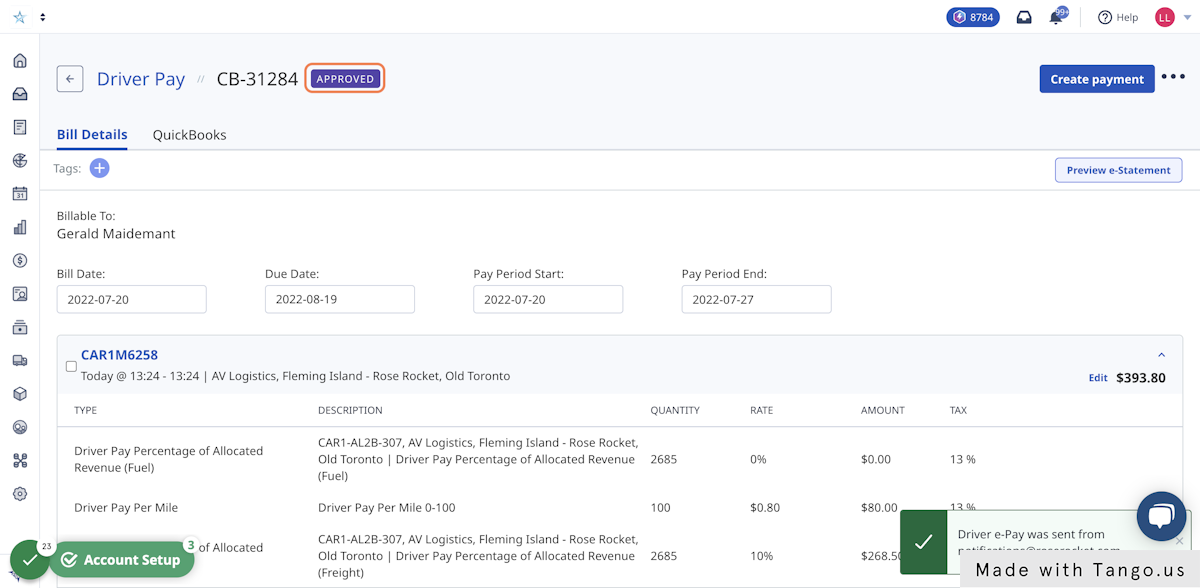
The bill status will update to 'Approved'.
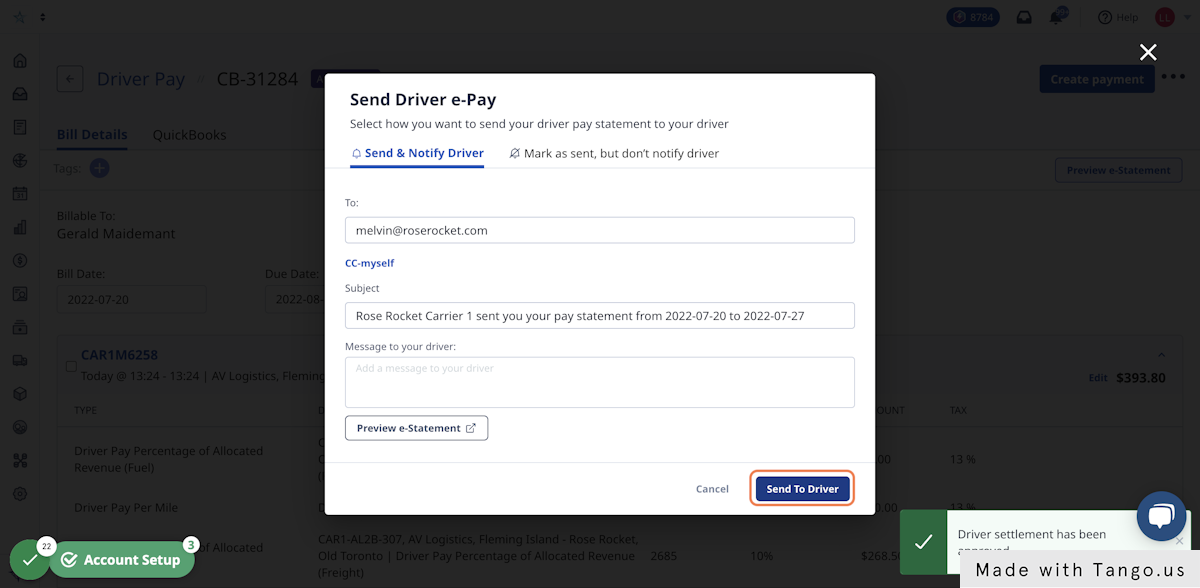
10. Send the pay statement to your driver (optional).
After you click 'Approve & send' in the bill details, you can send the statement directly to your driver's email.
11. The new bill can be found in the Bills tab.
The Bills tab is where all settlement bills live.
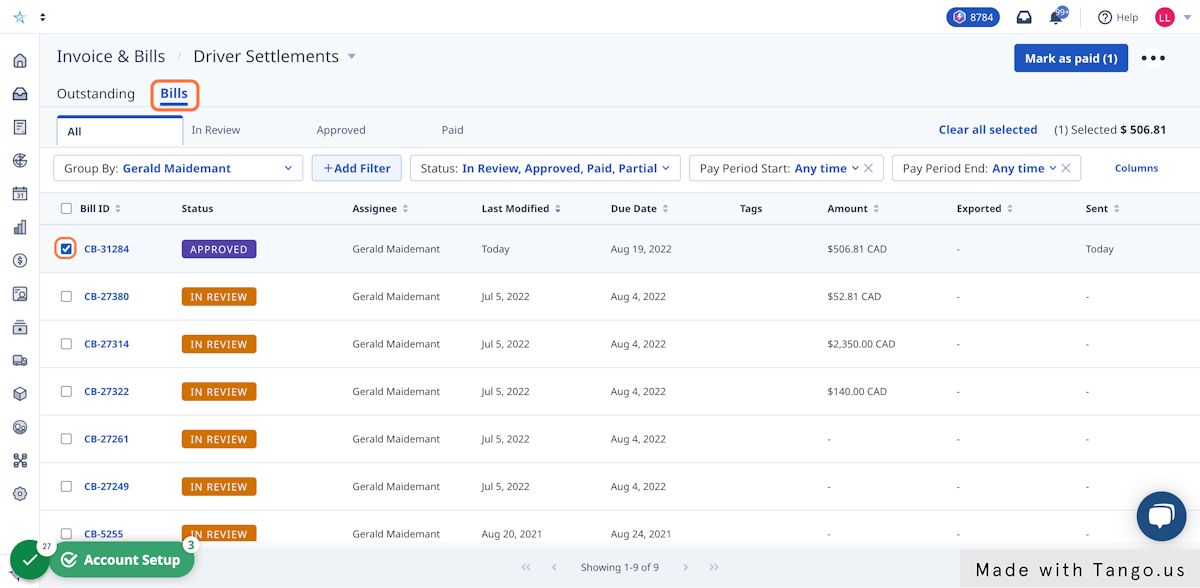
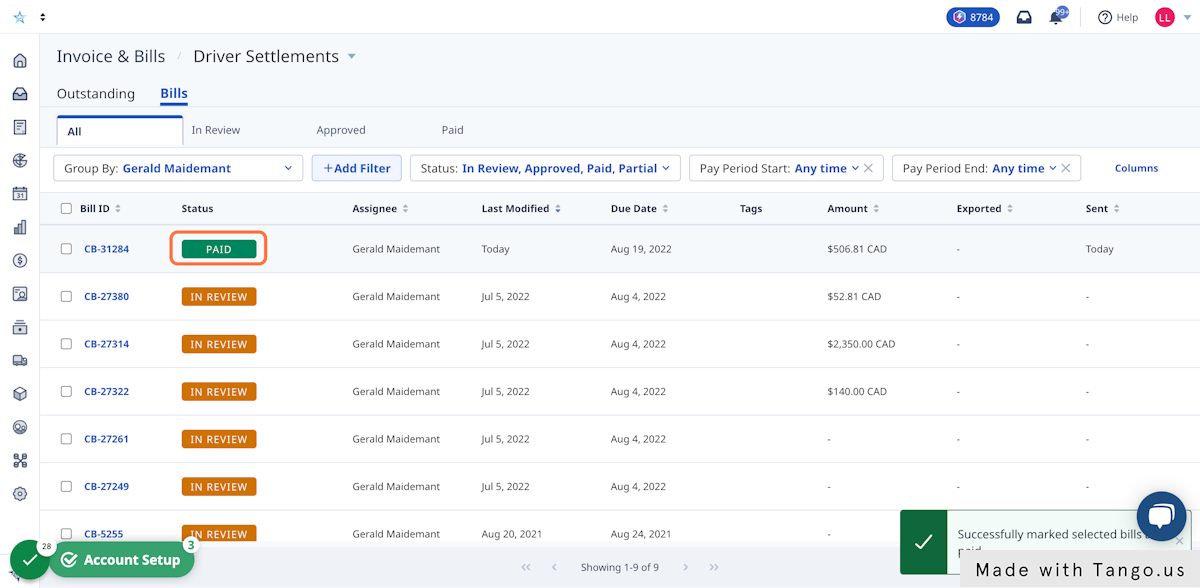
12. Mark a bill as paid.
Select your bills(s) from the list and select the 'Mark as Paid' button.
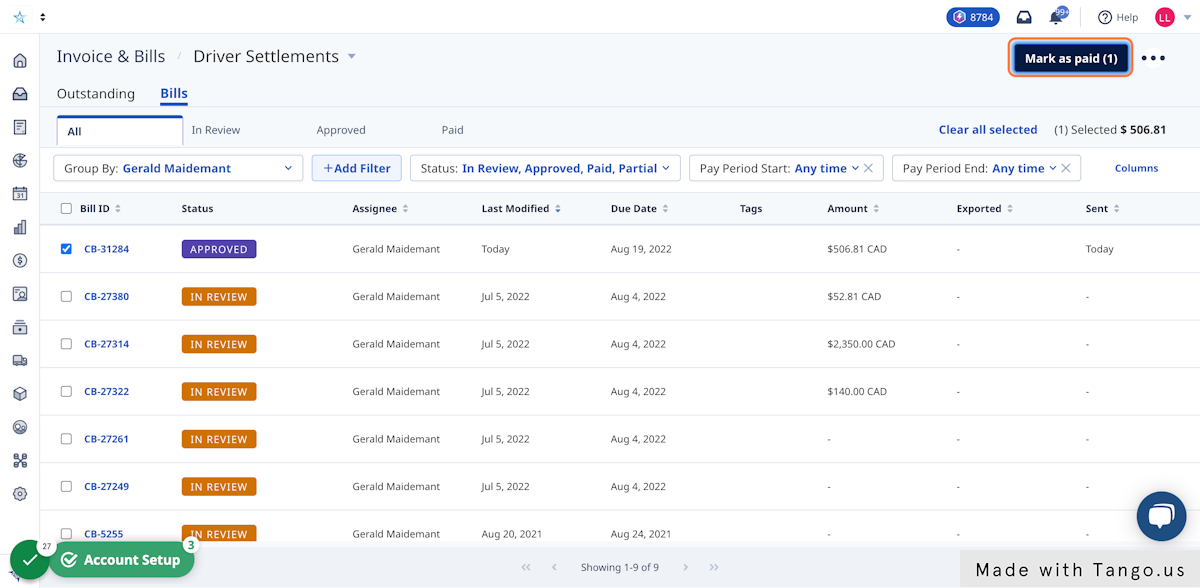
Once payment is recorded, the bill status will update to 'Paid'.