Follow the steps below to invoice your customers for their Orders.
For detailed written instructions on how to complete this task in your software, continue reading the steps below.
Scroll to the very bottom of the page to continue to your next video & article.
Billing/Managers and Admin users will be able to complete this action.
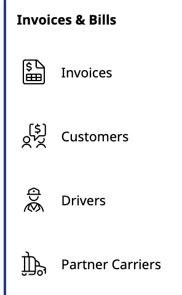
To locate your Invoices:
- On the left side of the screen, navigate to the Invoices module

- Hover over the Invoices module icon and a menu will appear

- From this menu, select "Invoices"

To create an Invoice:
-
- From the Invoices module, locate the Order you would like to invoice

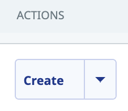
- On the right side of the Order on this screen, under Actions, click "Create"

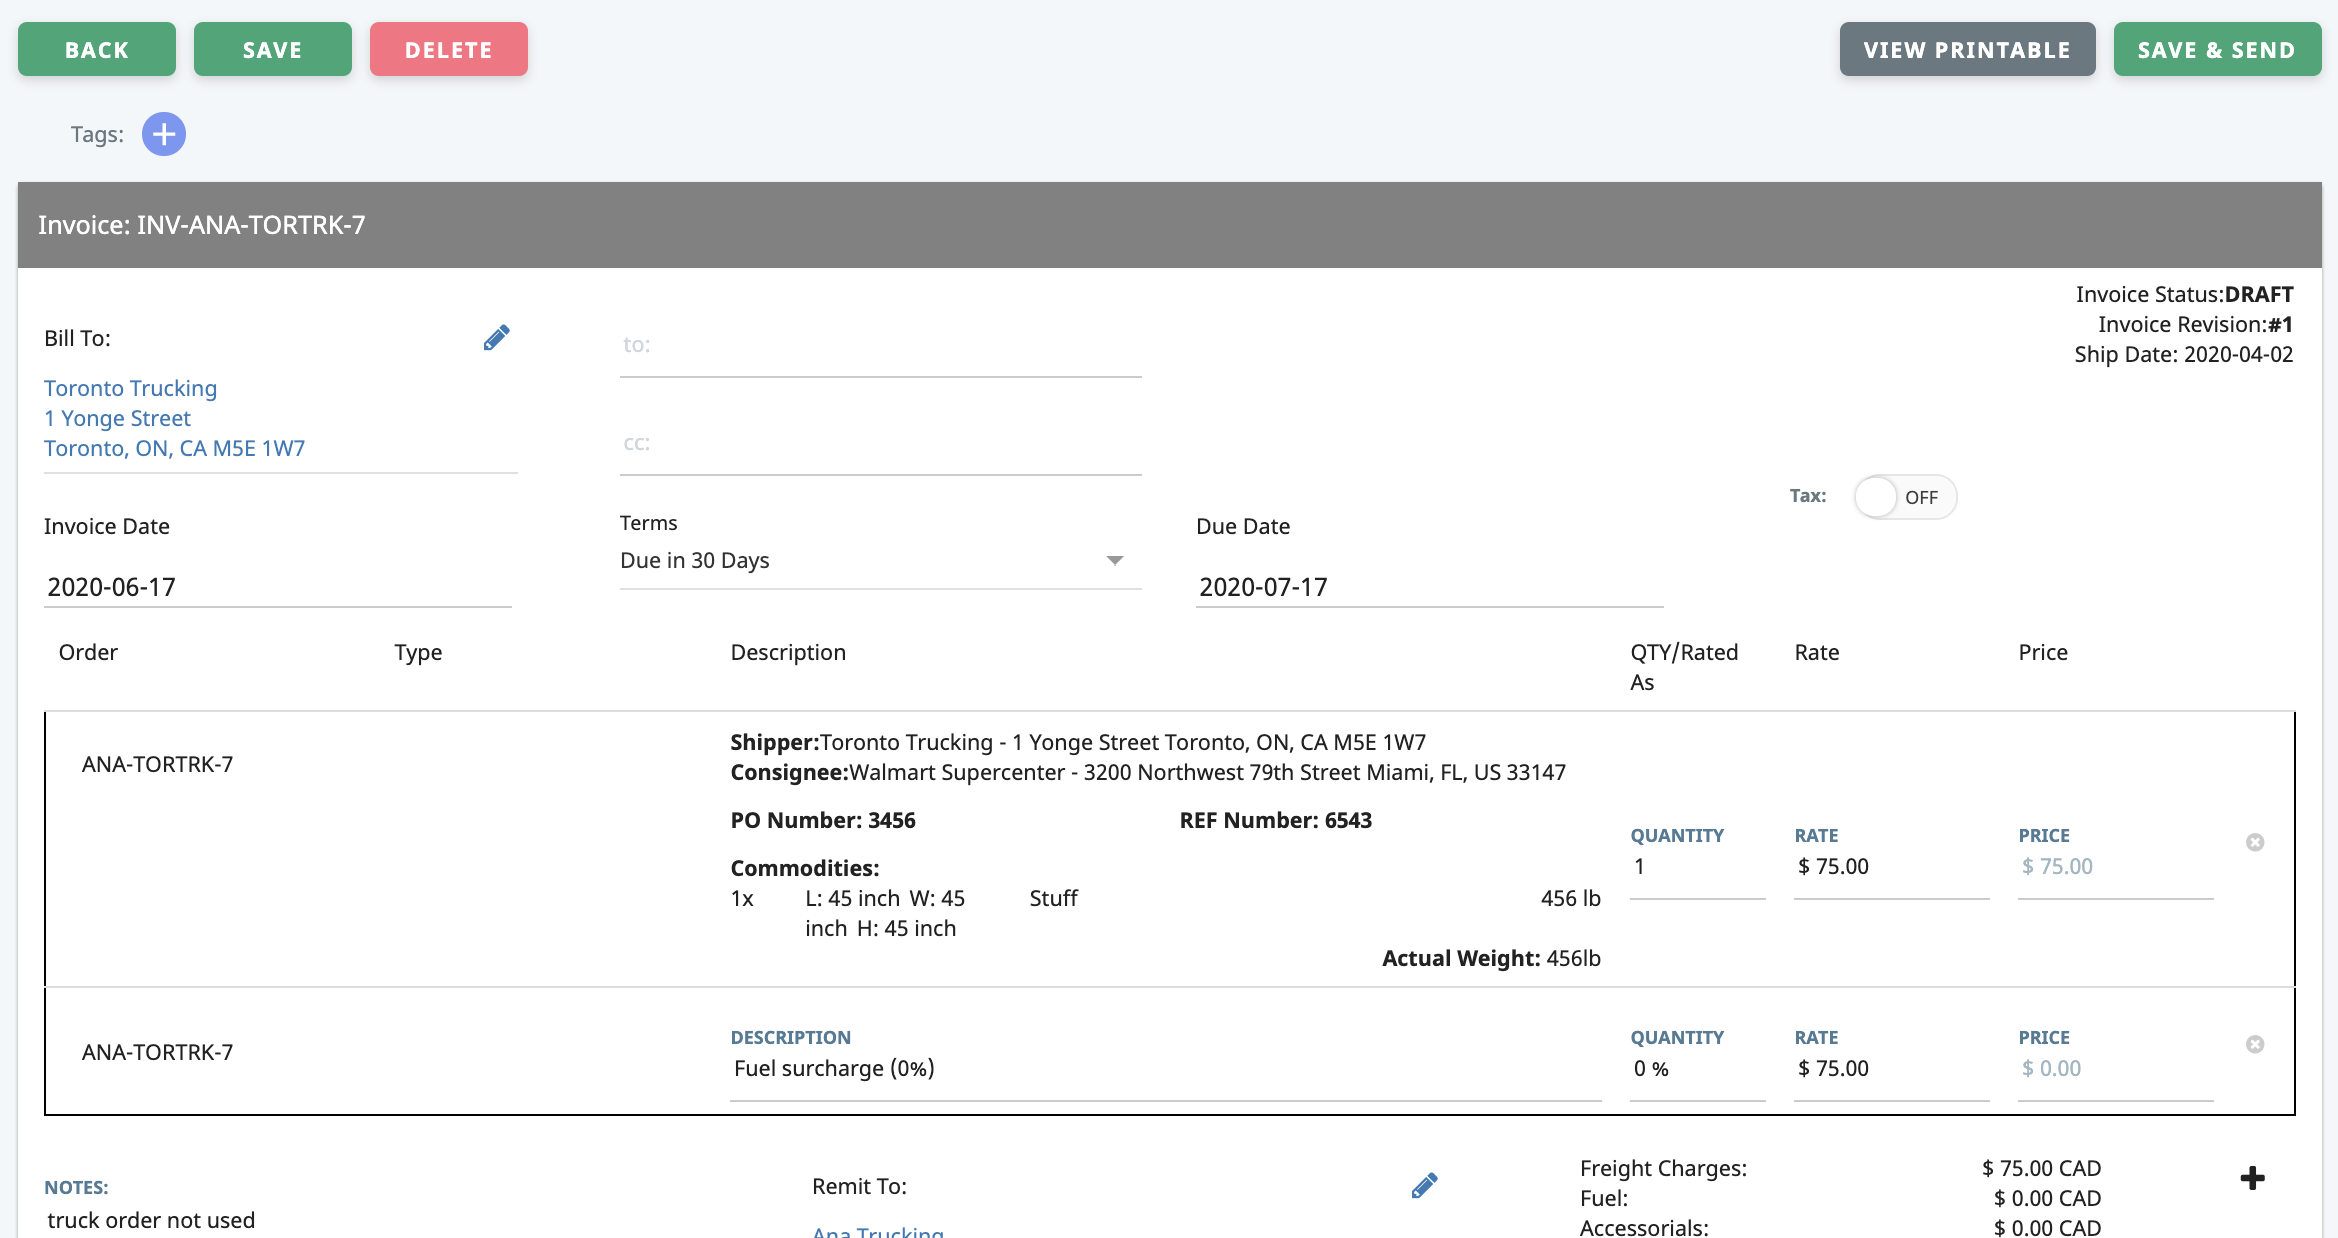
- This will create a new Invoice associated with the Order in a new page

- Review the information shown to ensure all invoicing information is correct
- From the Invoices module, locate the Order you would like to invoice
To send an Invoice:
-
- Once the Invoice has been created and all information has been confirmed, navigate to the top right corner of the page
- Click "SAVE & SEND"

- the Invoice will be saved within your Rose Rocket software as soon as you click this
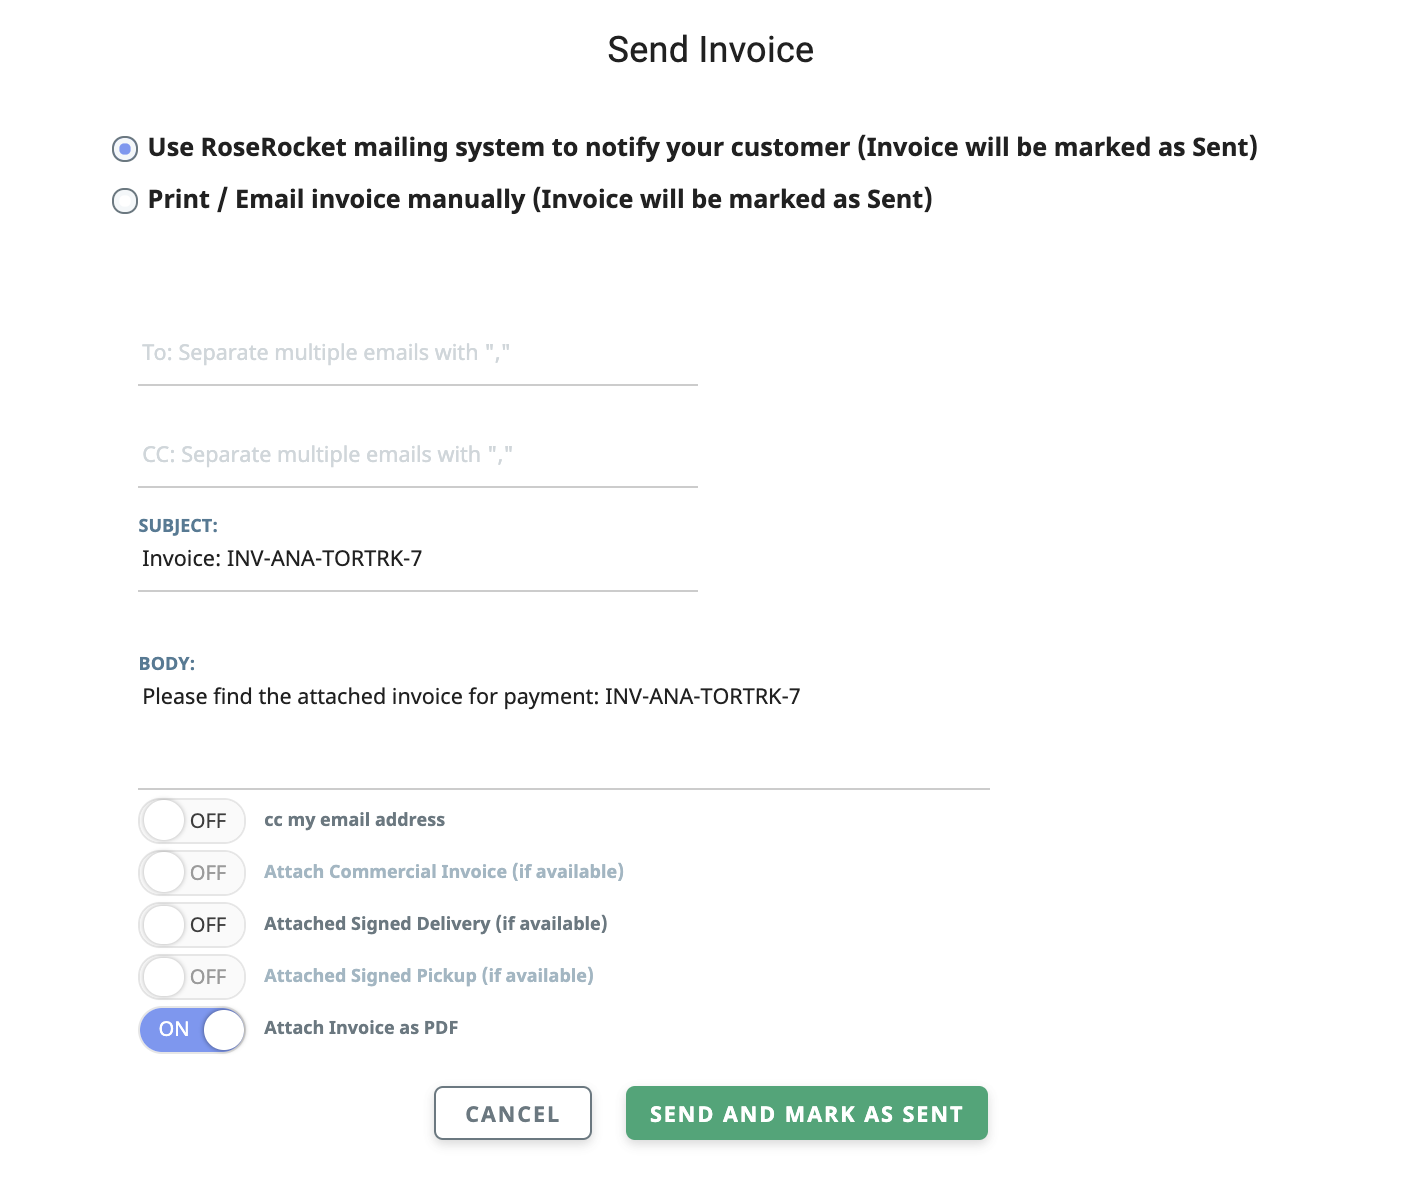
- A pop-up box will appear to confirm sending the Invoice

- Confirm the email to which this Invoice will be sent

This will be the email you entered for the customer in this article. - As long as a PoD document has been attached to the Order, the "Attached Signed Delivery (if available)" toggle should be toggled to "ON"

This will automatically be set to "ON" as we set this for the customer in this article. - When you are satisfied with the invoice, click the "SEND AND MARK AS SENT" button

This will send an email with the Invoice to your customer.
Congratulations!
You have completed all the necessary steps to onboard with Rose Rocket and finished your onboarding.
When you're ready, continue back to the Getting Started section of the Help Centre for additional tools, resources, and reading.
-01%20(Custom)-1.png?height=120&name=Rose%20Rocket%20Logo%20(Alternate)-01%20(Custom)-1.png)