Table of Contents
Video Overview
Follow along to step-by-step instructions:
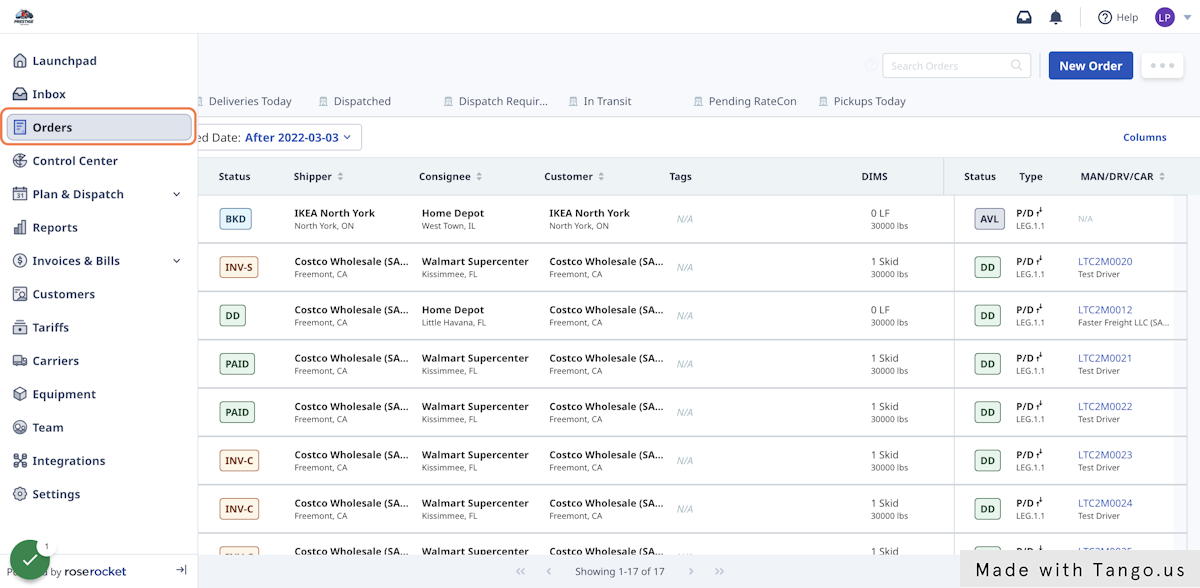
1. Go to the Orders module.
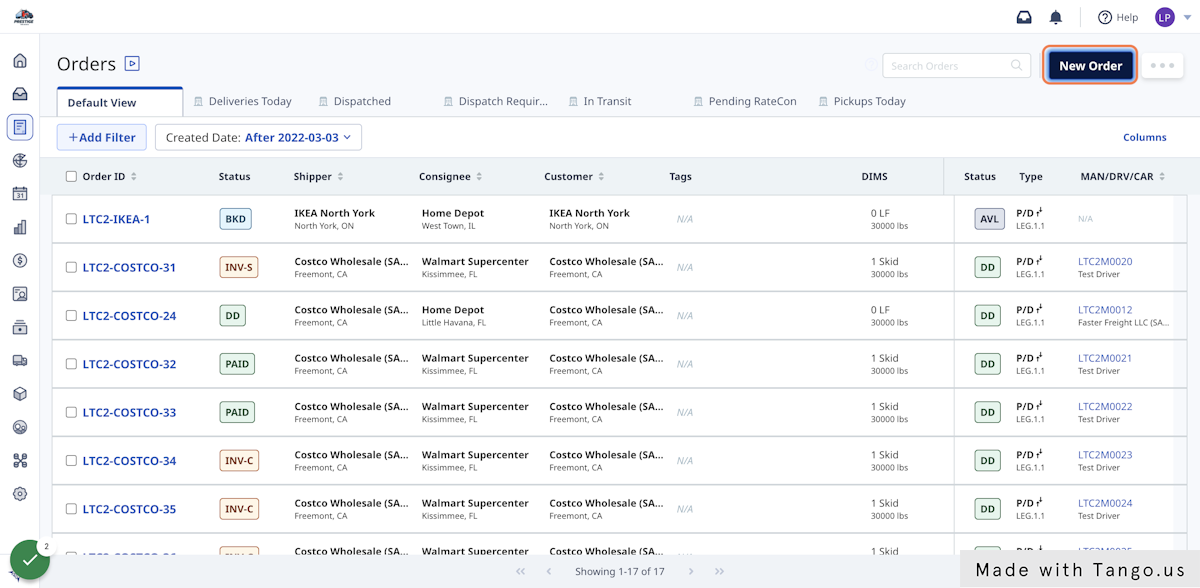
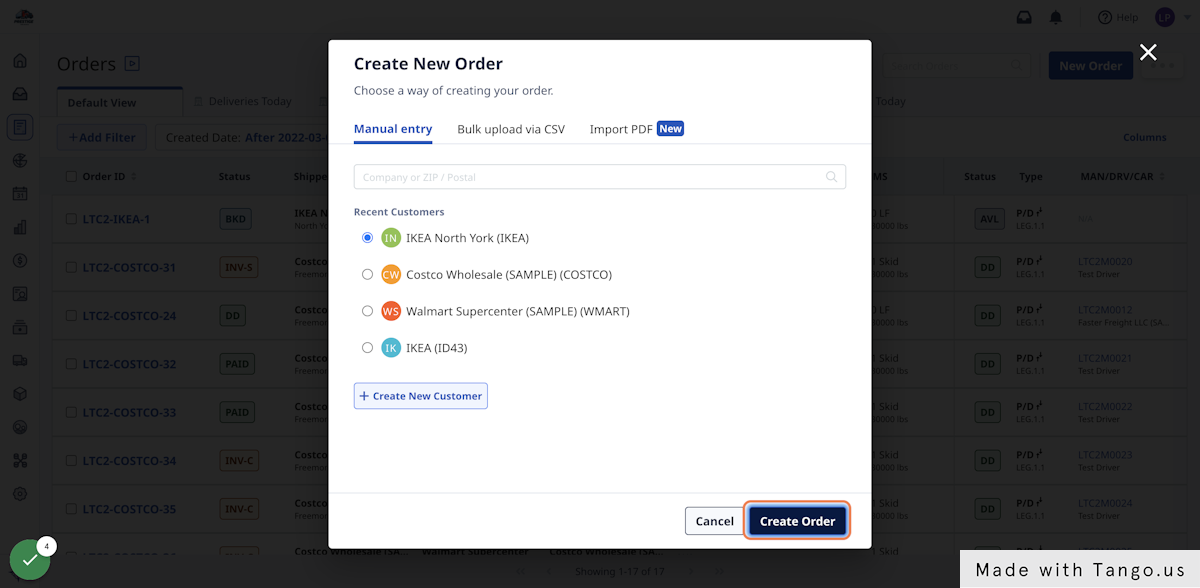
2. Click on the 'New Order' button.
3. Search and select your customer.
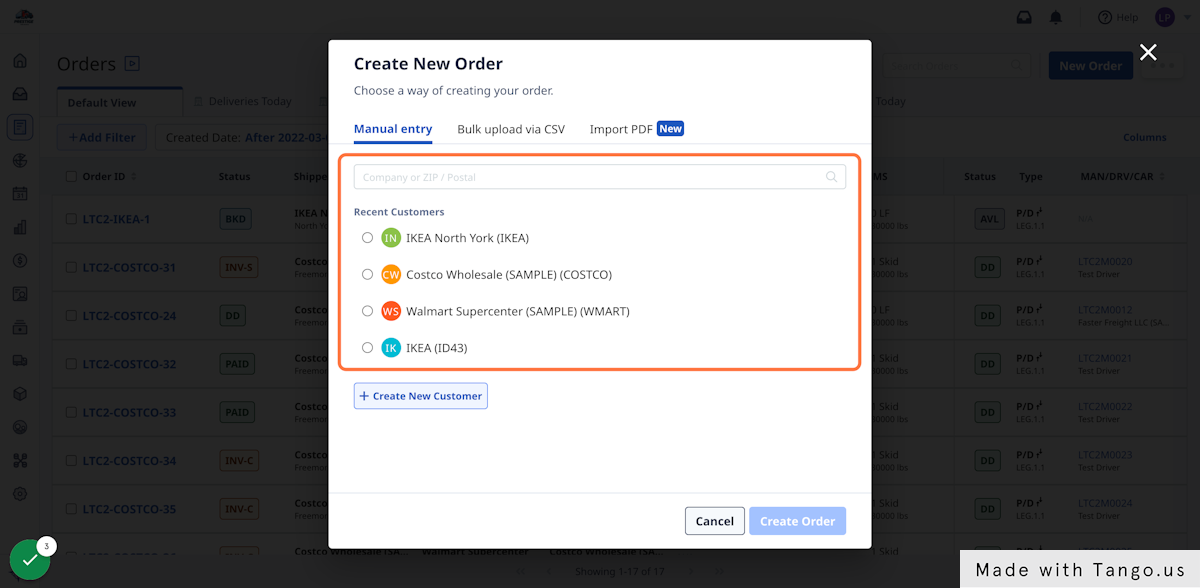
4. Click the 'Create Order' button.
5. Order details: Scroll down to the Details section.
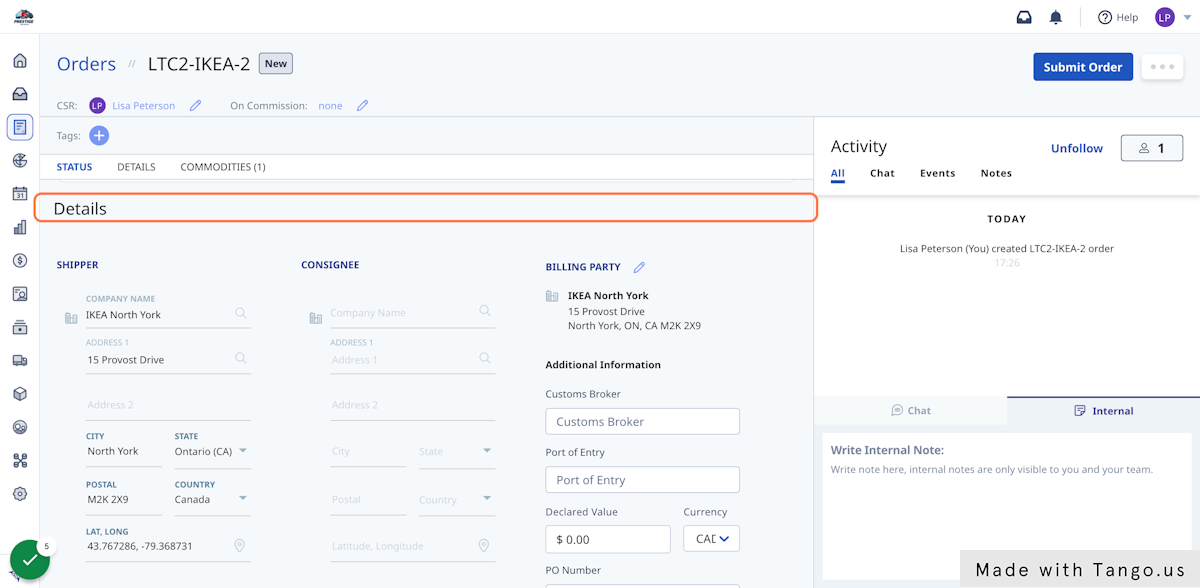
6. Order details: Fill in the Shipper and Consignee details.
Shipper details are automatically populated using the customer information but can be updated here.
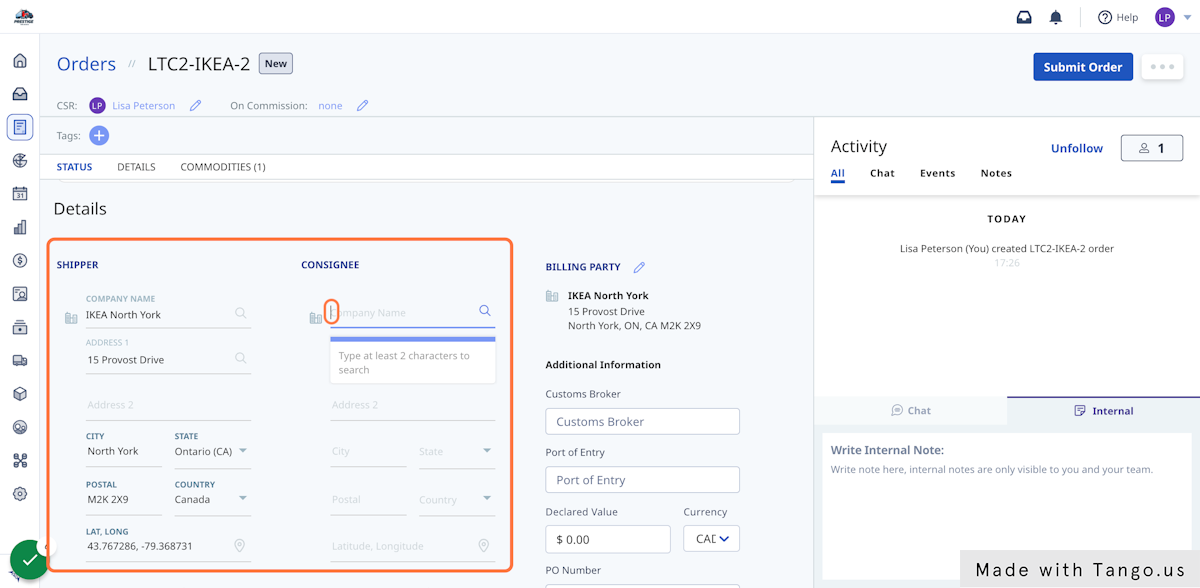
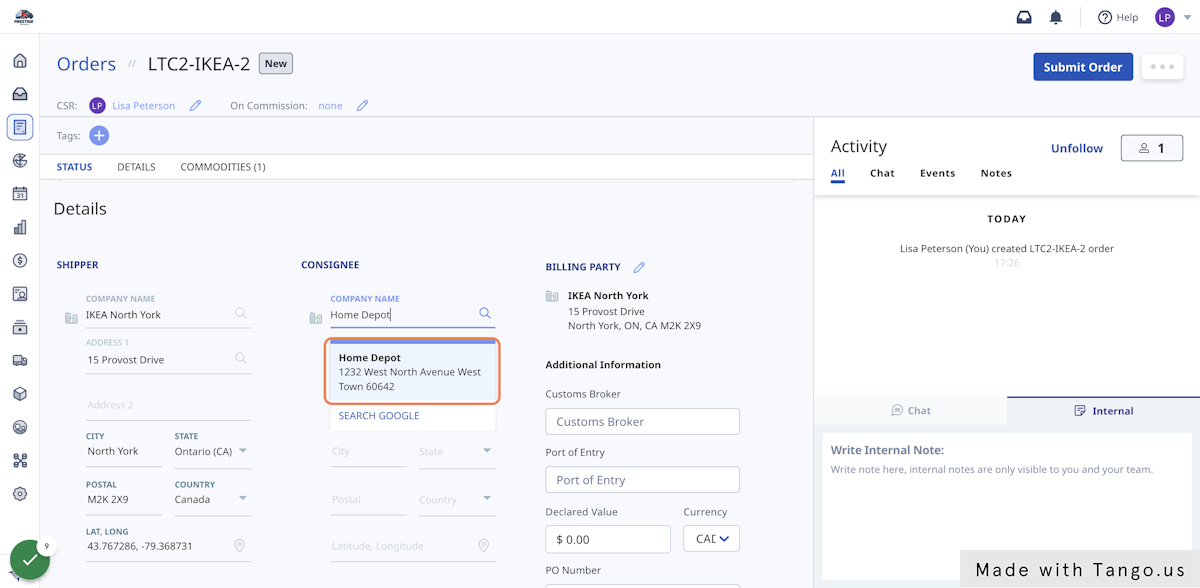
7. Order details: Fill in the Consignee details by searching the company name.
Rose Rocket's Google search integration will show you a list of companies matching the company name. Choose the one you want from the list.
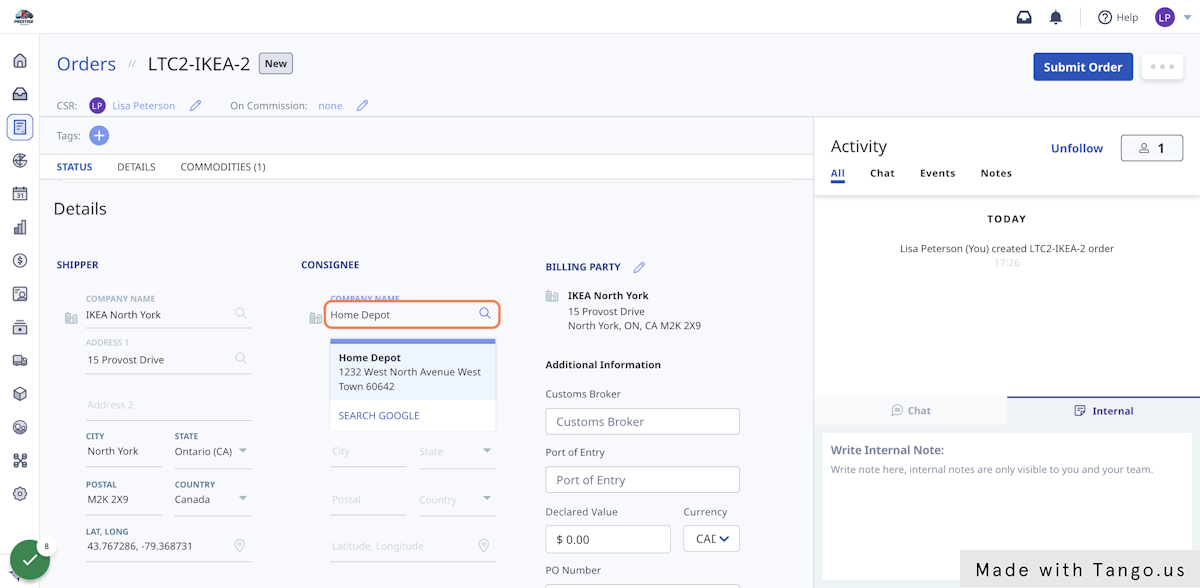
8. Select the company from the list.
Rose Rocket will automatically add the address details into Rose Rocket for you.
9. Scroll down to the Ready Time section.
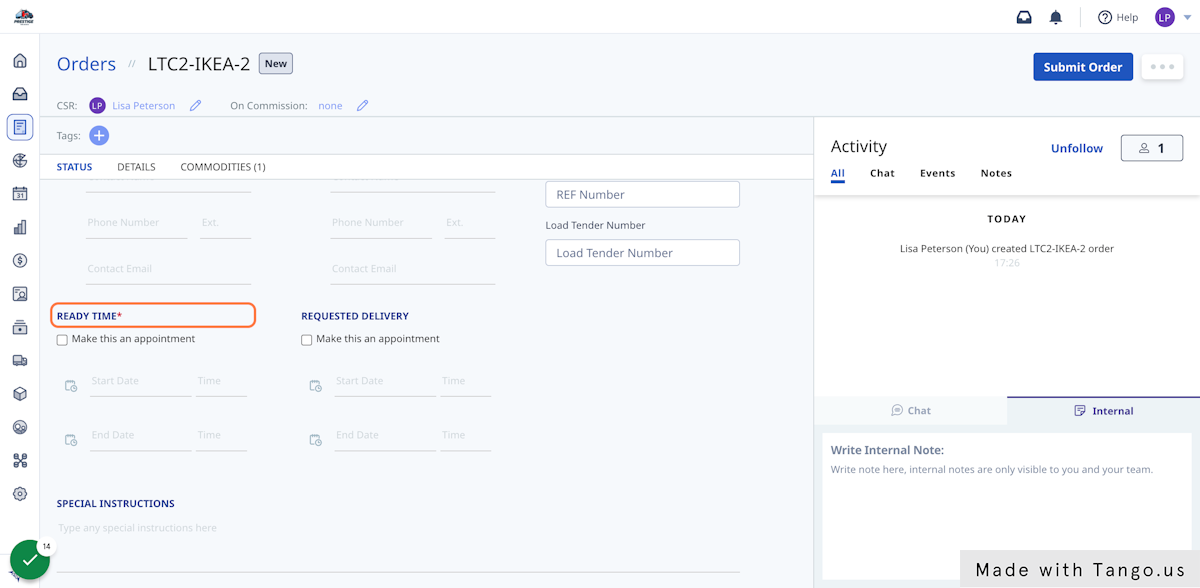
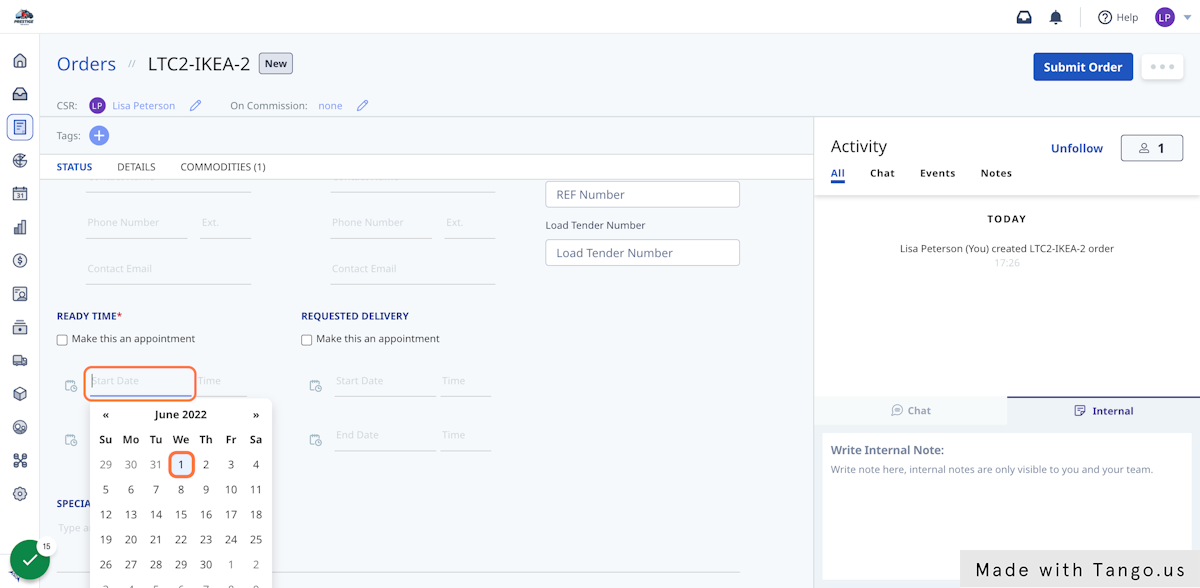
10. Ready date: Choose the ready date for the order using the calendar.
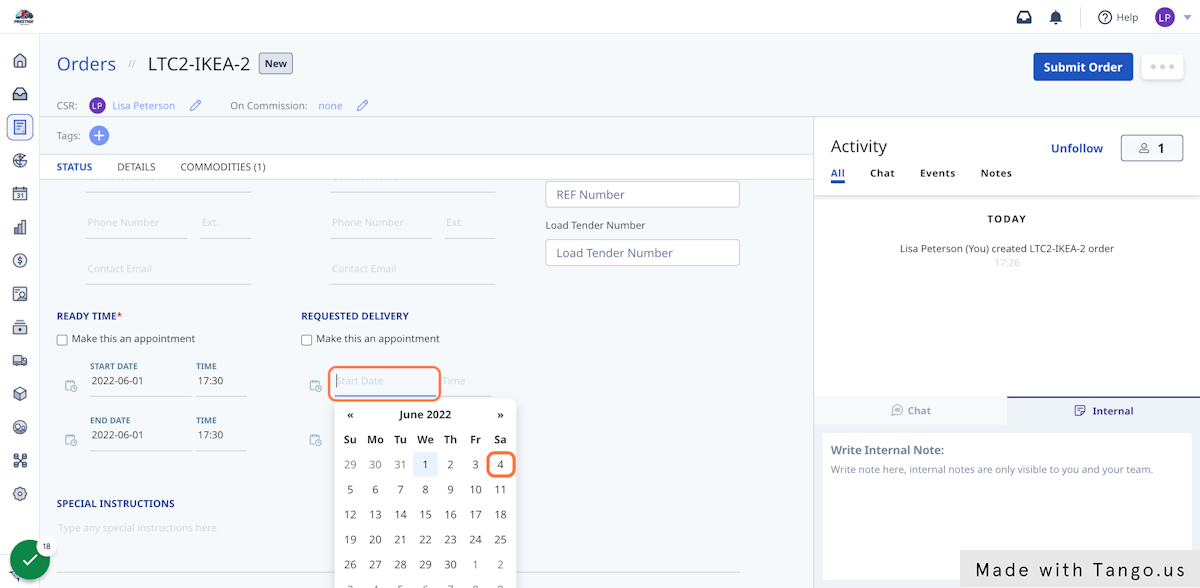
11. Delivery date: Choose the delivery date for the order using the calendar.
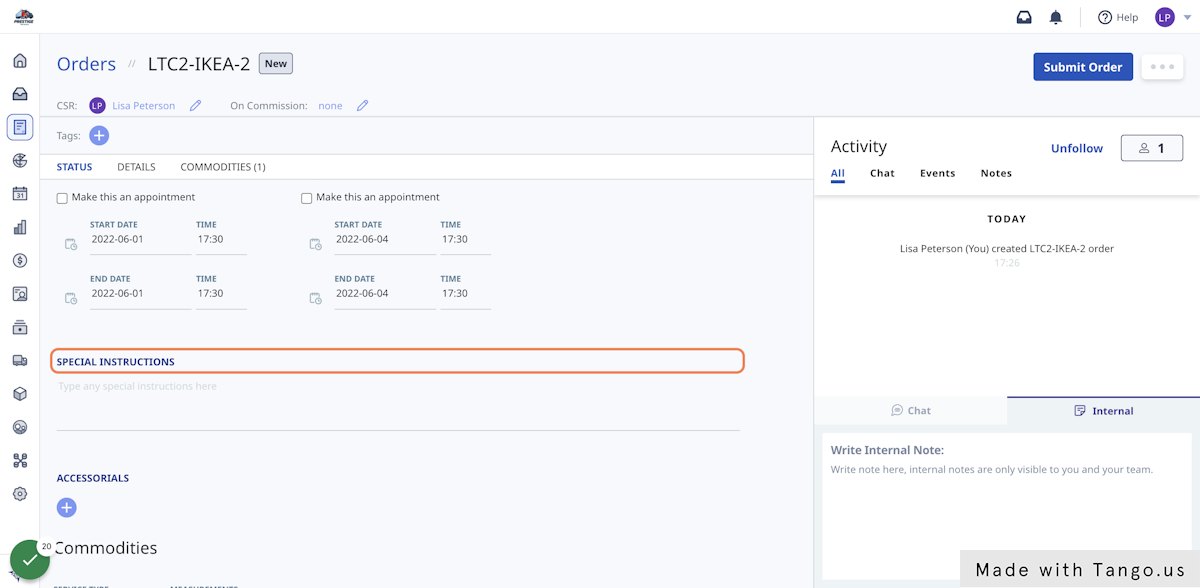
12. Special Instructions: Add any special instructions for the order.
Special instructions will be added to the Bill of Lading document.
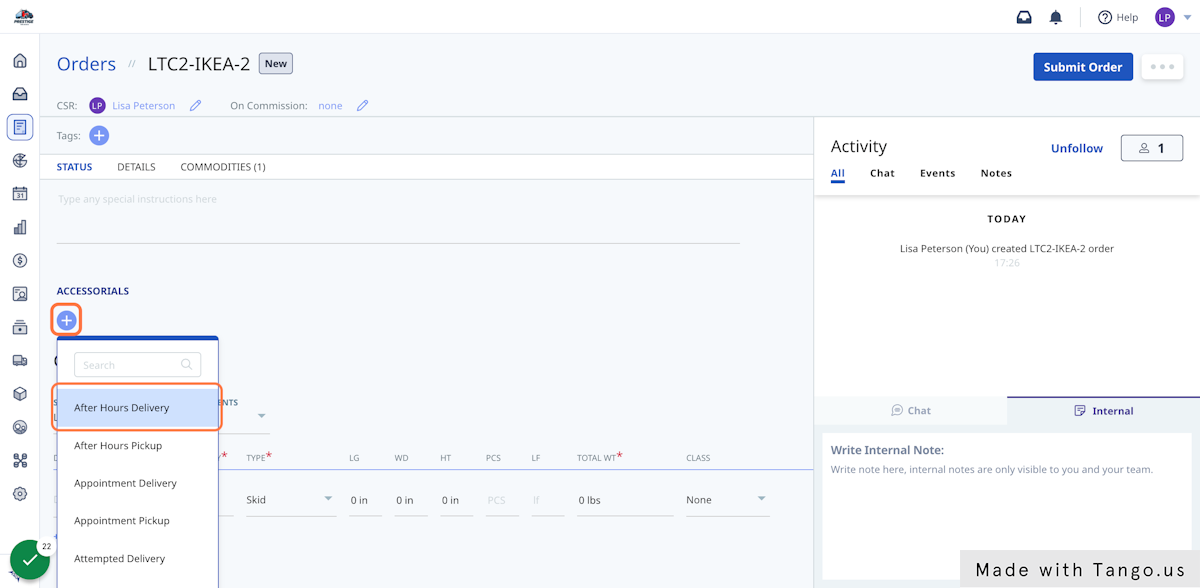
13. Accessorials: Use the '+' button to add accessorials for the order.
Accessorials are extra services on an order that you charge for beyond freight. Examples include inside delivery, lumper fee, and much more.
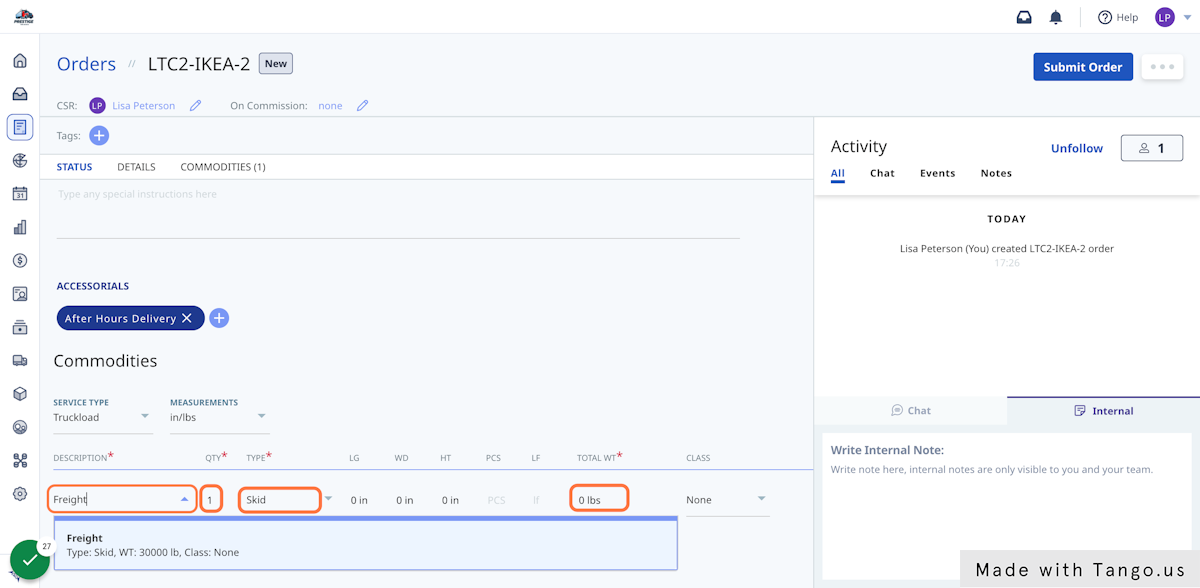
14. Commodities: Add the description, quantity, type, and weight of the order commodities.
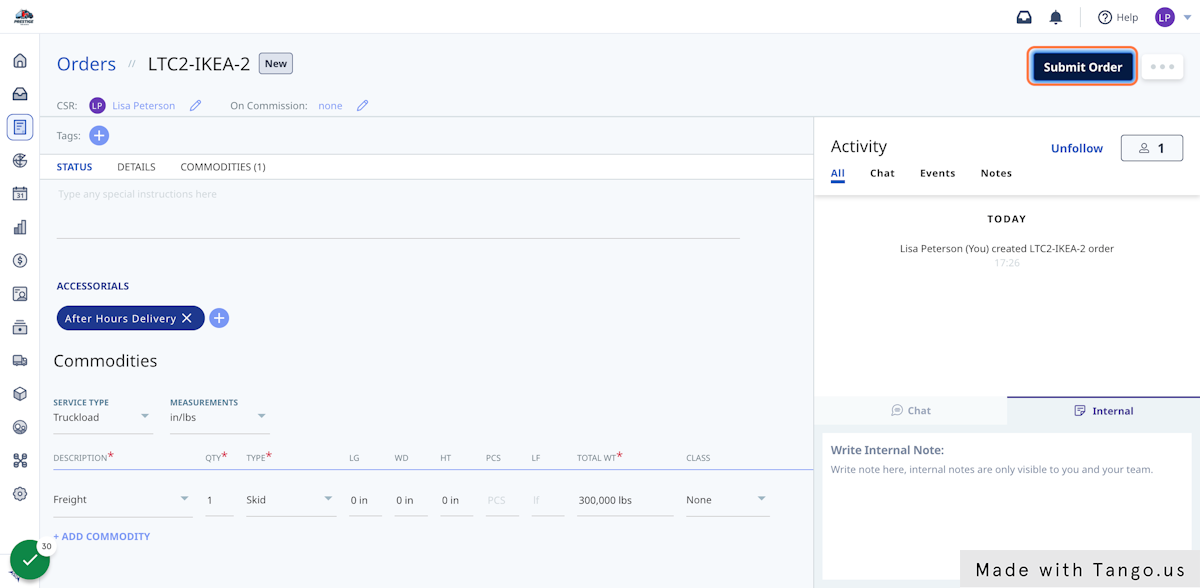
15. Click the 'Submit Order' button.
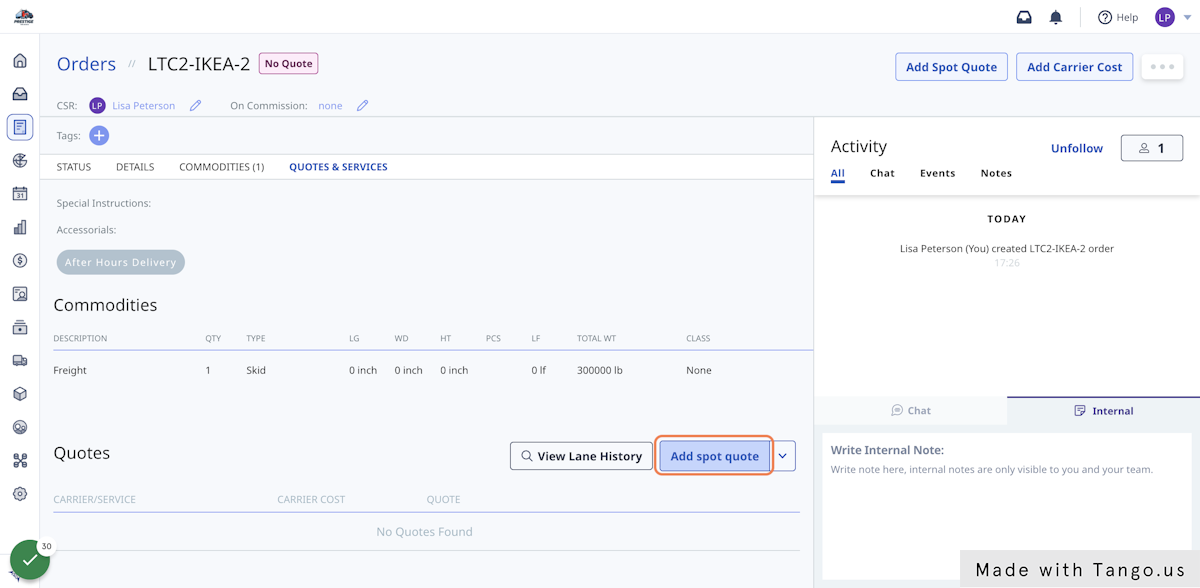
16. Quoting: Click on the 'Add Spot Quote' button.
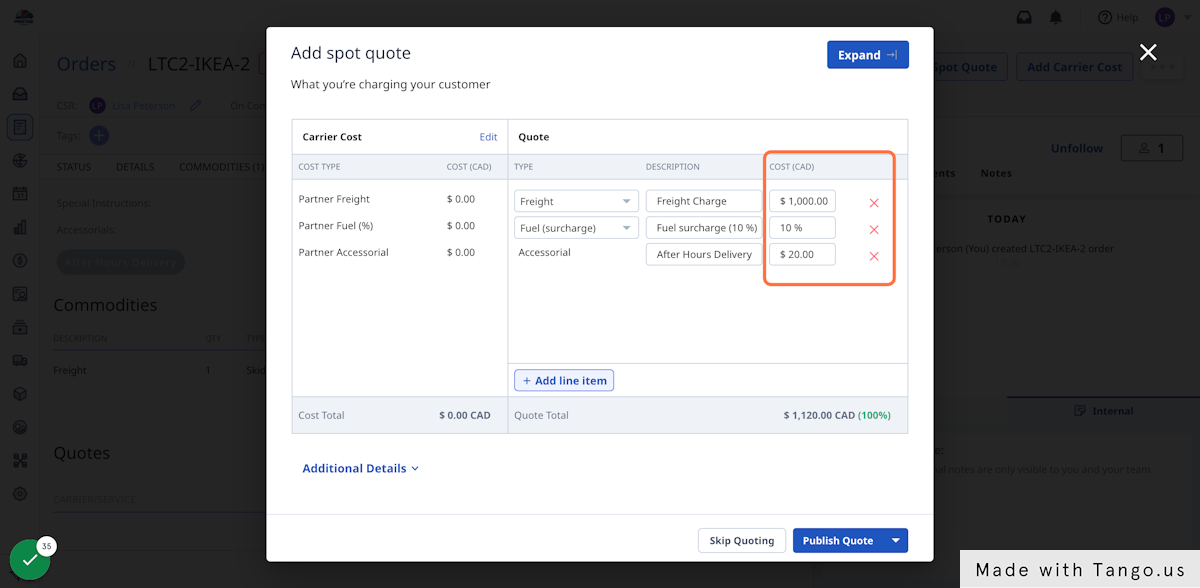
17. Quoting: Add what you're charging your customer.
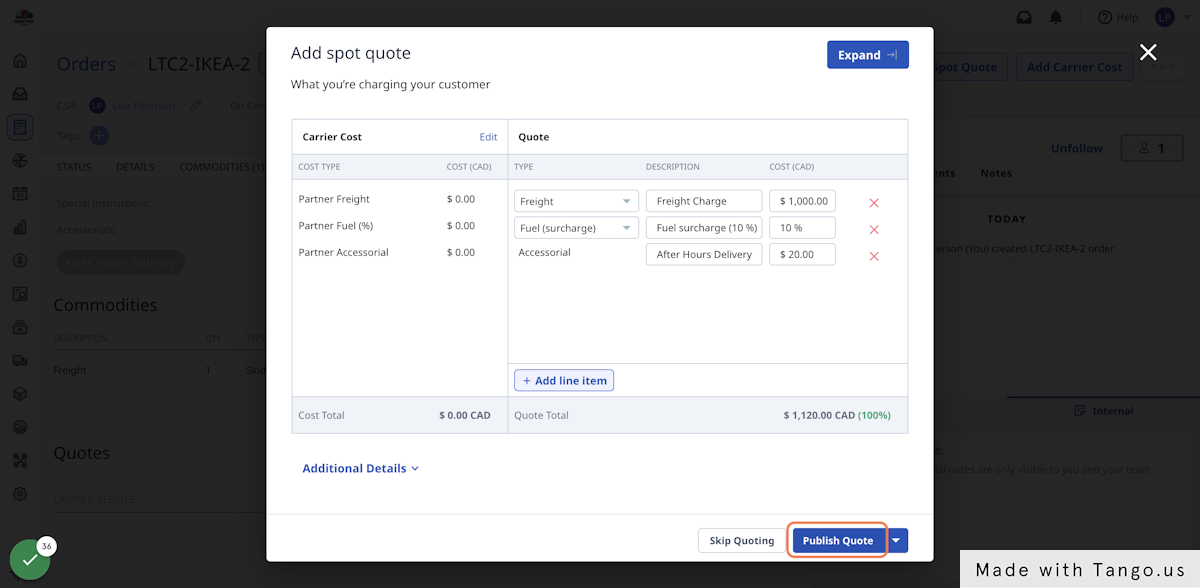
18. Quoting: Click on the 'Publish Quote' button.
19. Quoting: Once the rate is confirmed, click the 'Select' button to add it to the order.
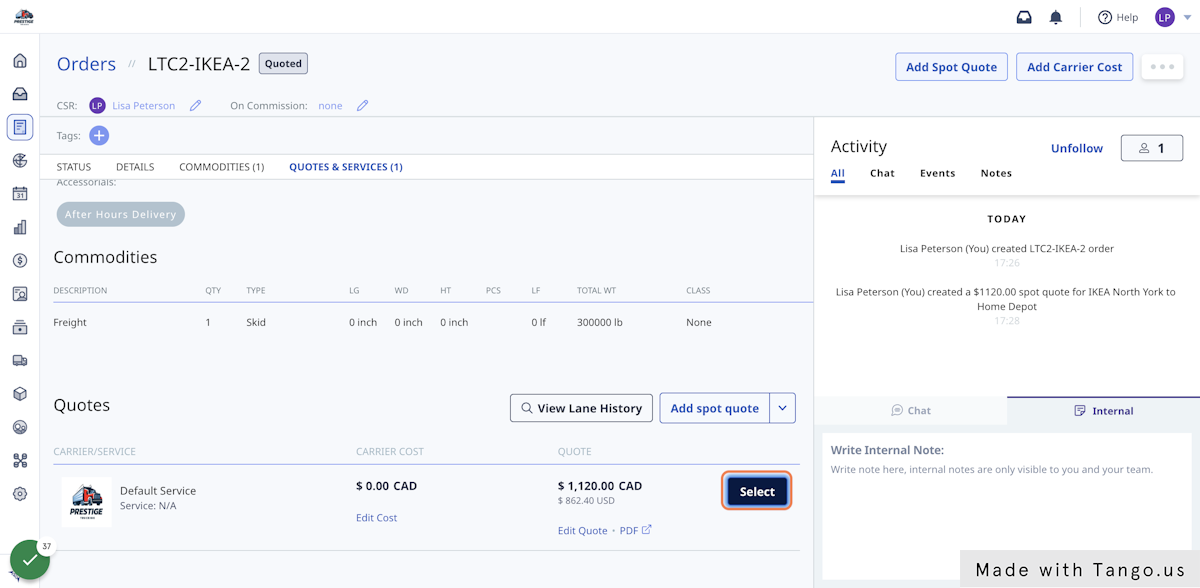
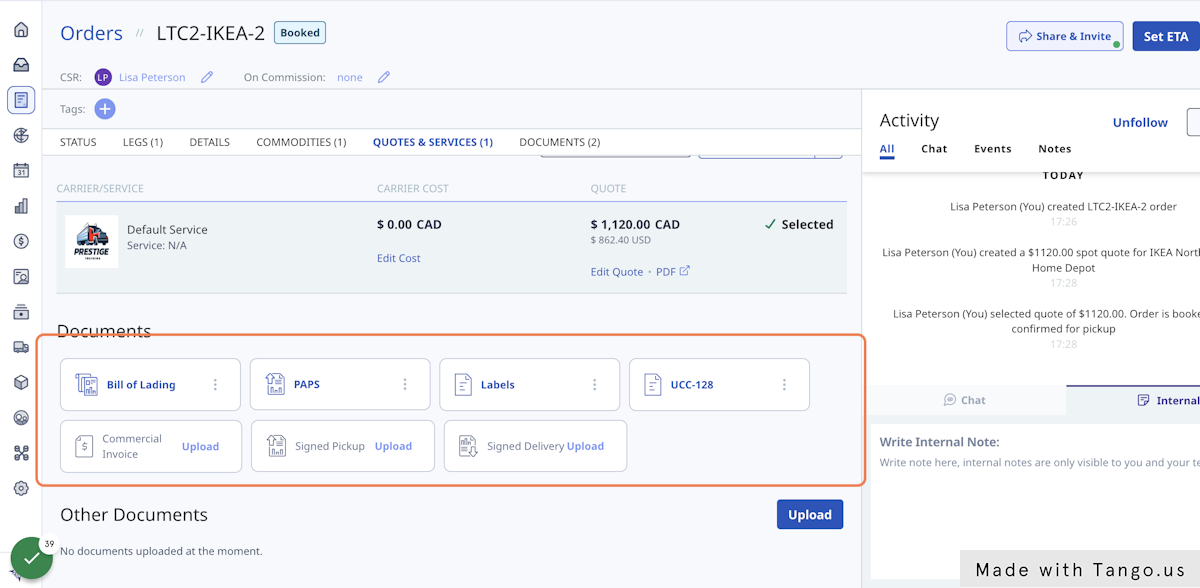
20. When a rate is confirmed, the order will update to Booked status.
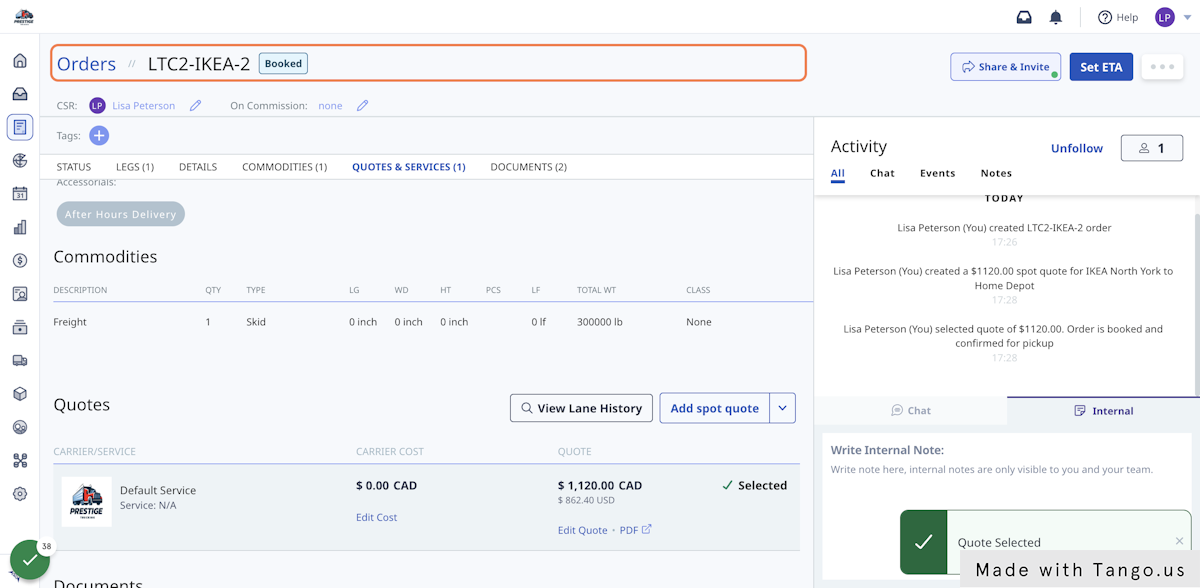
21. When the order is booked, you can view the BOL in the Documents section of the order.