-01%20(Custom)-1.png?height=120&name=Rose%20Rocket%20Logo%20(Alternate)-01%20(Custom)-1.png)
Follow the steps below to enable access and configure QuickBooks Settings within your Rose Rocket instance.
How to integrate your Quickbooks account with Rose Rocket?
Admin users will be able to complete this action.
- Select the "Integrations" module from the left navigation menu.
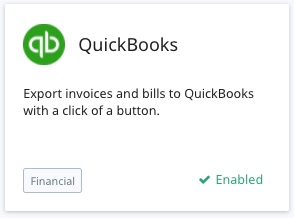
- Click on the QuickBooks integration tile.
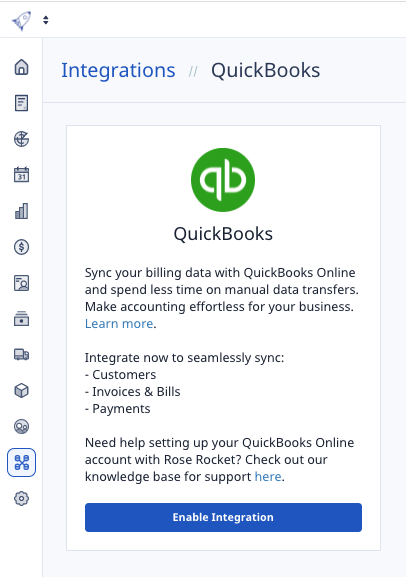
- Fill in your login details and click "Enable Integration".
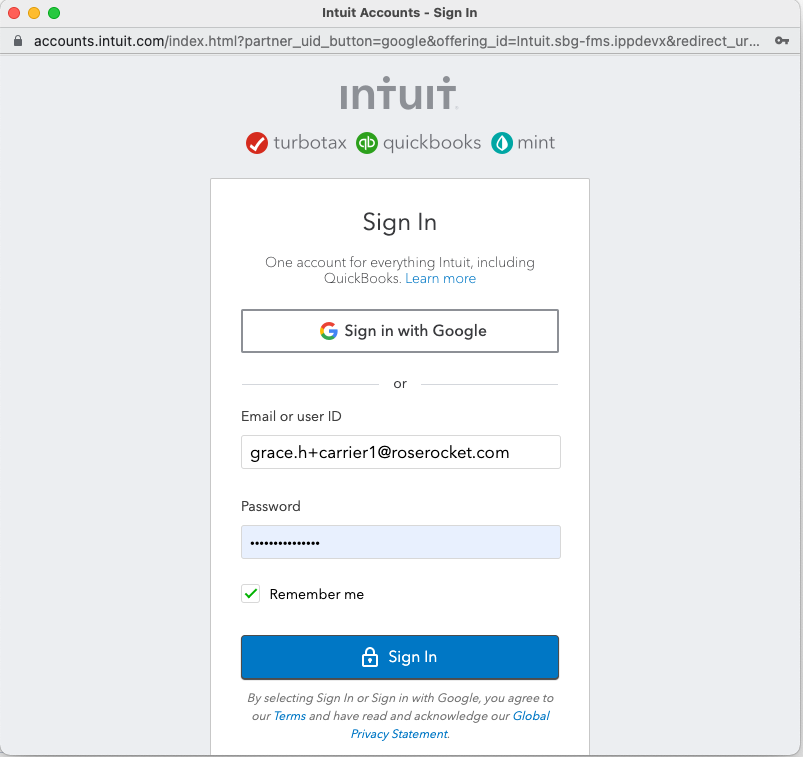
- This will open a QuickBooks sign-on page where you can login to your QuickBooks account. Your QuickBooks Admin user must login using their QuickBooks email and password to enable this integration.
- This will open a QuickBooks sign-on page where you can login to your QuickBooks account. Your QuickBooks Admin user must login using their QuickBooks email and password to enable this integration.
- Click the import customer button in the top left-hand corner.
- We pull in the following customer data from QuickBooks into Rose Rocket
- Customer Name
- QB External ID
- Currency
- Address
- City
- State/Prov
- Country
- Postal
- Credit Balance
- We pull in the following customer data from QuickBooks into Rose Rocket
You can either set up your QuickBooks configuration on this page or be asked to map upon exporting. We recommend doing it here so you don’t have to worry about it later.
Note: If you have a dedicated finance person ask them to review the QuickBooks integration page to help map fields from Rose Rocket to QuickBooks. If you don't, no problem! We will ask you a few questions before you export your first invoice/bill to Rose Rocket.
How do I set up my QuickBooks integration settings in Rose Rocket?
Your QuickBooks integration settings are broken down into three sections: Invoices, Bills, and Taxes.
This is where you map what Invoice details will be exported from Rose Rocket into your QuickBooks account.

Invoices: Integration Mapping
- Invoice Due Date
- Invoice Transaction Date
- Invoice Number
- Use the Rose Rocket invoice ID OR your Invoice Numbers in QuickBooks.
- If you select Rose Rocket ID you can further customize how this ID appears within QuickBooks by selecting `Advanced Document Number Mapping`.
- Use the Rose Rocket invoice ID OR your Invoice Numbers in QuickBooks.
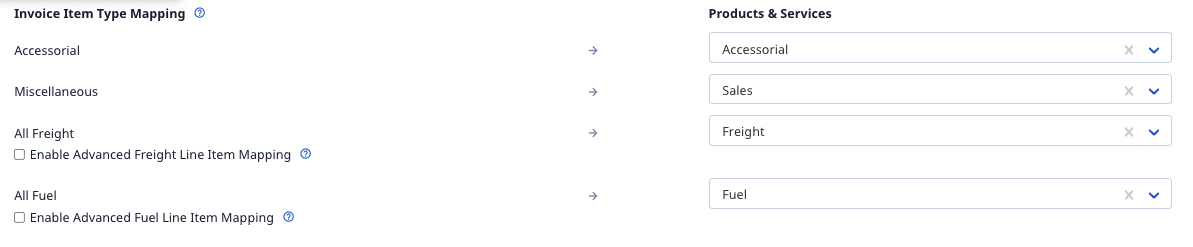
Invoice Line Item Mapping
Map your Rose Rocket line items to Products & Services in QuickBooks Online. For freight and fuel you can further breakdown the mapping if you have specific line items based on how you rate customers (i.e. Fuel Spot vs Fuel CWT).
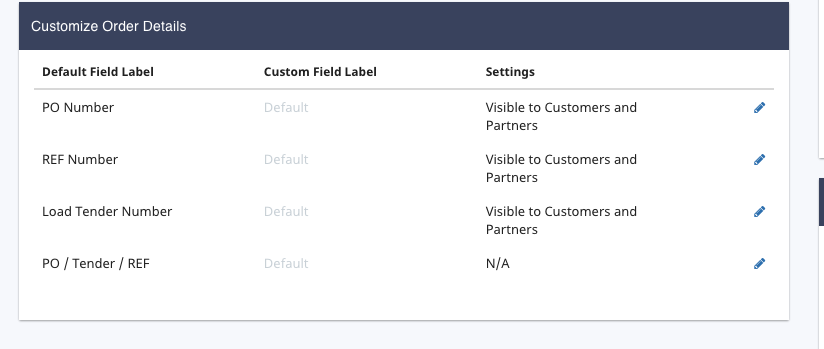
Custom Fields
You can export Rose Rocket Order Custom fields to custom fields in QuickBooks.

To customize these labels, head over to the Settings page in the Orders tab.
Pay Terms
Map your Rose Rocket pay terms to QuickBooks payment terms.

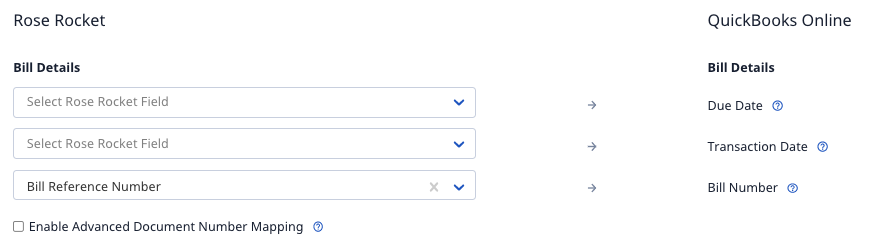
Bill: Integration Mapping
- Bill Due Date
- Bill Transaction Date
- Bill Number
- Use the Rose Rocket Bill ID OR your Bill Numbers in QuickBooks.
- If you select Rose Rocket ID you can further customize how this ID appears within QuickBooks by selecting `Advanced Document Number Mapping`.
- Use the Rose Rocket Bill ID OR your Bill Numbers in QuickBooks.
Bill Line Item Mapping
Map your Rose Rocket line items to the Chart of Accounts in QuickBooks. To simplify this mapping we allow you map-related line items in bulk (i.e. all driver pay line items map to the same QuickBooks account).
If you want to be more specific about this line item mapping you can enable the advanced line item mapping for each section (i.e. Driver Pay, Carrier Pay).

Bill Payment Terms
Map your Rose Rocket pay terms to QuickBooks pay terms.

Taxes
Configure your tax settings to map your Rose Rocket taxes to the tax groups you have set up on QuickBooks Online. This is only applicable to if you’re using a Canadian QuickBooks Online account.
IMPORTANT NOTE: If you are working with customers in multiple currencies (USD & CAD) you will NEED to have exchange rates setup in Rose Rocket in order to export to QuickBooks
Note: ensure you have taxes already created in RR AND QBO
